Tamiya #14068 1/12 Ducati | 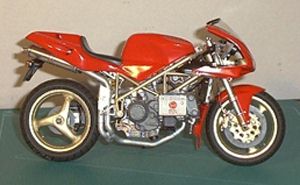 | While I don't have a great "passion" for motorcycles, as some of my very good friends do, I have always enjoyed the sound of an old "Duke" roaring past. A very good friend of mine does have this passion, however while she does love the Ducati she freely admits this will be as close as she ever gets to one. She is slightly vertically challenged 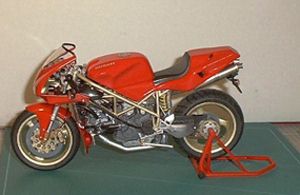 and would never be able to "get her leg over" one. So I was commissioned some time ago(1999) to build this model for her. and would never be able to "get her leg over" one. So I was commissioned some time ago(1999) to build this model for her. The Kit Upon opening the box you find one sprue of red parts containing all the bodywork etc. Other coloured sprues in silver and black for the engine and framework all separately bagged. A nice chromed sprue for the muffler and other small parts What more needs to be said about the quality of a Tamiya kit? This one lives up to all expectations from this manufacturer. Construction 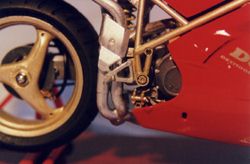 The instructions start with the building of the rear swing arm. The rear suspension is included in this and with a little work could be made functional. Major engine components go together easily. I assembled all the engine parts that were to be the same colour before painting them. The smaller parts were painted before assembly. The instructions start with the building of the rear swing arm. The rear suspension is included in this and with a little work could be made functional. Major engine components go together easily. I assembled all the engine parts that were to be the same colour before painting them. The smaller parts were painted before assembly. Stage three brings the frame together with the engine and rear swing arm. Care must be taken when inserting the metal tube into the head of the frame to support 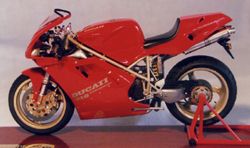 the front suspension. I made the mistake of forcing it in and splitting the front of the frame. The seam I had taken some care to smooth out was now highly visible. More putty was applied with a liberal dose of sanding. I can still see the seam but nobody else has mentioned it. I doubt it is out of politeness as most of my modelling buddies would leap at the chance to point it out. the front suspension. I made the mistake of forcing it in and splitting the front of the frame. The seam I had taken some care to smooth out was now highly visible. More putty was applied with a liberal dose of sanding. I can still see the seam but nobody else has mentioned it. I doubt it is out of politeness as most of my modelling buddies would leap at the chance to point it out. The rear fairing and fuel tank are split down the middle giving rise to the need for more filler and sanding. I didn't undercoat this section as I was spraying red over red and didn't see the 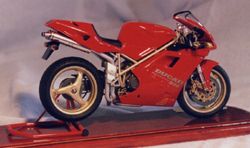 need. BIG MISTAKE. After four coats of Tamiya TS8 Italian Red I could still see the putty in the seam. Sanding back a beautiful gloss coat was a little hard to take but the results were worth it. need. BIG MISTAKE. After four coats of Tamiya TS8 Italian Red I could still see the putty in the seam. Sanding back a beautiful gloss coat was a little hard to take but the results were worth it. The fairing attaches with four small screws installed with the included screwdriver. I would recommend not gluing it together at the bottom as it can then be removed to display all the beautiful engine detail. 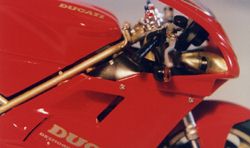 Conclusion Conclusion
A lovely kit to build and not a lot of time needed for cleaning it up. Goes together very well with no major flaws to catch the unwary. I may even buy one for my own collection. I enjoyed building this kit, it makes a nice change from aircraft for me. Highly Recommended! | 


|
