The Return of Dr. Zaius: Building the 1/10 Figure By Gary Meinert |  | Introduction In the distant future, apes will rule the world and any surviving humans will be rounded up and put in cages. If any models exist, they will no doubt be built by highly skilled chimpanzees...  When Internet Modeler's Richard Marmo announced in his column three years ago that Polar Lights had reissued several old Aurora kits, including characters from the 1967 movie "Planet of the Apes", alarm bells went off in my head. Who could forget the fab four of Dr. Zaius, Dr. Zira, Cornelius, and Gen. Ursus? I knew I had to scoop up at least one of these kits, since I missed them the first time around. Even though I am no longer young and impressionable, I am still impressionable! When Internet Modeler's Richard Marmo announced in his column three years ago that Polar Lights had reissued several old Aurora kits, including characters from the 1967 movie "Planet of the Apes", alarm bells went off in my head. Who could forget the fab four of Dr. Zaius, Dr. Zira, Cornelius, and Gen. Ursus? I knew I had to scoop up at least one of these kits, since I missed them the first time around. Even though I am no longer young and impressionable, I am still impressionable!
The Kit 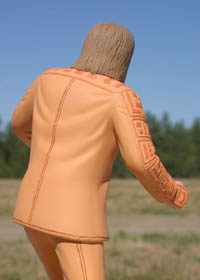 The ape characters are 1/10 scale snap-fit kits with moveable arms. Each comes with an elaborate base--church ruins in the case of Dr. Zaius. By today's standards these 35-year-old kits are definitely crude and toy-like. The ape characters are 1/10 scale snap-fit kits with moveable arms. Each comes with an elaborate base--church ruins in the case of Dr. Zaius. By today's standards these 35-year-old kits are definitely crude and toy-like.
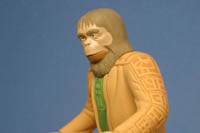
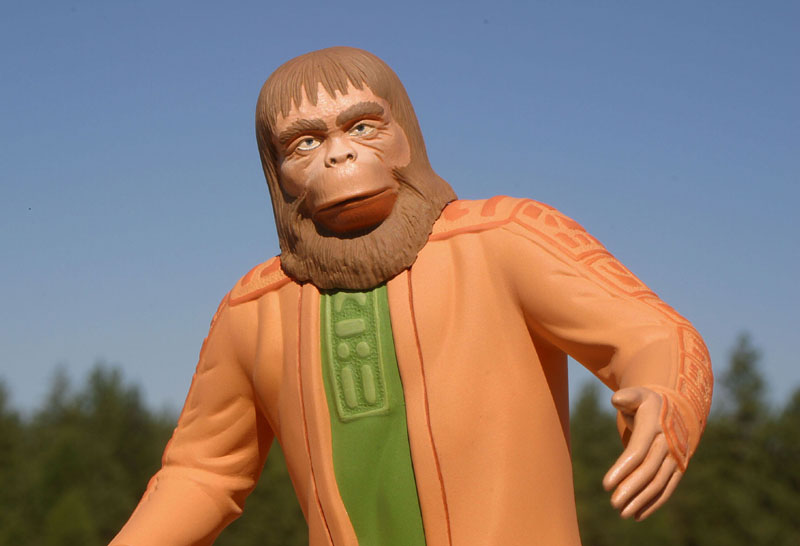
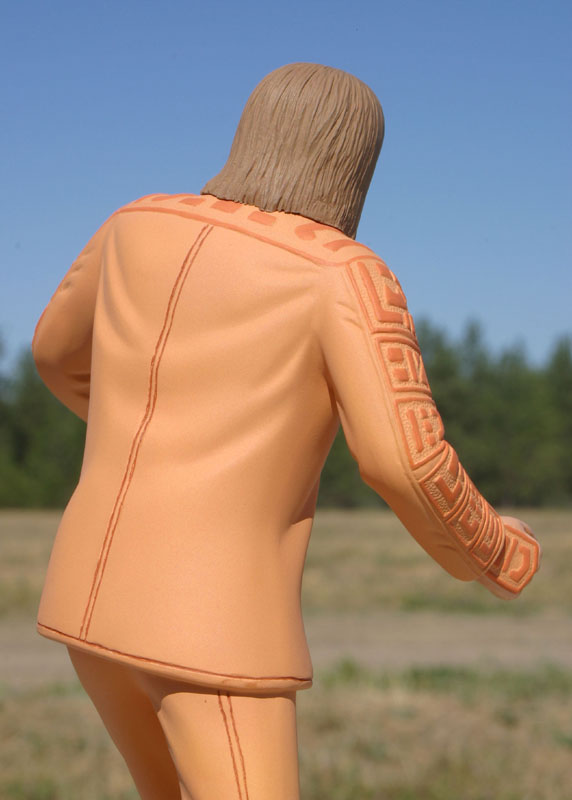
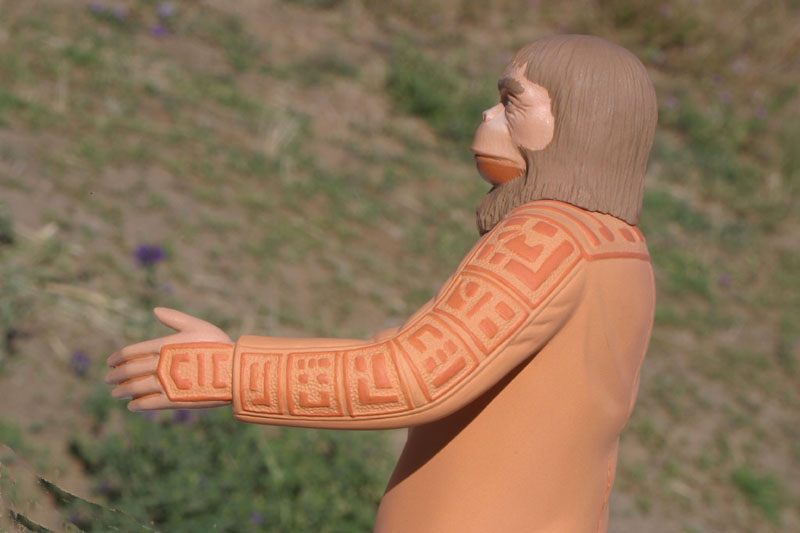
The Dr. Zaius kit is produced in pale yellow plastic with front and rear main-body halves, including the legs. Each arm is also divided into halves lengthwise, and the separate head is divided into front and back pieces. The molding quality is not uniform, with some surface lumps and bumps that must be sanded off. The engraved lines on the coat, pants, and boots are not consistent in depth or width. On the plus side, the face detail is very good. So is the sleeve and shoulder detail with elaborate raised geometric symbols on a textured background. 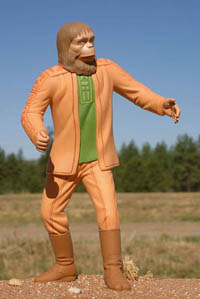 Construction Construction
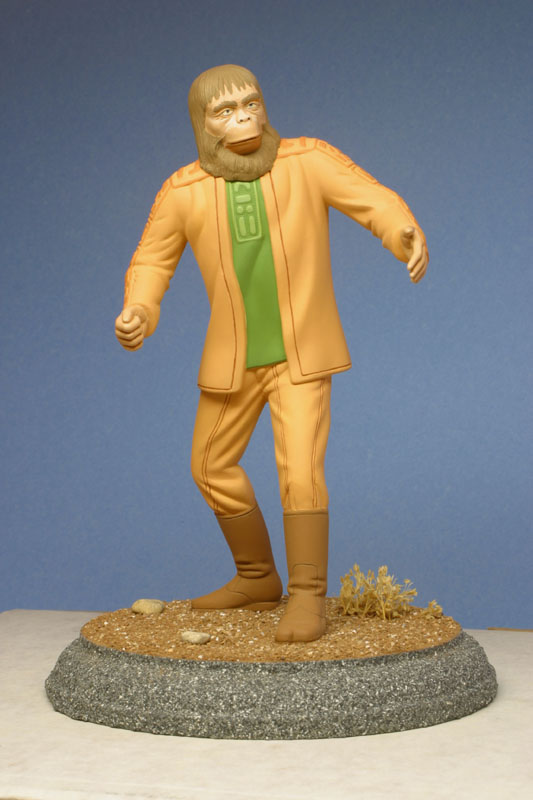
Construction was straightforward--this is a simple kit with few parts. A fair amount of putty and sanding work was required wherever the parts joined. Mating the arms to the body needed the most work because this is quite a bad fit. I had difficulty getting a snug fit of the head to the torso, so I improved the fit by extending the beard and hair with Milliput putty and texturing it with a toothpick. I wanted to heep the head separate from the body for ease of painting and then attach it later to the completed figure. Painting I did not look at the movie again to research the colors of the clothing, hair, etc. I used my imagination and chose colors that appealed to me--this is my version of Dr. Zaius. Some areas were covered as needed with my usual Floquil Grey Primer. The entire model was later sprayed with Floquil Reefer White for an undercoat. For the coat and pants, I chose Humbrol No. 61 Flesh(actually a pale orange) and for the shirt, Model Master Zinc Chromate Green. The boots and hair were painted with Humbrol colors: No. 62 Leather and No. 118 Tan, respectively. Everything on this figure was masked and airbrushed except the face and hands, and the the sleeve/shoulder symbols, which were hand painted. 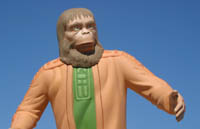 I normally paint figures with base, highlight, and shadow colors. But this figure is so large that it exhibits natural shadows that look better than any I could paint. So I used just one paint shade for the clothes(I used a darker shade for the sleeve/shoulder symbols only). Colored pencils were used to emphasize the recessed lines. I normally paint figures with base, highlight, and shadow colors. But this figure is so large that it exhibits natural shadows that look better than any I could paint. So I used just one paint shade for the clothes(I used a darker shade for the sleeve/shoulder symbols only). Colored pencils were used to emphasize the recessed lines.
Regarding the face and hands, I mixed multiple shades of flesh from my Winsor & Newton artists oils. The oils were hand-brushed over a Polly Scale undercoat.  I had a "bad hair day" on this project. Many figures have hair with waves and locks that can be painted in various shades of the hair color. In this case, the hair just hangs straight down with minimal texture in some areas and more in others. I dry-brushed some of the raised areas with a lighter shade of tan, but this didn't look right. I also tried a dark wash in some areas, but I wasn't satisfied with it. In the end, I just airbrushed all of the hair with two slightly different shades of the Humbrol tan and left it alone. I had a "bad hair day" on this project. Many figures have hair with waves and locks that can be painted in various shades of the hair color. In this case, the hair just hangs straight down with minimal texture in some areas and more in others. I dry-brushed some of the raised areas with a lighter shade of tan, but this didn't look right. I also tried a dark wash in some areas, but I wasn't satisfied with it. In the end, I just airbrushed all of the hair with two slightly different shades of the Humbrol tan and left it alone.
 The Base The Base
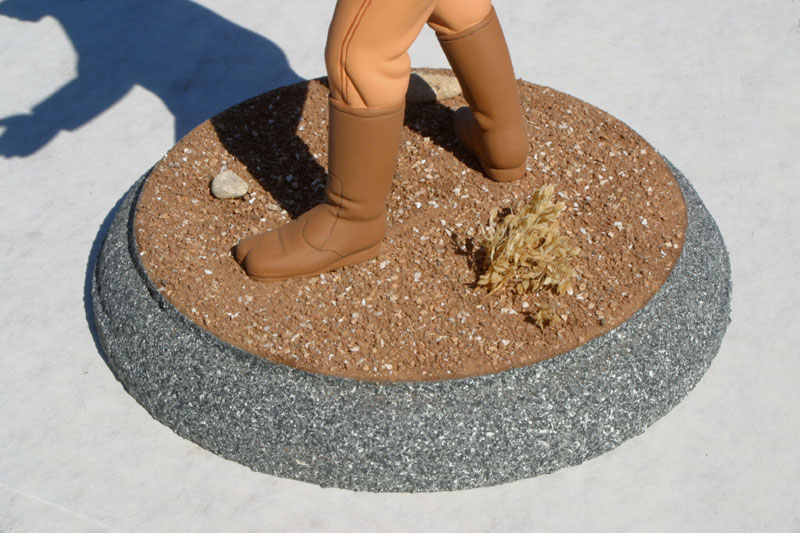
I discarded the kit base and decided to utilize a simple flat balsa base from a craft store. The base was painted with Krylon grey primer from a spray can, followed by a coat of Fleck- Stone textured paint on the sides to give the grey/white stone appearance. 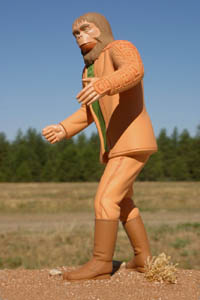 My choice for the top surface of the base was High Desert soil pigment from the Arizona Rock and Mineral Company(they also make Low Desert, Earth, and other varieties). A couple of rocks, a bit of dried plant, and the recipe was complete. All the landscaping material was attached to a paste on the surface of the base made from white glue, water, and a little of the artificial soil. My choice for the top surface of the base was High Desert soil pigment from the Arizona Rock and Mineral Company(they also make Low Desert, Earth, and other varieties). A couple of rocks, a bit of dried plant, and the recipe was complete. All the landscaping material was attached to a paste on the surface of the base made from white glue, water, and a little of the artificial soil.
And, of course, Dr. Zaius himself was attached to the base. A peg in each foot was glued into the appropriate pre-drilled hole in the base. Conclusion This was a fun project and a nice change from my arduous airplane projects. If nothing else, Dr. Zaius makes a fashion statement in the pages of Internet Modeler. Now, where is my old polyester leisure suit? And the high boots?
| 


|