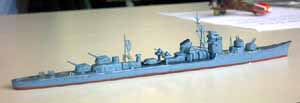
Aoshima 1/700 WWII Japanese Destroyer Suzutsuki and Tom's Modelworks 1:700 Japanese Destroyer Etched Brass Set
By Lindsay Charman
 |

 |
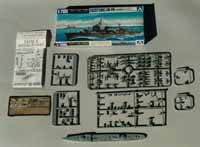 You get several complete sprues of parts moulded in gray, including a generic 'Japanese Aircraft, Weapons and Fittings Set', which yields only a few parts for the subject.
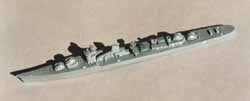 First I removed most of the parts from the sprues, cleaned them up and prepared some for extra detailing. Aoshima have done a creditable job here; most parts are crisply moulded, with a reasonable level of detail for a smallish model, though not up to Skywave or Tamiya standards. My memory of past Aoshima kits is not a good one and this kit's quality happily exceeds what I remember of their past kits. Just the same I decided to add a little extra detail as the review kit was supplied with a nice set of etched brass designed for WWII Japanese destroyers, and I always add a little detail in the form of card doors, and protrusions not usually offered by 1/700 kits.
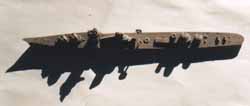 Large watertight doors and smaller card protrusions and boxes were added to some of the integrally moulded deckhouses in this hull part, and scuttles were also drilled in too. These parts can usually be expected to be devoid of detail because (I presume) of moulding and cost control limitations; once added they really liven up the model.
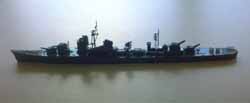 The various gun tubs and mounting pieces were similarly painted. The guns were painted but left unattached at this point. I also painted the main guns, before attaching them to the turrets. The generic weapons sprue offered with the kit also provided the torpedo tubes and this part was painted and detailed by picking out the raised surface detail in a lighter shade of the overall shipside grey.
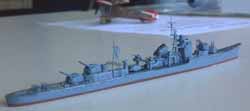 Next came the use of the etched brass detail set also provided to me for the review. Many of this brass set are actually specific items for earlier period Japanese destroyers, so not very much could actually be used for this kit. I could use the railings. However, I tend to be somewhat sparing in the application of brass railings. I find that they are nearly always way over-scale, so fully railed 1/700 ships don't look right to my eye. Acknowledging that it is virtually impossible to produce scale thickness rails even from etched brass in 1/700, and that they do add some value to a completed model, I usually add a few strategically placed railings in a sparing manner to any new model I'm working on. The effect is there, but to my eye at least, it doesn't then look overdone (it's also a lot less work!). Having said that Tom's etched railings are the finest I've seen, and can be recommended highly if you are well practised in the brass application department (they are VERY fine!)
 I also picked out the raised deck detail on the hull piece. This was achieved by dry brushing a slightly lighter shade of grey than any I used on the decks, particularly where the simulated, raised 'checkerplate' pattern was moulded. I'm actually not sure what this 'non skid texture' or checkerplate is supposed to represent. Could it simply be ridiculously overscale raised non skid surfacing, or could it actually be something like the early 1960 RN practise of having large, black, zig-zag 'non-skid' patterns on the basic deck finish. I don't know and my reference couldn't help here. Perhaps some readers may be able to assist?