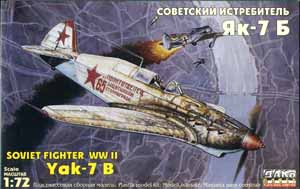
1/72nd Dakoplast Yak-7B
By Matt Bittner
 |

 |
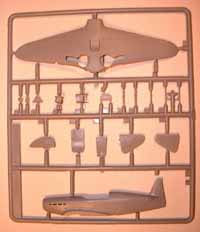
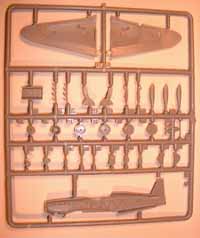
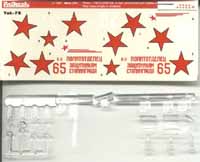
 The Dako Yak-7B consists of 49 injected molded parts with six clear pieces. Decals consist of three schemes: a white-washed machine from the Stalingrad front, Winter 1942-43; 'White 26' from the 3 IAC, Kuban, May 1943; and a machine from the summer of 1942-1943. The level of detail is fantastic. While I really like their Yak-9s, the Yak-7B is better, especially in terms of interior detail. While a photoetch set could be helpful to spruce up the insides, it's not really needed.
 Once that's all assembled and painted, then construction continues. I would deviate from the plans a bit. Instead of gluing the upper wing pieces to the one-piece lower wing, I would glue the lower wing on first - after plenty of dry fitting, of course - and then add the upper wing pieces to it. There's a good chance you'll get a better fit out of that way. One thing to be aware of, though: There is no wheel well detail, and the walls should be added from scratch. Otherwise you'll be able to see through the wings (this area is my biggest complaint with the Dako Yaks).
 Continue with the tailpieces and underside pieces (radiators, etc.) and pretty soon you'll be ready for painting. Once that's accomplished and the decals are on, and then follow up with the smaller pieces - undercarriage, etc. - and you'll add a Yak-7B to your shelf in no time.