Revell 1/24 VW New Beetle Tuner
By Greg Plummer
 |

 |
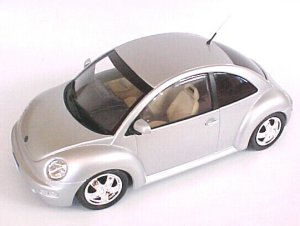
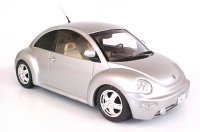 As they did with the new Mini and the BMW Z-8, Revell of Germany made the molds for this glue-together kit of the new Beetle. Revell (of the U.S.) added a couple of extra parts to make the "Tuner" version shown on the box top, including lowered suspension parts, air dams, and a spoiler. Also included is a large decal sheet for the custom graphics. Like the other RoG car kits of late, the model has a one-piece chassis, a fairly well done interior, and a somewhat softly molded body with heavy parting lines and bits of flash. Even though I've only seen photos of Tamiya's New Beetle model, I'm pretty sure the molding is of a higher quality - but we're not reviewing that kit here.
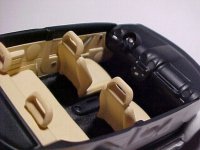 Car models usually start with the engine assembly but, since there is no engine in this kit, we'll go on to the interior. The instructions call for a gray colored stock interior or orange (!) and white for the Tuner version - I went somewhere in the middle and painted the major parts in a pale tan. The dash unit, parcel shelf, and upper side panels were airbrushed a very dark gray, and the floor was covered in the same color using Detail Master flocking. The tiny instrument panel decal was cut out and glued directly into place and the rest of the pieces were assembled. Knobs and handles were picked out in chrome silver for visual interest. Everything fit together fairly well and the end result looked good. The interior unit was then glued to the chassis pan.
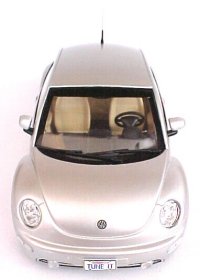
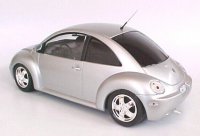 One popular customizing trick these days is to install "clear corners", or marker and tail lamp lenses that are clear instead of being tinted red or orange. Tinted light bulbs provide the correct color when lit. Since the marker lamps are molded in clear in this kit, it was natural to reproduce this custom feature. Small dots of clear red and orange paint reproduced the bulbs and a coat of flat lacquer on the inside of the lenses prevented them from being unrealistically too clear. The results were a bit mixed, but clear lenses all the way around looks especially good on a silver car. The best way to reproduce the clear corner look is to use colored scale railroad lenses behind the kit parts but I wasn't about to spend that extra few bucks on this kit. Fast and cheap is the motto here... The headlamps take a bit of test fitting to see how they should be installed but when assembled they look quite realistic.
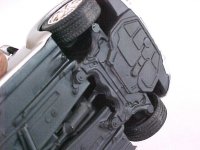 Gluing the tires directly to the wheel wells may not make for a contest winner, but the underside of this model was not a detailing masterpiece anyway.
 Conclusion