Revell 1/25 Pro Finish '63 Corvette Stingray
By Mike Taylor
 |

 |
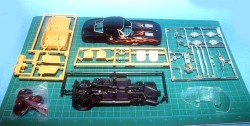 Revell's Pro Finish kit comes with 33 pieces. I believe it's what car modelers call a "slammer" with no engine. This kit is aimed at the novice builder. It's a snap kit but I used glue in some instances, not because I thought it was needed to ensure a good assembly, but more often than not out of habit.
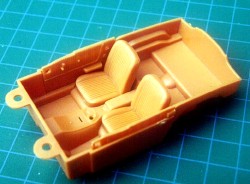 Assembly begins with placing the glazing into the roof of the body, followed by step 2 which is nothing more than putting the backs on the seats. I wasn't happy with the color of the interior as molded and decided to paint it red.
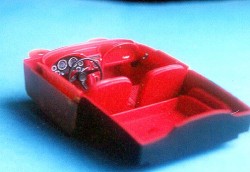 The seats get snapped into place then the separate door panels slip down and lock into place. The interior continues with the dashboard/steering wheel assembly, and finally the stick shift pops in from underneath.
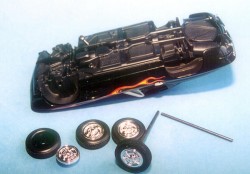 The wheels and tires are nicely molded and fit well. The simple assembly has you placing the wheel into the tire then inserting the axle in one wheel, through the chassis and into its opposite. Once the wheels were attached 2 screws ensure the chassis won't fall from the body.
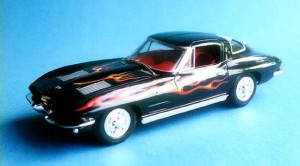
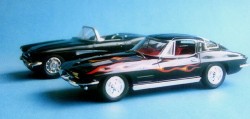 Easy enough for the first time modeler, fun enough for someone that hasn't built a car model in years. I left the mold lines on the body for fear of marring the finish, but they're barely noticeable. The flames are cool but I can't help but think they'd reach a larger market if the flames were offered as a decal option. I'd recommend this kit to anyone that wanted a neat 'Vette and spend an afternoon relaxing and having fun.