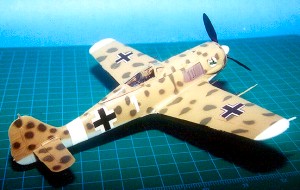
Revell 1/48 Pro Finish Focke Wulf Fw190
By Mike Taylor
 |

 |
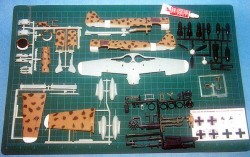 Under the pre-painted parts is the original Monogram Fw190 kit. Underwing stores include air-to-air and air-to-ground ordinance as well as drop tanks.
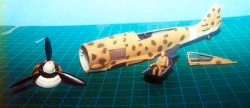 Step 2 is the cockpit. Painted in what appears to be RLM 66 it lacks an instrument panel and the side console details aren't totally accurate but look well after a little drybrushing. A pilot figure is included with an olive uniform and flesh colored face and hands. He needs to be glued in place in this step as he won't fit through the opening once the fuselage is assembled.
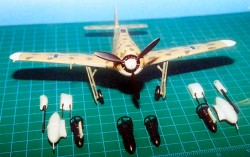 The landing gear can be assembled in either the raised or lowered positions in step 4-wing assembly. Interior portions of the flaps as well as the gear is painted in RLM-02 however the color of the plastic is used for the RLM-76 areas. So decide if you want the gear up or down then add the 2 upper wing halves. Some smoothing of the seams was done at this point and the white tips were touched up with a brush and Model Master flat white.
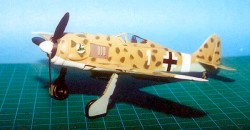 Step 6 is for the suggested armament for this particular aircraft. A centerline 1100lb bomb and two wing mounted 550lb bombs. Ian however decided to assemble the twin 20mm pods as well as the 30mm pods and drop tanks because he discovered they could just pop in place for now without glue (for a little while till the holes wear out).