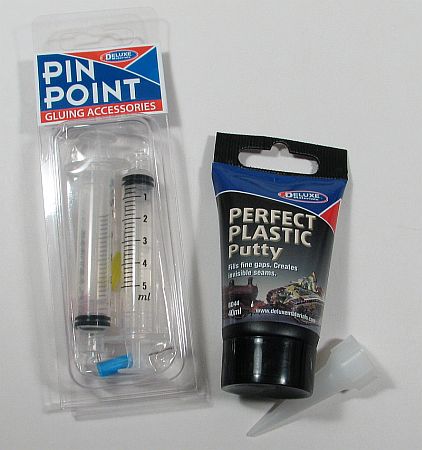
Perfect Plastic Putty
By Matt Bittner
I will be honest. Seam filling is one of the least enjoyable modeling chores (and I do mean to call it a chore) one has to accomplish with modeling. If there is a way to either ensure the seams don't exist, or an easy way to deal with them, then we all want to find those means. Clean-up and sanding are two tasks associated with applying putty that are definitely not on the fun scale.
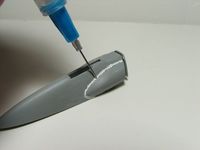 I also need to apologize right up front to Deluxe Materials. I was hoping to use Perfect Plastic Putty (PPP) on a model from start-to-finish and then write up a review, but life (and work) tends to get in the way. More so now than ever before. Those are just my excuses, though, so to Deluxe Materials I say "I'm sorry" for taking so long to write this review.
I've used this putty in a number of instances on every type of seam I have. I've used it to fill gaps; to correct "steps" (where one part doesn't line up entirely with another part, leaving a step); to fill holes; and to blend. With every type of seam it is important to remember that PPP is water soluble. In every stage, even when dry. It is this reason why I've found PPP not something to use to blend in "steps", especially if you wet-sand because the water will remove the putty. If you don't mind dry-sanding it will be okay, but in the end I've found that other putties are best used to deal with steps.
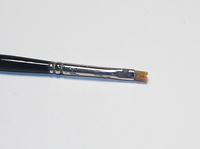 But with most other seams PPP is an excellent product to use, especially if you're just filling in a seam, such as a wing-root-to-fuselage seam. With all the time I've had to use Perfect Plastic Putty I've discovered an excellent way to use it to eliminate these types of seams with little-to-no sanding. The great thing is you don't have to worry about removing the excess putty prior to drying, like you do with epoxy putties such as Apoxie. PPP can be smoothed out after drying, and with the brush I used (pictured) I've been able to eliminate most seams just by using it damp (ensure it's not too wet) to remove the excess. It will take a little more effort to do once the putty is dry, but I think it works great and I've been filling most seam-fills this way since I've had the product.
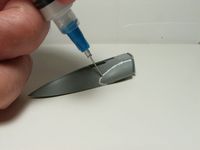
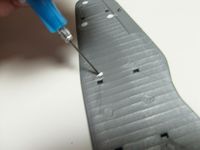 At the same time Deluxe Materials sent the putty they also sent two syringes to apply the putty. This is where the putty really works well. Unfortunately I've ruined the smallest needle since I allowed the putty to dry inside of it (and completely "man handled it" by trying to clear it) but the "medium" size needle works just as well (and is easier to clean out if the putty dries inside). What I have done is added a small amount (maybe in inch or so worth) into the syringe and added the needle. Then I've keep the entire needle in water so the putty doesn't dry inside (and the water does NOT creep into the syringe). Doing this you can keep a syringe of putty close by at all times, and you won't waste as much putty if you're applying it with a spatula or other applying device. Run the needle along the seam, pushing the syringe's plunger slowly, working across the seam, and you'll get a good fill all the time.
 Do I recommend this putty? You bet! It's another great tool to have in your modeling tool box. However, I also don't consider it a be-all, end-all putty, so will still use my other two putties for other purposes (Apoxie is my other primary putty, while I still use – from time-to-time – an auto-body putty for multiple applications) such as working on correcting "steps" or needing multiple applications of putty to "fix" or "add to" pieces. But when it comes to filling simple seams – especially 90 degree ones – Perfect Plastic Putty is a great putty to use. Especially since you can smooth it out with little-to-no sanding. Just be aware that even when it's dry is still water soluble. Deluxe Materials provides an excellent YouTube clip on one way to use their putty.
Huge, HUGE thanks to Deluxe Materials for sending the putty to review, and my sincere apologies for taking so long to write this review.
