Roden 1/144 Douglas DC-3
By Matt Bittner
Introduction
Not much truly needs to be said about the Douglas DC-3. When it came out years ago, it was considered the best in its class and there are examples still flying to this day. It was considered important enough that multiple countries flew her, and the Soviet Union copied her into the Lisunov Li-2. It held up to multiple punishments and was put into use by the U.S.A. military as the C-47. After WW2 it was turned into the first gunship "Spooky" for the Vietnam War.
The Kit
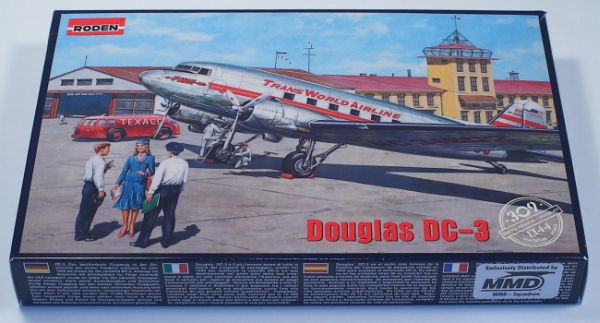
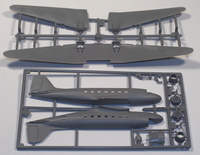
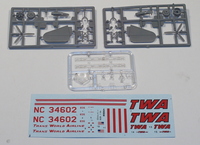
 The Roden 1/144 Douglas DC-3 consists of 37 pieces of gray, injected plastic and a sprue of six clear. There are a few pieces that are meant for other versions of the aircraft not used, such as the cargo door of the C-47. Decals are for only one aircraft, a late 1930 TWA-flown bird. The decals appear to be nicely printed and in register, and hopefully will respond well to the typical decal treatment.
Construction starts with opening holes in the top of each fuselage half for a horseshoe and pole antenna, followed by the addition of the strip of clear windows for the main cabin. At this point the horizontal tail pieces are also glued to the fuselage haves. The instructions then move to building up the engines and main landing gear. Next up is gluing the wing pieces together, followed by adding the built-up engines and main landing gear to the built-up wing. I'm hoping to be able to leave off the landing gear until after painting, to avoid breaking those off. Once the wing is all built, then it is attached to the fuselage after the fuselage halves are glued together. This step of the instructions also have you add the fuselage-top antennas, but I would definitely leave those off until the very end. Now that you have a completed airframe, painting can commence.
The scheme provided for in the kit is for a natural metal finish aircraft so keep this into consideration while finishing the model.
Comparison
 When comparing the Roden kit to the Minicraft one the most noticeable difference is the vertical tail. Minicraft's has always been too small, while the Roden's tail looks much better. I don't have plans to compare them to, but when looking at photos on-line, it appears the Roden is more accurate in that area.
Other differences include full cabin clear glazing (the Minicraft kit relies on decals to supply the cabin windows) and a better "feeling" to it. Some might consider the Roden kit to be a little "heavier", but the Minicraft kit I have some of the plastic on the wings appears to be flaking away. Sure, I could have a bad Minicraft kit, but I can only compare what I have.
In case anyone was wondering, unfortunately - as this Roden kit stands - the engines are the same as they are in the Minicraft kit. I know there were more types of engines used than just the one but with this release from Roden, they're the same as the Minicraft.
One area that I like the Minicraft kit better is in the panel lines. They're a little bit more "refined" and maybe even too-scale than the Roden kit. Granted, that's not to say the panel lines are anything like the Trumpeter 1/144 F-86, but the Minicraft kit's are just a little more fine. Don't make this disuade you from picking up the Roden kit, though. It's an excellent kit.
Unfortunately I can't provide pictures because I already started the Minicraft kit years ago.
Conclusion
All in all the DC-3 was in much need of a new-tool, 1/144 model. Thankfully Roden has delivered and will hopefully continue releasing various DC-3 variants. So far we have a C-47 and a DC-3; could a Li-2 not be far behind?
My thanks to Squadron Shop for sending this in to review.
