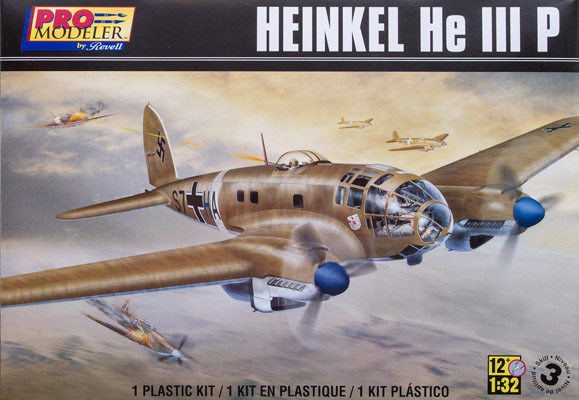
Revell Pro Modeler 1/32 Heinkel He 111P-1
By Chris Banyai-Riepl
Overview
 The Heinkel He 111 was one of the two main twin-engined bombers of the Luftwaffe during the Second World War. Made famous during the opening stages of the war and during the Battle of Britain, the Heinkel He 111 remained on the front lines throughout the entire conflict, amassing an impressive combat record. While more attention has been given to the later He 111H variants in the model realm, some of the more interesting markings can be found on the earlier He 111P, which is the subject of this new Revell kit.
The Kit
 When I opened the box, the first thing I was struck by was the size of this. Considering that it is 1/32 scale, I was expecting something larger. That's not to say that this isn't a big kit, it is, but it really goes to show how small the He 111 was compared to, say, the Lancaster or B-17. So, on opening up the box, you're greeted by a big collection of plastic parts held in a very sturdy box. The plastic is molded in a light gray, which really shows off the detail present in this model. That detail is extensive, as we shall soon see. The decal sheet provides three color schemes, and finally, the instructions are quite thorough and provide four pages of parts identification. For example, they call part 277 the Oxygen System. While labeling every part might not be necessary, I do wish more manufacturers would take this step, as it helps in identifying some of the more uncertain parts, and knowing their function can help in painting and weathering.
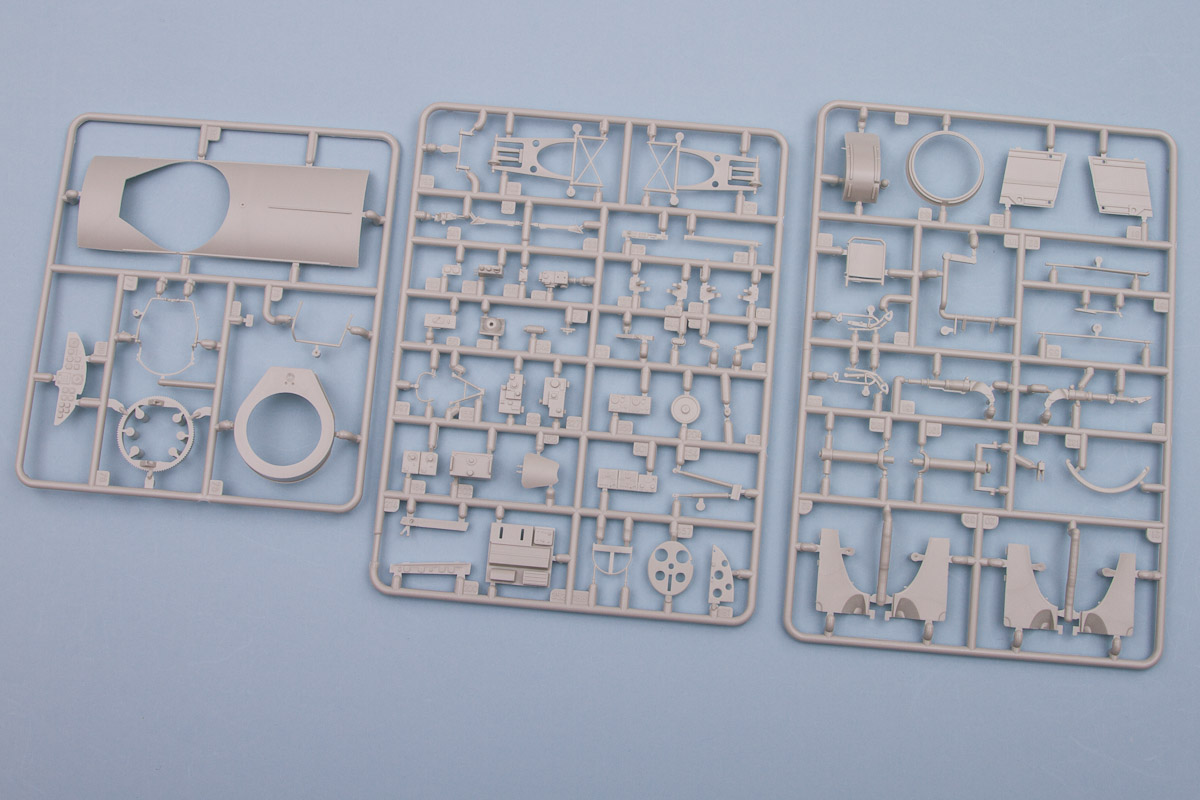
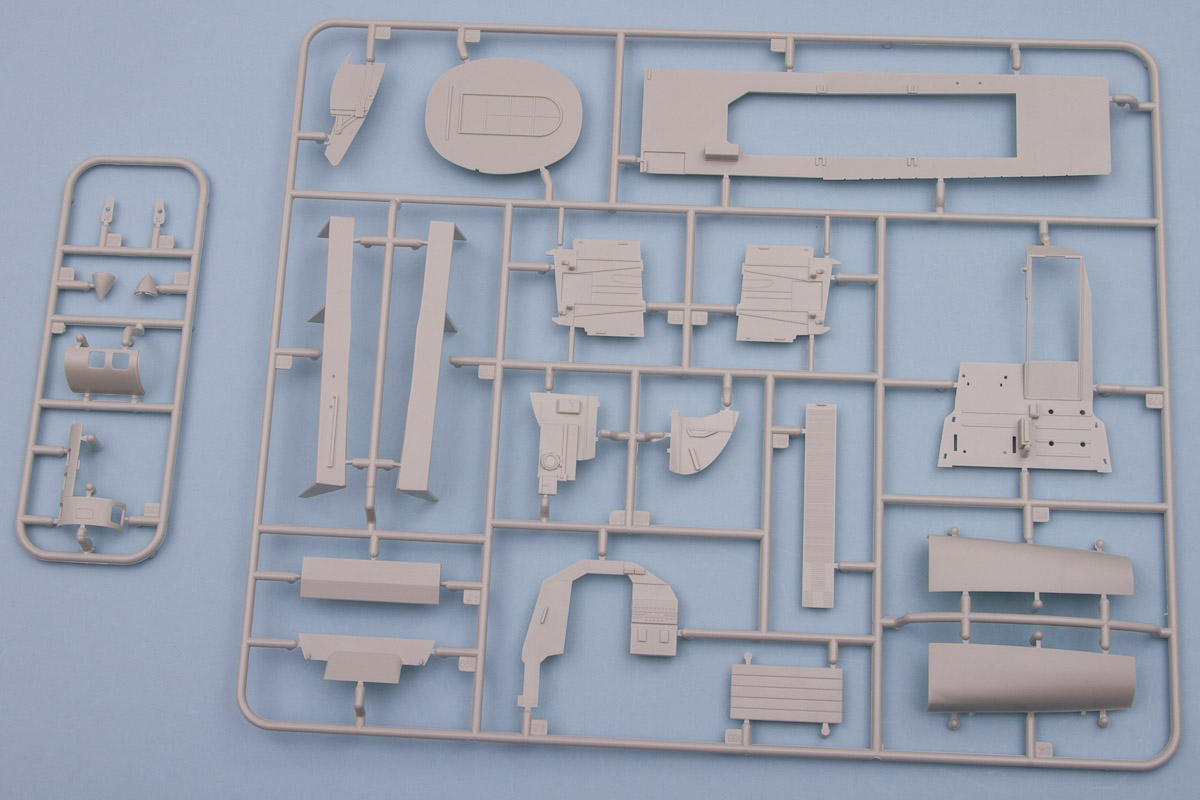 Starting with the interior, to give you an idea of how extensive the detail is, nearly half of the instructions are devoted to building some part of the interior. You have the cockpit, the bomb bay, the gondola, and the rear fuselage section all having some sort of interior detailing. How much of this will be visible when finished is uncertain, but in 1/32, the various turret openings and windows are large enough to show of quite a bit. The big greenhouse nose of the He 111, at the very least, will show off just about every corner of the cockpit, so it is good that there is extensive work provided here. You get such fine work as individual rudder pedals made up from three pieces, a side console with throttle controls made up from eleven pieces (including six separate individual knobbed levers), and detailed seats with separate frames.
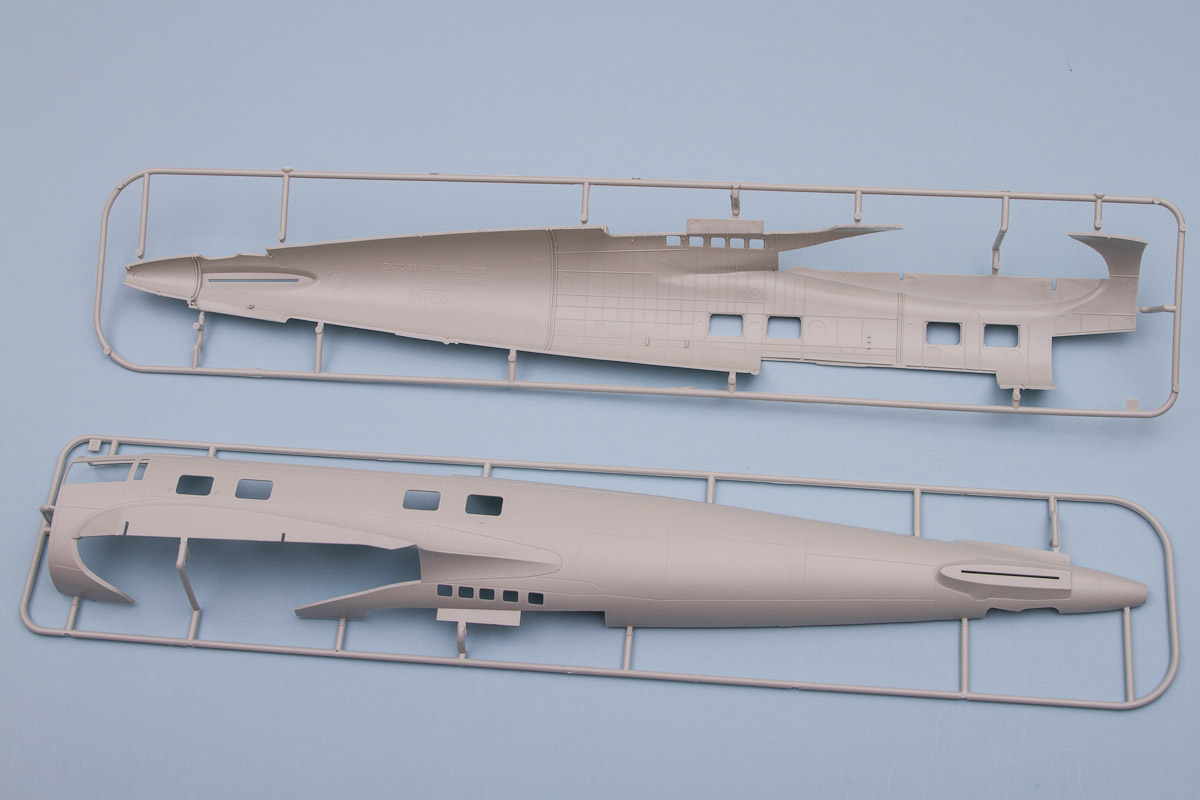
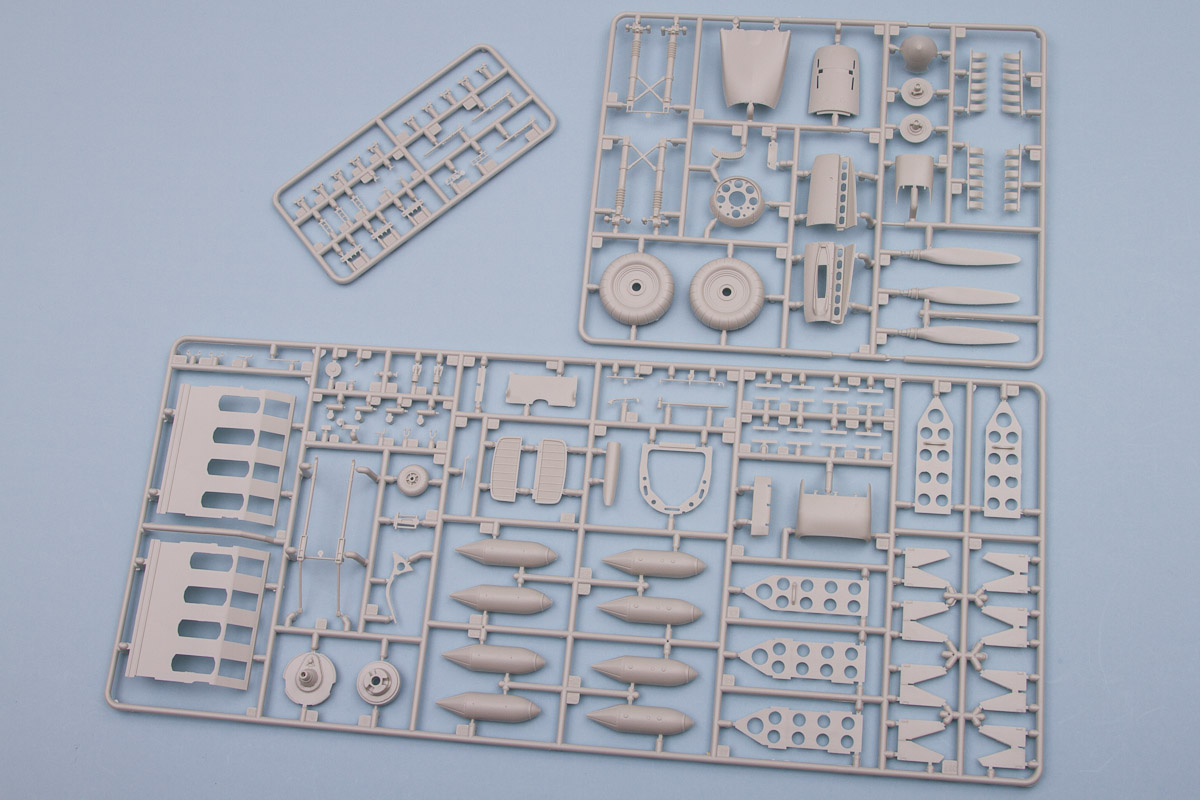
 Moving to the rear section, the one-piece floor has separate side shelf pieces, on which fit the various radio pieces. There is also a three-piece assembly that fits onto the left side that I was uncertain of its function. Taking advantage of the detailed parts description in the first four pages of the instructions, I turned to those pages and discovered that those parts are not identified. So, while Revell did go to great lengths to identify most of the parts, there are still some that are not labeled. Sandwiched between the rear section and the cockpit is the bomb bay, and this features the vertical bomb racks that the He 111 employed. These are made up from separate sides and individual bulkheads separating each slot. The completed assemblies (there's two of these) then fit onto the one-piece lower wing center section. With the tailwheel bulkhead and details in place, the fuselage can go together (after you've inserted all the separate individual windows, of course).
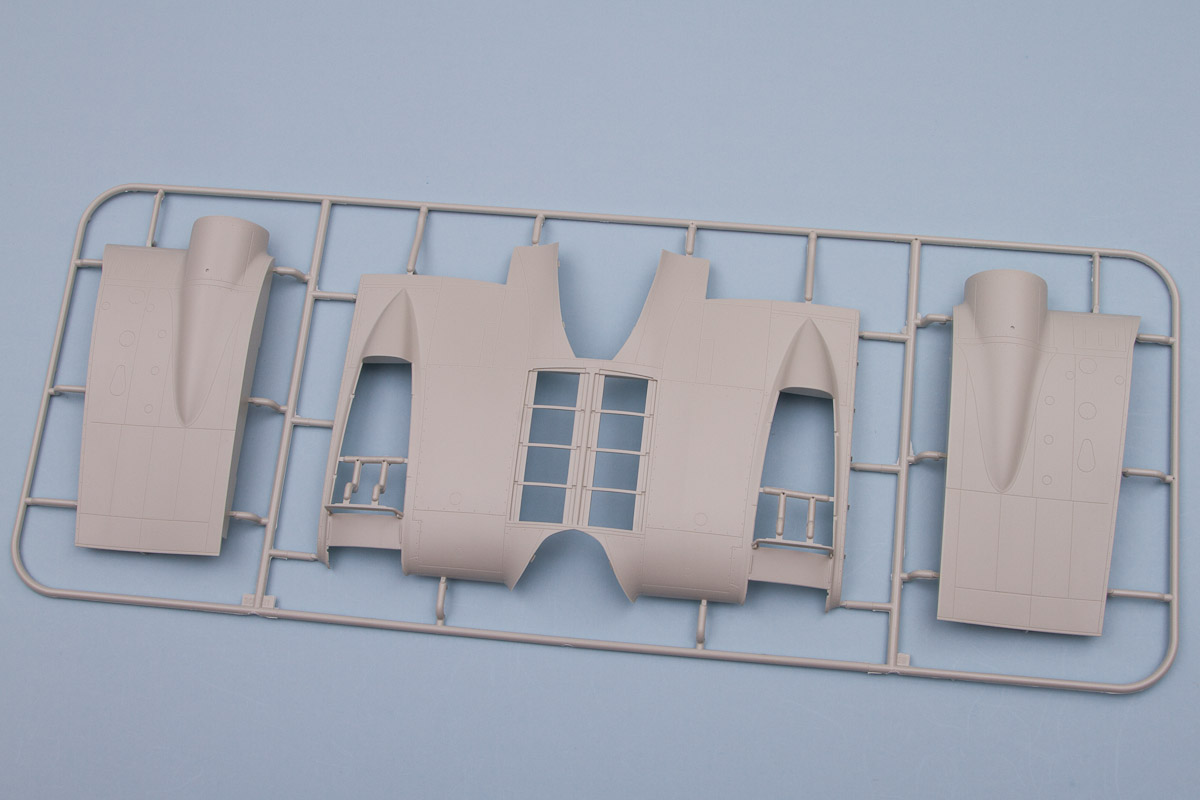 That wing center section incorporates the engines. These are quite nicely done, although be ready to put a bunch of parts together on these. First up are the exhausts. These are split into upper and lower halves. At first glance this seems like an odd way of doing them, but that mimics the original construction, and these exhausts should feature a prominent weld seam along the sides. This assembly method should give you nice hollow exhausts with that seam effect, better than if they tried to mold them as one piece. The nacelle itself is made up from four sides and a separate front piece. A complex assembly, but it ensures crisp detail on all sides.
 Further back on the nacelle, the main wheel well is similarly complex in assembly, with four sides and a floor (ceiling?) piece. This completed well then fits onto the lower wing center section, while the engine nacelle part fits onto the upper wing piece. With that all together, there are more parts to fit on in the form of side nacelle pieces that wrap around the lower wing and fit behind the exhausts. Finally, there is the lower radiator, which is made up from two pieces for the radiator itself, a one-piece scoop, and a separate adjustable section. With that done, the wing center section can be attached to the fuselage.
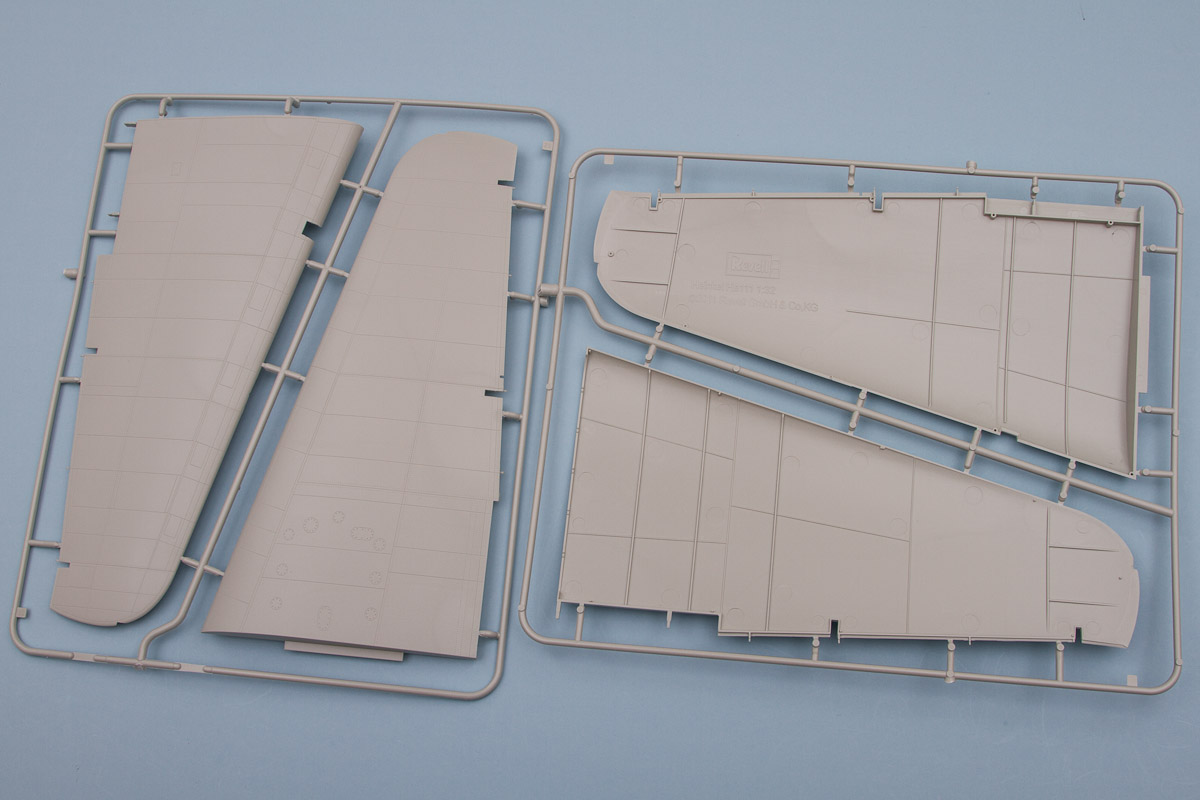
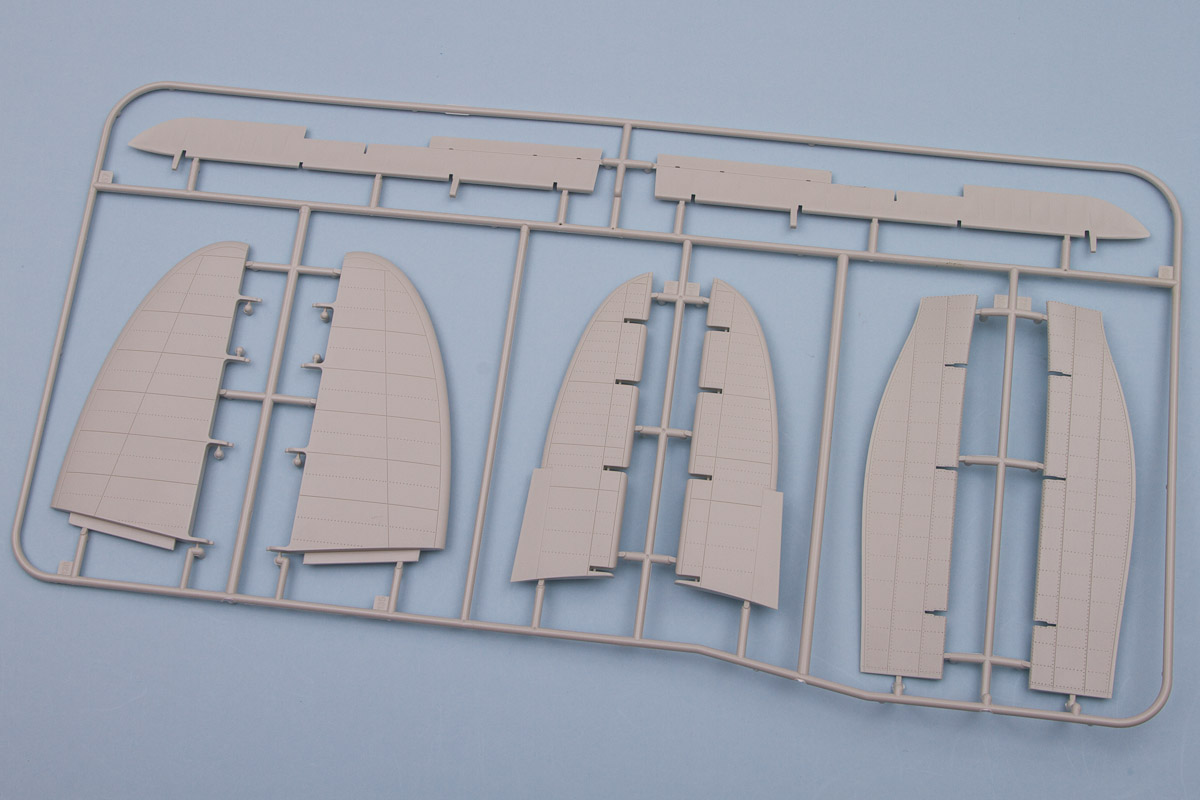 For the outer wings, these are split traditionally into upper and lower halves, with separate ailerons. There is bracing molded into the wing pieces to help prevent warpage, and the connector to the wing center section looks to be quite sturdy. There won't be much of an issue with strength here, I think. Also separate are the flaps, which make for a nice touch as those often were drooped while the plane was on the ground. The other flying surfaces are all separate, with the vertical and horizontal fins all featuring separate control surfaces. The rudder control horn is molded as one piece, done so as the rudder is designed to be moveable. A similar story is with the elevators, but the ailerons and flaps will need to be glued in place.
 The landing gear is both very sturdy and very detailed. The struts are split into front and rear pieces and look strong, yet with enough flex in them for you to spread apart to fit the wheel in place. I would recommend doing that before attaching the support struts, which is opposite of what the instructions indicate. Trying to get those to fit in after all those parts are glued in place will likely result in something popping off. The wheels, both main and tail, are split into right and left halves, and have very nice hub detailing.
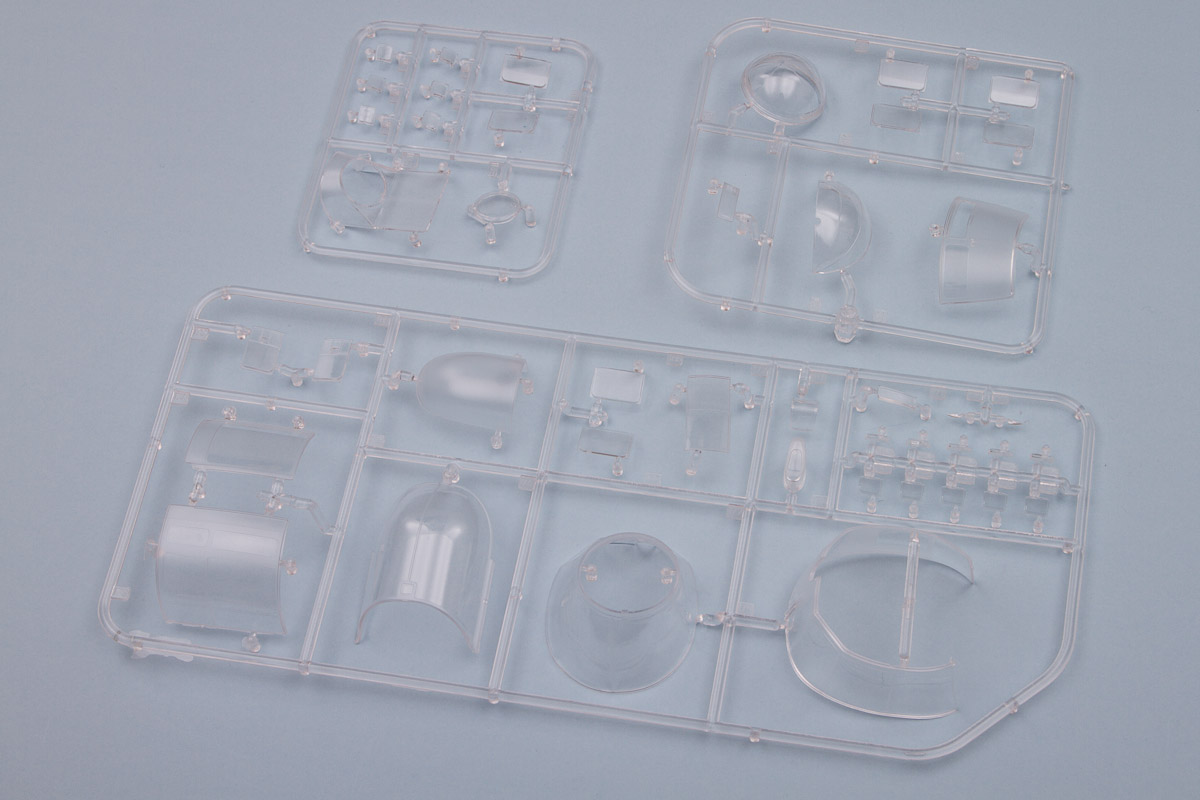 A word on the clear parts next. These are quite extensive, and while most of the parts are simple to put in place, some, such as the front end, get rather complex. For all the fuselage windows, since these are separate I would recommend masking them before gluing them in place. That way you can get a great edge to the mask and not worry about marring the surface. As these parts fit exactly into their opening, there is no need to mask the inside. The same is not the case for the nose and gondola pieces. For these, it will be necessary to mask the inside and outside in order to get a good looking interior and exterior finish. Hopefully someone like Eduard will come out with a good set of masks for just that purpose. On the nose section, this is built up from five main clear pieces, so be ready for some careful assembly here. Hopefully it will all go together smoothly and there won't be any need for filler.
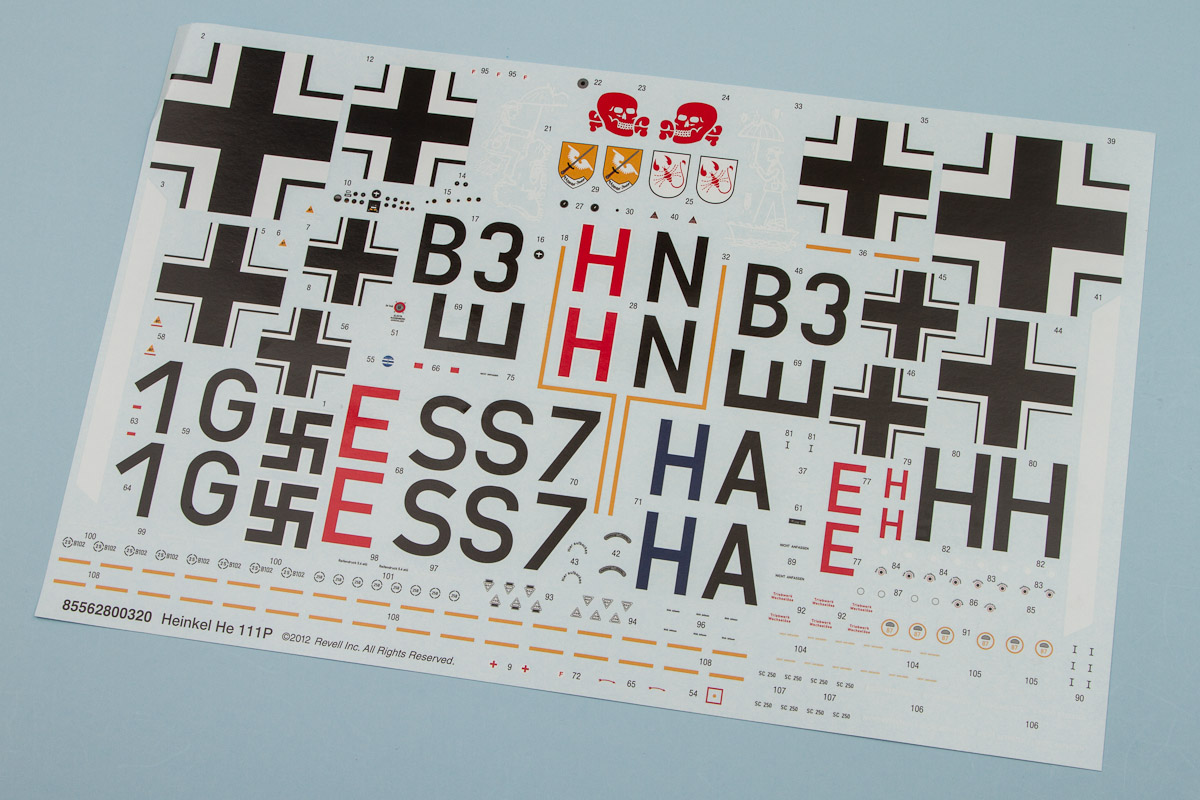 The decal sheet is quite large, as is befitting a big bomber, and there are three schemes provided. Two are in the standard RLM 70/71/65 splinter camouflage, while the last one is in the North Africa color scheme of RLM 79 over RLM 65. The first option is 1G+ES from III./KG 27 "Geschwader Boelke" at Delmenhorst, Germany in 1940. This plane features large white artwork on the rudder and the unit emblem on the nose. The second option is B3+HN from 5./KG 54 "Totenkopf Geschwader" at Coulommiers, France in 1940. It has the large KG 54 emblem on the forward fuselage and a white diagonal fuselage stripe. Finally, the desert example is S7+HA from StG/3 in North Africa. It has a white fuselage band and white wingtip undersides, with the unit emblem right behind the cockpit windows. The decals are quite nice and feature a comprehensive set of stenciling, which are marked out in a separate diagram in the instructions.
Conclusion
If you're looking to add a bit of interesting background to your 1/32 Bf 109 collection, this would be it. Okay, it's a rather large background, but it will definitely look great finished up in Battle of Britain markings with a few Bf 109Es sitting next to it. While you might have other options for a 1/32 Ju 88, this is the only game in town for a 1/32 He 111. Luckily it's a very good one, and will build up into a nice replica of the famous Heinkel. My thanks to Revell for the review sample.
