Revell 1/77 Ford Tri-Motor
By Matt Bittner
Introduction
When one thinks of classic kits, one thinks of the likes of Forg, Airfix and Matchbox. However, in that same sentence should also be one of the first model companies from The United States, Monogram. While still not around in name, they are in spirit - Revell bought them out years ago, but still uses the old Monogram location in Illinois.
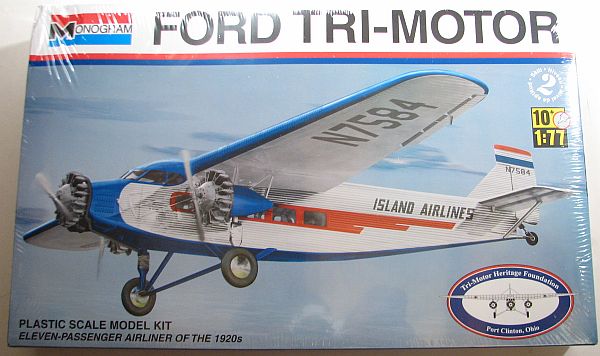
When one thinks of classic kits, one should also think of the Monogram Ford Tri-Motor, first released in 1956. It has been re-released a number of times, and thankfully Revell has done so again, this time with some rather unique decals.
The Kit
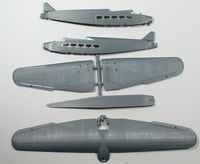
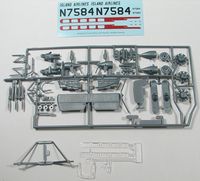
The Monogram 1/77 Ford Tri-Motor consists of 40 pieces of gray, injected plastic, and a clear sprue with four pieces on it. Decals are for only one scheme - that of Island Airlines of Port Clinton, Ohio. While the airlines used to fly Trimotors to the islands of Lake Erie, they had stopped in the late seventies. Growing up in the area, I remember a few times going to the air show in Cleveland, at Burke Lakefront Airport, and seeing at least one of the three Tri-Motors Island Airlines used to fly. It's great to see the Tri-Motor Heritage Foundation is restoring one of those Trimotors back to flying status. In fact, all proceeds of the sales of this rendition of the kit will go direct to the restoration.I think I built this kit in my youth - at least I know I built a Trimotor. So this will be a trip down memory lane in two instances - the re-building of the kit, and finishing it in the Island Airlines livery.
Construction starts with building up the fuselage. Since there is no cockpit to this kit, you first add the strip-windows to both halves, then glue the halves together. Once that is accomlpished the horizontal tail piece is slid into the groove in the fuselage, followed by their sturts. After that you glue the main landing gear and rudder/tail wheel assembly to the fuselage.
Next up is gluing the wing halves together. With care you should be able to glue them together with minimal seam work - trying to work on the seams on the leading edge of the corrugated wing could be problematic. After the wing halves are dried together, then you add the window piece to the connected upper-forward-fuselage piece.The next step is gluing the fuselage bottom to the main fuselage halves, trapping the main landing gear. As that is drying the instructions have you build the two engine nacelles for the wings, and then add the wing and main windscreen to the fuselage.
The last steps to the instructions are best left until after painting. Those steps are adding the nacelles - and their struts - to the wings, followed by the engines to the nacelles. The after adding the strut connecting the landing gear to the nacelle, the wheel is added to both sides, followed by the propellor to the engines, then the engines to their proper places (for the nose engine, it's to be added only after the exhaust collector is painted and glued on). You now have a Ford Tri-Motor
Conclusion
While not specifically 1/72 scale, it's definitely "close enough" and will look great if finished. I don't know of any aftermarket for this kit, so you're probably on your own, especially if you want to add a cockpit. With or without a cockpit, the kit will look great once finished, especially give the Island Airlines livery.
I definitely want to thank Revell for sending the kit to review.


