Revell 1/72 Boeing B-17G
By Matt Bittner
Introduction
Since there are plenty in print – and on-line – references about the Boeing B-17 Flying Fortress, I will forego the rest of this section to concentrate on the kit's contents.
The Kit
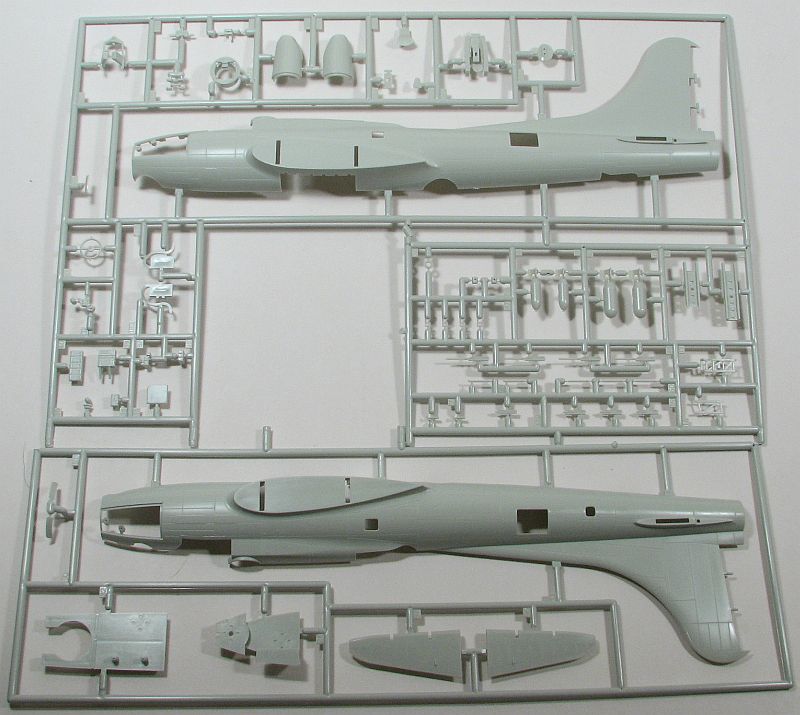
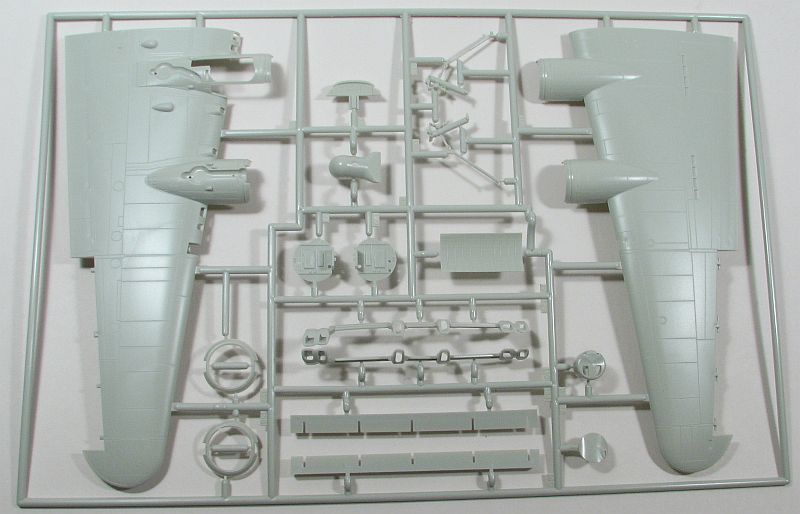
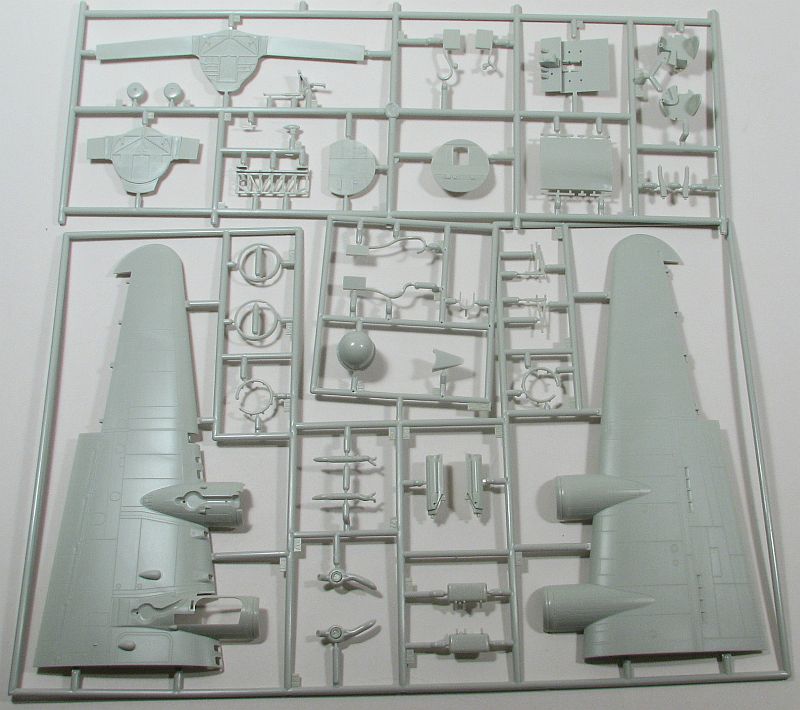
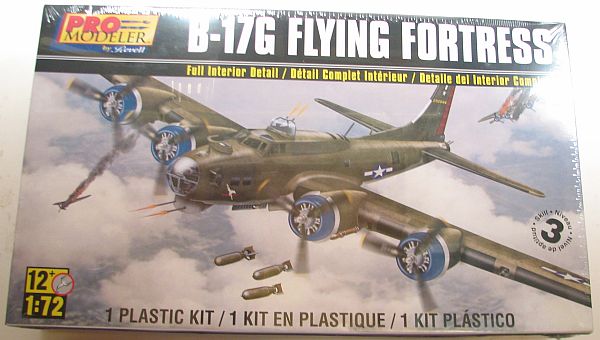
Even though the kit has been available for almost a year now, it was just recently delivered to one of the IM "offices" for review. There have been plenty of comments about the kit already in the forums, so I won't go into accuracy or anything like that (it will definitely look like a B-17 when built, and it doesn't have the problem of the Academy kit with its lack-of-wing-dihedral).The kit builds into the B-17G as released now, but the way the kit is engineered other versions are possible. The next logical release would be a B-17F given the amount that were built during WW2. Here's hoping Revell releases that version in the future.
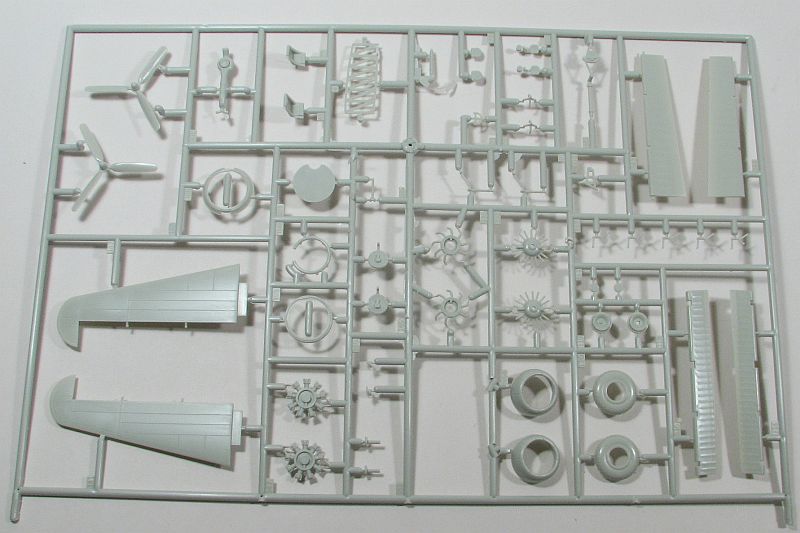
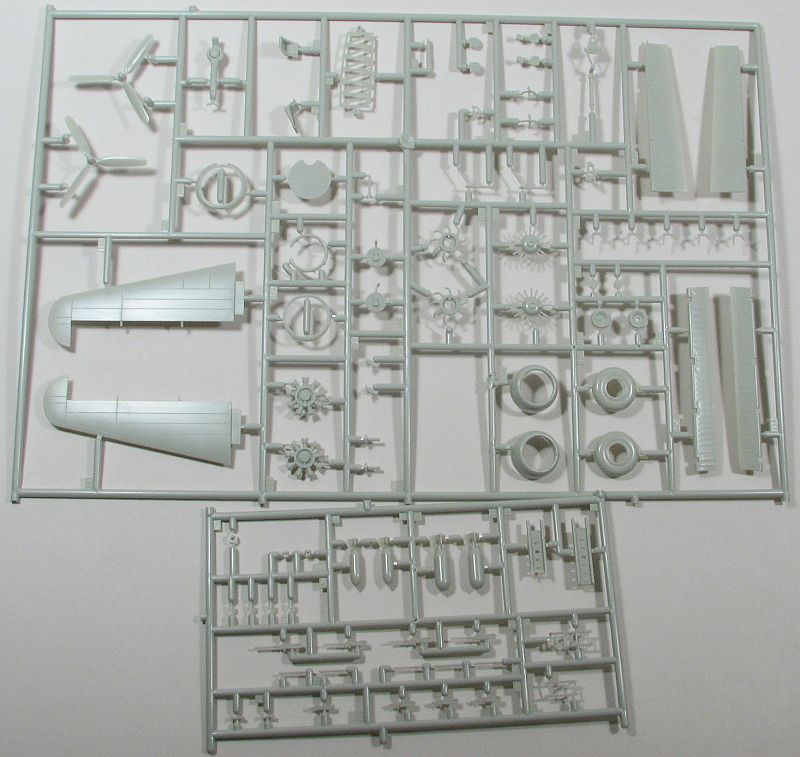
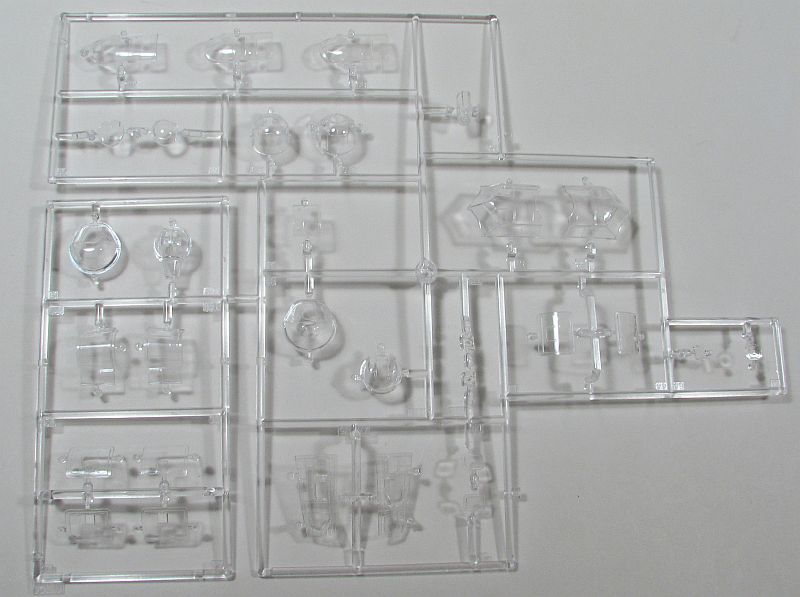
There are 249 amount of injected, gray plastic pieces with a sprue of 31 clear. There are decals for three versions:
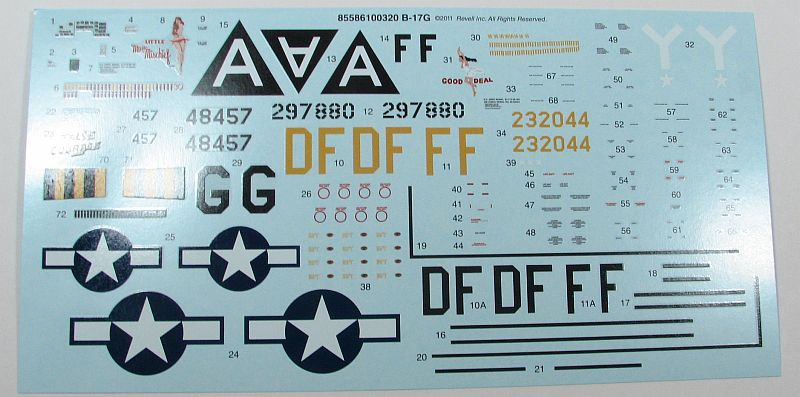
"Little Miss Mischief", B-17G-35-VE of the 324th Squadron, 91st Group with the front fuselage half and wings in a Natural Metal Finish (NMF) with the rear fuselage as Olive Drab (OD)
"Good Deal", B-17G-35-BO of the 815th Squadron, 483rd Group finished in OD over Neutral Grey with a red rudder and blue on the front of the cowls
"False Courage", B-17G-65-VE of the 7th Bomb Squadron, 34th Bomb Group in overall NMF and a red fin
About the instructions, pay close attention. Revell broke them up by providing "magnified", smaller steps that are part of a larger instruction. You'll want to watch these closely because they need to be accomplished prior to the larger step being finished. In addition, be aware that painting and decaling instructions for all internal bulkheads are found close to the end of the instructions. Those definitely would have been better tied to the instruction step they're meant for, but "forewarned is forearmed". Construction starts with the bomb-bay. The rails and such are built up before the bombs are added. Paint the superstructure then paint and add the bombs. The bomb bay is now added to the front and rear bulkheads, after smaller parts are added to those. After the bulkheads are attached to the bomb bay then the rest of the structure is assembled. Once it is all finished then set it aside until later.Now the rest of the interior is worked on. First is the main cockpit followed by the bombardier/nose gunner area. After these two are built, then these and the bomb-bay are added to the starboard side of the fuselage. The next step is more interior pieces, such as adding the bomb sight as well as assembling the navigator/radio operator section of the interior, and then adding it to the same fuselage half.
The next instruction step is where the options start to come into play. Dependent on which version is being modeled is how you base which waist gunner windows to add the fuselage halves. The B-17G-35s of the first two options have one set of windows, while the B-17G-65 uses the other set. If you're not using the kit decals then you'll need references for this area so you can build your particular B-17 the correct way. Once the windows are added then the guns and gun belts and feeds are added to them as well.From here one assembles different details. First the ball turret is assembled followed by the upper turret. Then you'll put together the separate tail which includes the gun and other pieces for the tail gunner. Once all these pieces are put together then each subassembly is added to one fuselage half and both halves are glued together.
Now that the fuselage is put together, construction continues with the rest of the kit. In the next step you add the separate rudder (and it appears it can be made to move, if so desired) as well as the start of adding pieces to the wings. However, here's another catch with the instructions. After the instructions have you add pieces/parts to the inside of the nacelles, then it has you cut the flaps away if you want to display them deployed. However, it would be far easier to cut the flaps away if all these pieces aren't in place to begin with. So, jump to the bottom of the page and look at those sets of instructions before continuing with the steps on that page.Keep adding parts to the inside of the wings and nacelles, and then the wings can be glued together, which includes adding the separate ailerons. Having the control surfaces separate is a huge boon – how many times have you wanted to pose the control surfaces but were unable because they were molded in place with the rest of the parts. With the Revell B-17 staging these surfaces is easy.
Now that the wings are together and the horizontal tail pieces are in place, attention moves to the engines. There are four parts to each engine's rear section and it's important to pay attention to the instructions to be sure you have the correct exhaust collector attached to the proper engine. Once the engines are painted and assembled, they're then added to the wings. After the rear parts are glued to the wings then the forward cylinder pieces are added, ensuring the prop shaft is captured between the two and with the proper attention, could be left unglued so the props will spin once attached.The next step is the addition of the main landing gear. However, I would leave those off until after painting. Even so, the last section of this page of instructions is attaching the wings to the fuselage. Now you have what truly looks like a model of a B-17G.
The last two pages of the instructions have you add items that are best left off until after painting – and even after decaling. Those include adding the separate flaps (if you went that route) as well as the machine gun barrels for some of the turrets as well as the propellors.
Conclusion
The Revell 1/72 B-17G is an excellent model of the B-17G. Some might complain about the somewhat too-deep panel lines and there might be a couple of small shape issues, but when built there is no doubt it's a model of the B-17G. It's definitely far more detailed than the Academy kit and doesn't suffer from its lack of wind dihedral. There are a lot of options for B-17Gs so you could build a lot of B-17s before you come close to even putting a dent in operational B-17s.
Many, many thanks to Revell for sending this awesome kit in for review.

