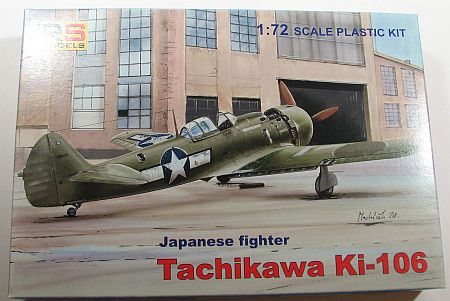
RS Models 1/72 Tachikawa Ki-106
By Matt Bittner
Introduction
Since I have no references at all on the type, I'll just included what's at the beginning of the instruction sheet:
"On 8 September 1943, instructions were issued to redesign the Ki-84 for wooden construction nbecause of the increasingly critical light alloy supply situation. The task of redesigning the airframe was assigned to the Tachikawa Hikoki. Assigne the designation Ki-106, the wooden fighter was intended to utilize a high proportion of semi-skilled labour in its construction and to be broken down into components to be built by small wood-working shops grouped around designated assembly points. Prototype construction was sub-contracted to Ohjo Koku, but the first of three prototypes was not flown until July 1945. The external characteristics of the Ki-84 were faithfully retained by the Ki-106, apart from some minor revision of the vertical tail, the first prototype being powered by the 2,000 hp Nakajima Ha-45-21 engine and carrying an armament of four 20-mm cannon. Appreciable heavier than the standard Ki-84, the Ki-106 was subjected to various weight saving measures, one of these being a reduction in the armament to two 20-mm cannon, and the second prototype flew with this armament during the last week of the war"
The Kit
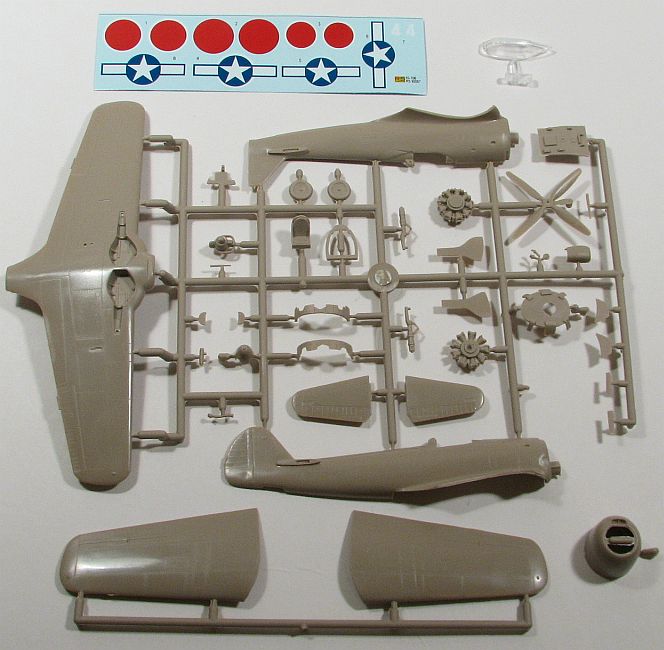
The 1/72 Ki-106 is typical of RS Models. Plastic is first rate and everything needed is included on the single fret. There are 38 pieces on the tan, injected sprue and one clear, injected canopy. Decals are for two versions, one in Japanese markings and the other in US markings.
Unlike most reviews I write, construction on the Ki-106 starts with assembling the engine and cowl. Since the opening in the front of the cowl is small, what's included in plastic is more than enough. In fact, the engine consists of three separate parts, the only thing maybe missing are ignition wires. Once finished, the engine is then glued to the firewall and the rest of the cowl is built up. While the instructions have you mount the prop and spinner now, I would leave those off until closer to the finishing stages.
Now assembly moves to the cockpit. There are five pieces: floor, seat, rear bulkhead, control stick and instrument panel. Coupled with the molded-on sidewall detail there is more than enough detail if closing the canopy. Heck, even opening the canopy it should be enough. The only thing I think is needed are seat belts. Once the cockpit is painted and glued to one fuselage halve, then the fuselage halves can be assembled. The instructions show adding the tail wheel and doors at this time, but again I would wait to add these until closer to finishing the model. That way there's less risk of breaking these off during painting.The wings are now glued together, and consist of a single underside piece, and two upper halves. I will actually add the underside to the fuselage first, and then try to get a close fit on the upper pieces where they fit into the fuselage. Hopefully that will alleviate and seams.
Next step in the instructions are adding the horizontal tail surfaces as well as the canopy. The last step on the instruction sheet has you add the landing gear and pitot tube to the wing, which is still not glued to the fuselage. Odd. Either I'm missing a page of instructions are RS left it out, because there are no final steps showing the gluing of the wing to the fuselage, nor the addition of the cowl, either. If I'm not missing an instruction page, then maybe RS figures modelers are advanced enough to figure out for themselves how to attach these two to the fuselage. I personally don't have a problem with a missing page because those steps aren't difficult.
Conclusion
Another decent model from RS. Their 1/72 Ki-106 should be a quick build, if not going the route of super detailing.
My thanks to UMM USA for the review kit.

