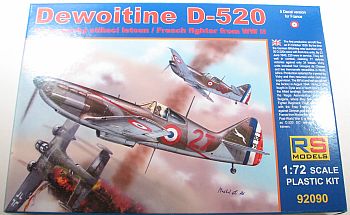
RS Models 1/72 Dewoitine D.520
By Matt Bittner
Introduction
The Dewoitine D.520 was a very good fighter at the time it was flown operationally. There weren't that many when Germany invaded, but the production never ceased, with over 200 examples being made before the end of hostilities.
The Kit
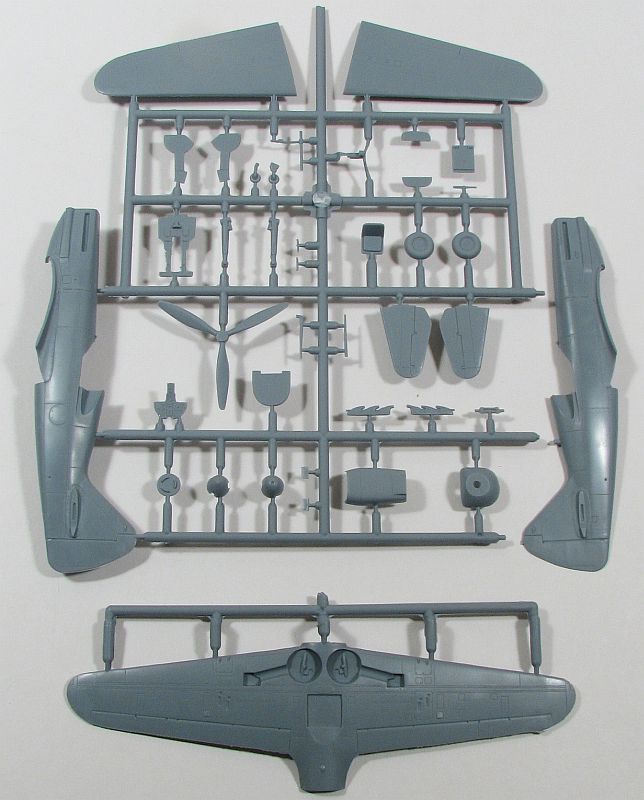
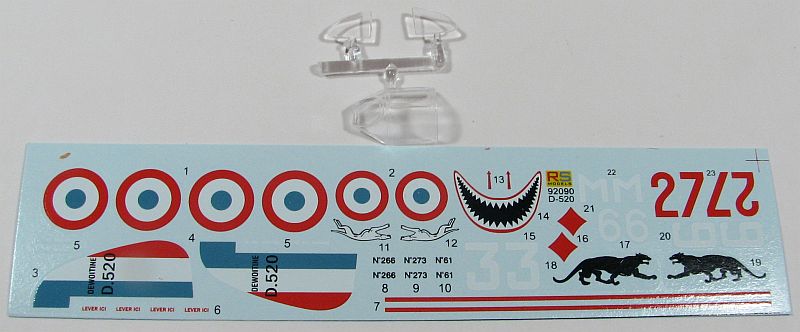
The RS Models 1/72 Dewoitine D.520 consists of 38 pieces of gray, injected plastic and three clear. In this release - which consists of nothing but French markings - decals exist for the following aircraft:- D.520 flown by Col. Václav Cukr of 4. Escadrille GCII/3, France, June 1940
- D.520 flown by Col. Mieczyslaw Mümler of 3. Escadrille GCII/7, Ounans, June 1940
- D.520 "6" flown by S/Lt. Rene Pomier-Layarques, 4. Escadrille GCII/7
- D.520 "3" (no.273) flown by A/C Denis Ponteins, 4. Escadrille GCII/7, Meaux-Esby, June 1940, unique markings include a "shark mouth"
- D.520 C1 (no.207) flown by Adj. Chef M.E. Leblanc, 5. Escadrille GC II/5, Relizanne, June 1940
Decals are nicely done, in register and the colors are excellent.
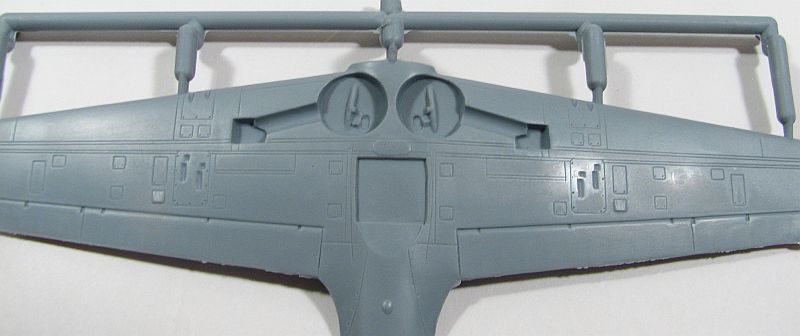
Construction starts with the cockpit, and it's very nicely done. The only things I can think of that are needed would be a new HUD as well as seat belts. Otherwise out-of-the-box the cockpit is pretty complete. Once the cockpit is assembled and added to one fuselage half, the fuselage can then be glued together. However, it would also appear you could put the cockpit in from the wing cut-out. If that's the case then that makes it even easier to assemble.Now that items are in and on the fuselage you glue the wings together, glue that to the fuselage and add the horizontal tail pieces. It might be better to glue the lower wing-piece to the fuselage first to ensure a good join at the wing root on the upper pieces. Something you might want to try before committing to adding glue.
The next step is where you add the landing gear and the radiator - definitely add the radiator now and wait on the landing gear until after painting. The instructions show two types of tail wheel and a separate antenna at the rear, fusealge underside. Unfortunately that's all the instructions show - it doesn't state for which aircraft/scheme which tailwheel to use. Same with the extra antenna. You'll need further research to be sure.The same goes in the next step, which has you add the separate nose, prop, spinner (two types) clear pieces, pitot and antenna mast. There is nothing in the instructions on which spinner to use so again, further research is required. Plus you'll probably want to leave the antenna, prop/spinner and pitot off until the end.
Conclusion
An excellent kit. Sure, there still is the Hasegawa kit, but from what I can tell the RS kit is a little less expensive. Plus, it has more detail. More in the cockpit and more in the wheel wells, at the least. Definitely recommended.My thanks to UMM-USA for supplying the kit to review.


