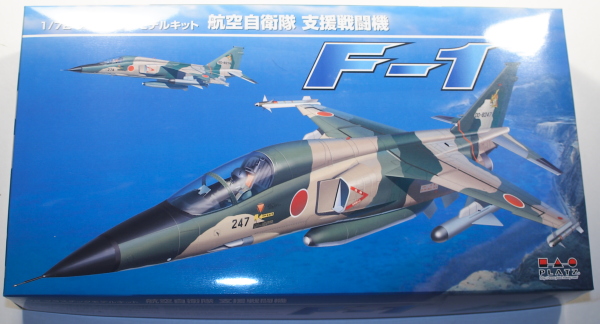
Platz 1/72 Mitsubishi F-1
By Matt Bittner
Introduction
 The Mitsubishi F-1, derived from the two-seat T-2, was the first post-WW2 jet fighter developed by Japan. They saw a need for a fighter/attack aircraft, and decided to base the single-seat F-1 on the already started T-2 trainer. To accomplish that, they changed the rear-seat canopy to an actual, unglazed hatch and took out the rear seat replacing it with more avionics. In addition, they changed the radar and added more hard points to the wing, to carry more external stores. In addition, the fuselage was strengthened to handle the extra load and Vulcan 20mm cannon was fitted to the nose, internally.
The last F-1s were removed from service in 2006, being replaced by the newer, F-16-like F-2.
The Kit
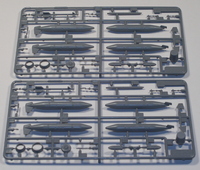
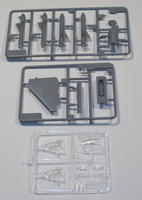
 The Platz 1/72 Mitsubishi F-1 consists of 130 pieces of gray, injected plastic and a sprue of 9 clear parts. It appears Platz will release a T-2, so there are spare parts on one of the sprue for the T-2 release (in fact, if you were to track down an extra ejection seat and the rear, clear canopy (plus decals), you could build a T-2 with this release). The decal sheet is pretty complete, with markings for six different aircraft, but I have the feeling more can be made with decal cut-ups and swaps. All aircraft are camouflaged with Dark Gull Gray bottoms, and the uppers consisting of Dark Green, Dark Green "Pearl" and Raw Sienna. It appears the paints are Gunze matches so plan accordingly. Where the finishing will take a turn towards "fun" is the number of stencils included on the decal sheet. There are a LOT of them – in fact, you will probably spend more time applying the decals than you will with the rest of the build.
 Like all good aircraft models, construction starts with the cockpit. Not only is there excellent molded-on detail, but Platz also provides decals for the instrument panel and side consoles. You can either go the way of painting/washes/dry brushes, or apply the decals over the molded-on detail. After you assemble the cockpit, as well as the rear cockpit "hatch", then glue the cockpit into one fuselage half, glue the halves together, and once the intakes are assembled glue those to the finished fuselage. Note that Platz does not mention the need for nose weight. I'm not sure if it was something that was just left off, or the center of gravity is such that none is needed. The nose does stick past the wing quite forward, so maybe none is needed. Even so, I'll probably put some in regardless just to be sure I don't have a tail sitter.
Now that the fuselage is assembled, turn it over and glue on the bottom pieces; both the main bottom piece and the nose gear well. Before you glue the main center piece, you'll need to open up some holes and slots to fit the weapon pylons in. The last part of construction with this step is the addition of the cannon area.
 The next step is to glue the wing pieces together (again, weapon pylon slots needing to be opened if desired), then gluing the wing, horizontal and vertical tail surfaces, rear canopy "hatch" and canopy to the fuselage. Step 5 is gluing the speed brakes to the bottom of the fuselage (which can be displayed opened or closed) along with the leading edges of the wing (and careful attention must be made to the photo provided, to be sure these are set at the correct angles). You'll also assemble the exhaust cans together (which consists of three parts) and these too are added to the airframe. However, when I get to build this one, I will see if these can be added after painting, alleviating one set of masks.
Now the landing gear pieces are glued together (three for the nose gear, and five each for each main landing gear leg) and those are also added to the airframe (but like all good modelers, these will be left off until after painting and decaling is accomplished). The last assembly step – again best left until the very end – is to add the stores you want. There are fuel tanks, missiles and bomb-let containers within the box, and typical load-outs are displayed, so make your decision and add the ordnance at the end.
Conclusion
 This is an excellently detailed model, and Platz is commended for bringing out their Mitsubish F-1. It won't be a weekend kit with all the parts, but once finished you will have an excellent rendition of this important Japanese fighter/attack aircraft. It will look great sitting next to anything. If you're one that would rather build a T-2, then it's only a matter of time, since there are a lot of common pieces within the F-1 and the sprues actually state "T-2/F-1" on them.
Many thanks to Platz for sending their F-1 to review.
