
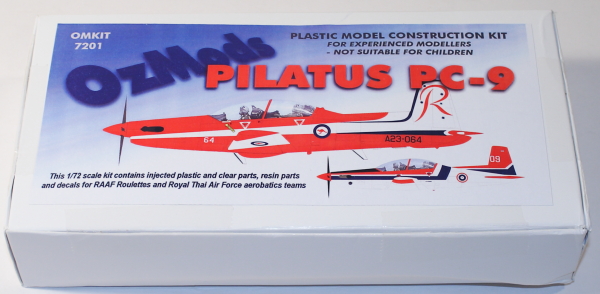
OzMods 1/72 Pilatus PC-9
By Matt Bittner
Introduction
The Pilatus PC-9 first flew in 1984 and the first customer for this Swiss design was Australia, the design eventually being built under license by Hawker de Havilland. There were a number of countries that flew - and fly - the PC-9, and it was an extensively modified version, the PC-9 Mk.2 that won the United States' Joint Primary Aircraft Training System (JPATS) as the Beechcraft T-6A Texan II.
The Kit
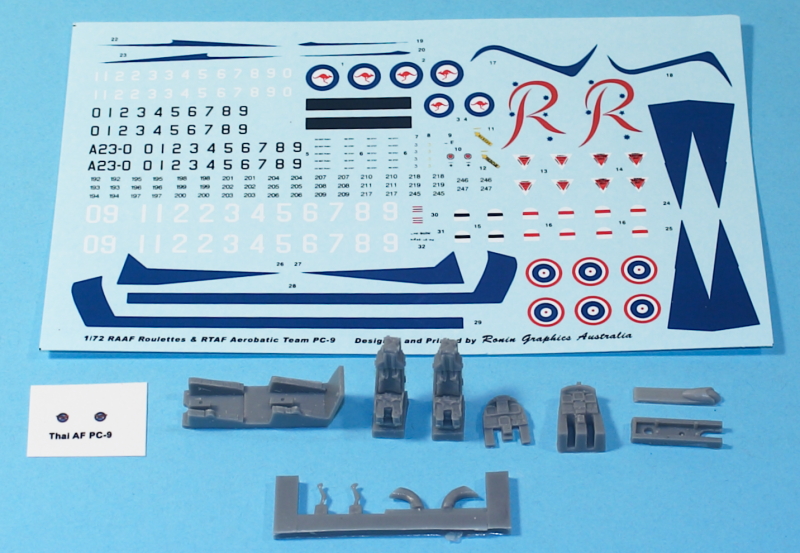
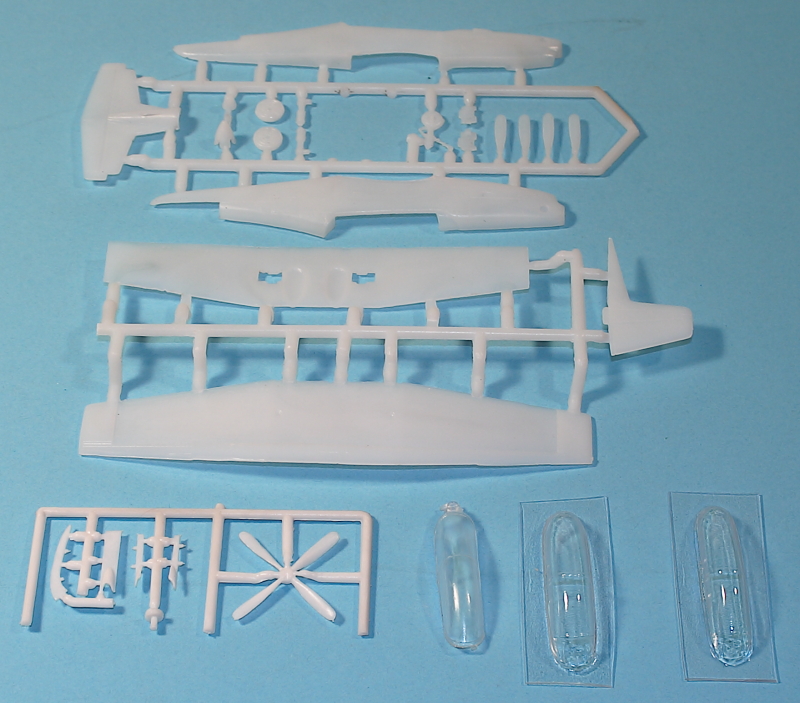 The OzMods 1/72 Pilatus PC-9 consists of 24 pieces of white, injected plastic; 11 pieces of gray resin; 1 clear injected canopy; two vacuum-formed canopies; and a decal sheet for Australian and Thai PC-9s, all very colorful. Decals appear to be in register and are really nicely printed. The PC-9s covered are:
- Royal Australian Air Force Rouletts PC-9A - mainly red and white with some blue stripes
- Royal Thai Air Force PC-9A - mainly white with red accents and blue stripes.
You'll need to make one decision, right off the bat. It's possible to display the model either static on the ground, or in flight. If you go with static, then you'll need to assemble the separate, feathered prop blades to the spinner/plug. Unfortunately these are all butt-joints so care must be taken during assembly, to ensure all blades are lined up correctly.
The other option based on how you want to display the model is with the nose wheel "well". There are different parts to be used for "on the ground" versus "in flight". Study the instructions to understand which ones you'll need.
The resin parts are really top notch and provide the cockpit tub, ejection seats, control columns, instrument panels, nose gear wells and hollow-end exhausts.
As I mentioned there are two types of canopy provided: a clear injected one and two vacuum-formed ones (a spare, "just in case"). The clear injected on in the review kit appears a little rough so will need to be made more clear, if that's the route you take. The vac ones will of course need to be cut from its sheet and then fitted appropriately.
 The plastic appears to be a little brittle so you'll want to use a razor saw to remove parts from the sprue gates. Otherwise you run the risk of removing chunks from the parts.
The first instruction step has you create the cockpit out of the resin pieces. Once that is painted and detailed then it's added to a fuselage half along with the nose gear well (again, depending on if you're display it gear-up or gear-down). Once those items are inserted then the fuselage halves can be brought together. This instruction step also has you add the canopy, prop/spinner, exhausts and tail bumper.
The last step in the instructions has you glue the wing pieces together and add the main landing gear, wheels and gear doors. I would wait to add these until after painting and decaling.
Conclusion
This is an excellent kit from OzMods that with proper care will result in a really first-rate model. The decal options are exremely colorful and will definitely draw attention. Regardless if you display it wheels-up or wheels-down, it will garner a lot of comment.
I definitely want to thank OzMods for sending the PC-9 in for review.