Revell 1/72 Handley Page Halifax
By Stephen Tontoni
Overview
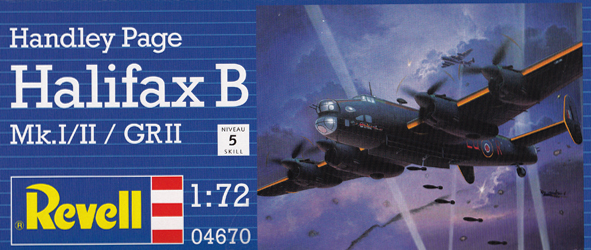
I sauntered into the model shop today to goof off a bit after work. Then I saw a pile of very large blue Revell AG boxes on the counter, and was surprised that they’d released a 1/72 Handley Page Halifax. I had no idea this was coming. The boxes, by the way, are of the rare white buffalo variety; they are sturdy side opening boxes.
The Kit
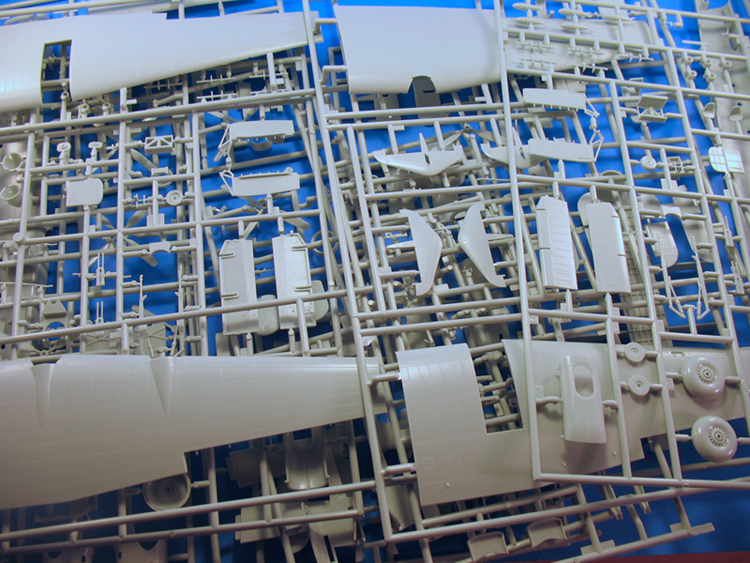
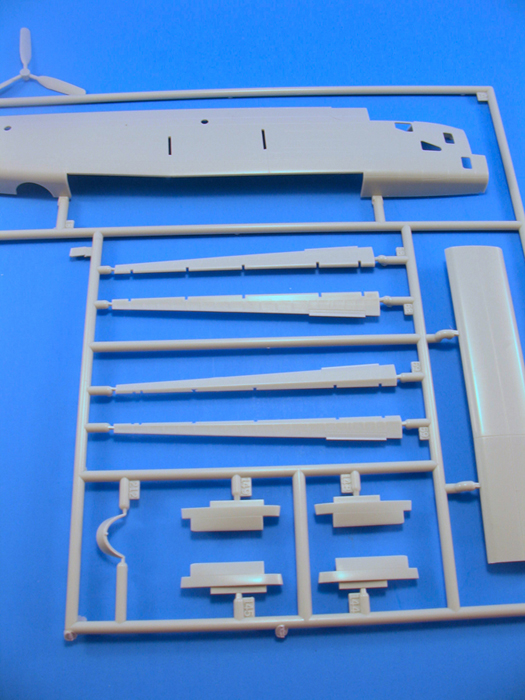
First thing that I noticed was the amount of plastic in there. I’ve counted now; but at the moment, I really wasn’t able to breathe well enough to do that. Get this: there are 338 parts on 12 sprues. They come to you in four plastic bags and it’s a little bit overwhelming. This is not like some tank kit with 300 parts and 200 of them are the track links, no. This has 338 recognizable parts. A lot of dinosaurs died for our hobby.The 99-step instruction sheet is laid out clearly and logically. You’ll want to study the instructions before even touching the styrene. After you decide which plane you’ll model, mark up the instruction sheet to make sure you are following the correct steps, and put aside all parts meant for a different airplane. A bit of criticism here; the instruction sheet doesn’t always tell you which option goes with which aircraft. Do your research, cross off stuff that doesn’t belong, and put aside parts that you aren’t going to use. Simplify, simplify, simplify.
Here are a couple of design options you’ll see:
1) Fuselage; you will need to open holes specific to each plane2) Engine cowls; there are three styles of intakes/filters
3) Engine cowls again; there are four styles of exhausts and exhaust shrouds
4) Wings; you will need to open holes specific to each plane
5) Tail; two types of vertical stabilizers
6) Fuselage again; two styles of dorsal turrets
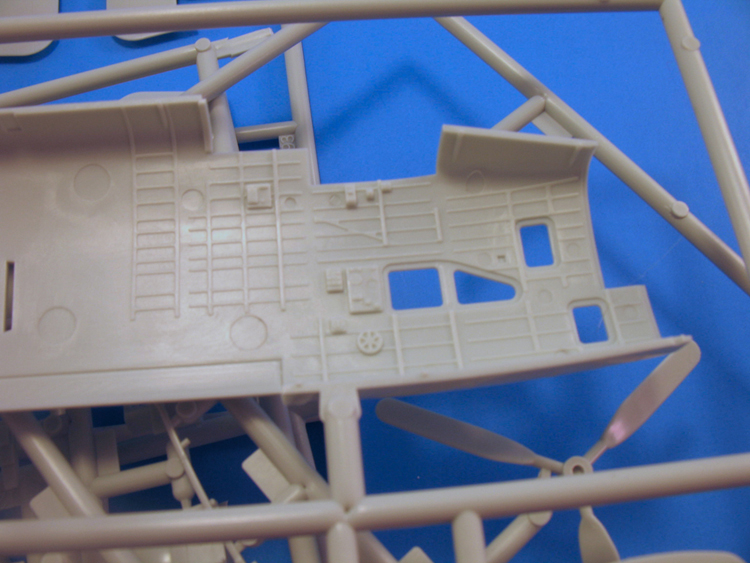
The kit itself; the light gray styrene is very crisply molded. I looked for sink marks and ejector pin marks. No sink marks that I could find, and the ejector pin marks I found were placed coyly at the rear of the cockpit. In fact, they’re visible in the picture I snapped of the cockpit sidewall engraving. Do we care? No, we don’t; they will not be visible in the completed model.
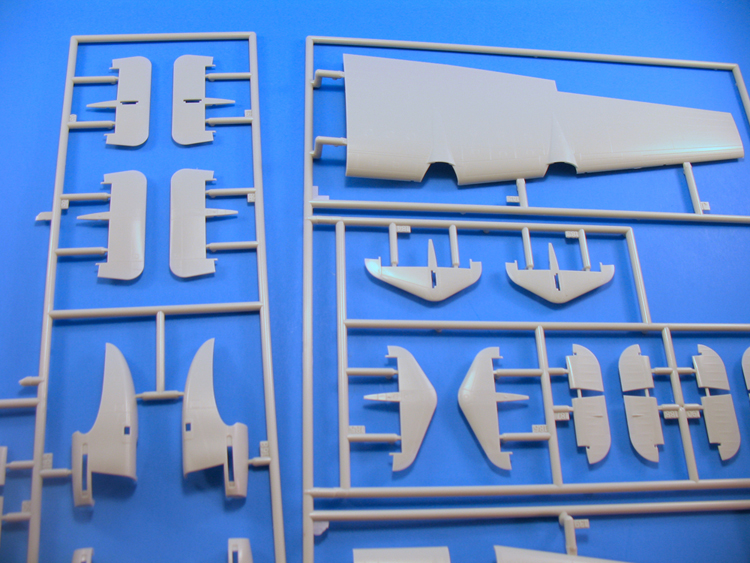
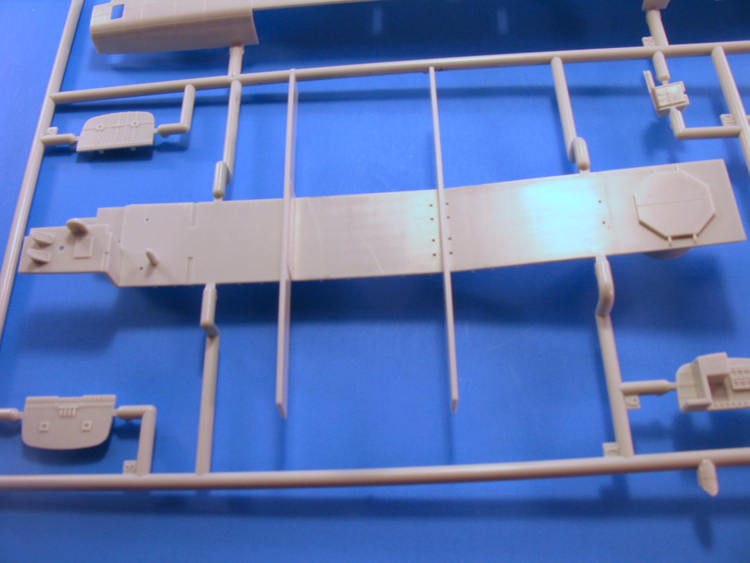
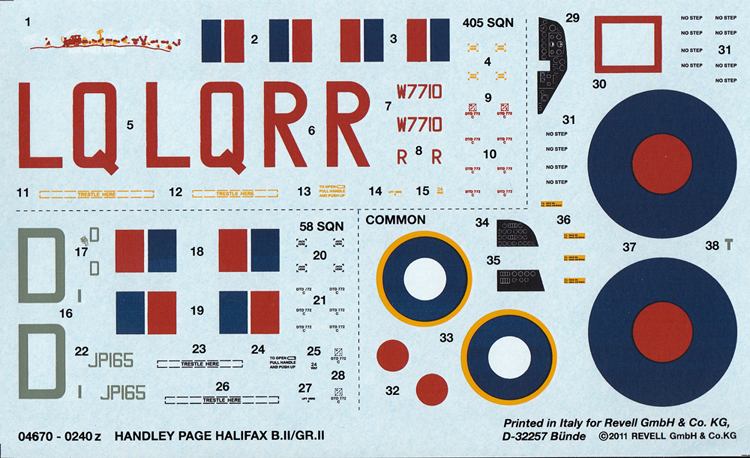
Speaking of the cockpit, considering that much is not visible, they’ve included a lot of detail. You construct the cockpit by attaching all its component parts to the floor assembly. That part is something around 10” long (25cm?) and it’s the aircraft floor, the upper part of the bomb bay, and the wing spars that stick through the fuselage. Bulkheads, the instrument panel, the bombsight, seats (etc etc etc) are all attached to it. The instrument panel has a decal, while Revell has molded in the backs of the instrument dials as they are probably visible. Good job. Let’s look at the wings now. The detailed wheel wells are built as boxes before being sandwiched in the wings when you close up the halves. They look very good and the landing gear attachment to those boxes will be sturdy. Very sturdy, in fact; the struts are multi-piece affairs with solid connections. If the whole kit were that robust, I think you could play with it safely. As mentioned earlier, the engines have multiple intake options, and they look simple enough to assemble. Here’s something cool; the wingtips are molded separately from the wings. A wingtip is molded in halves like the wing is and instructions would have you cement the wing halves together, then slip the wingtip onto that. It may be just fine that way, but dry fit a few times; if the width are different, it will create a step. Another way to do this is to just glue each wingtip half to its corresponding wing half, and no worries about the width. You make sure the wing surface is all plumb then either fill or sand behind, where evil cannot be seen, if necessary. Then you cement the wing halves. it’s really easy. Each wingtip has two notches that will accommodate clear styrene navigation lights. Paint them from behind; it looks much better. I like the wings. Kit control surfaces are all molded separately. Generally, separate control surfaces coming out looking toy-like, and it’s not the surfaces themselves. Nine times out of ten, the oversize hinges are ugly. I’ll withhold judgment on these for the time being, but I’m going to do a lot of dry-fitting before deciding to how I want to skin this cat. I know one thing though; the instructions indicate loose hinges. I can pretty much guarantee that mine will be glued.You can build the kit with the bomb bay doors open or closed. If you want them open, you have to cut them apart yourself. The doors are attached to the fuselage with individual actuators, and they look pretty nice. If you do build it with the bomb bay doors open, I guarantee there will be no filling. The closed bomb bay may require a little filling. (maybe not!) I have thoughts around that; I like the bomb bay doors molded separately, and the fuselage molded with the bomb bay closed. That way, if you want doors closed, it's a perfect fit. If open, you just remove the doors from the fuselage halves, then attach your bomb bay doors. The bomb bay itself is not highly detailed really, but it has basic busyness. The bombs though look very good, which count as detail.
Clear parts look pretty good and you have some more choices to make here. For the second aircraft, a Mk II in 1945 that has only nose glazing, the part is a bit thick. If I built this variant, I’d thermoform a new nose. The other plane, a Mk I in 1942, has a nose turret. Revell has provided another clear part that will anchor the turret and connect to the fuselage. That part is very spindly, and is likely to be delicate. You build the turret and slide it into that, then attach the whole assembly to the fuselage. I’m going to study that step a while longer; I’m paranoid that it won’t fit the fuselage and leave a lot of remedial work. Maybe it would be possible to fit everything but the turret and slip that in last. I have to think about that.
Conclusion
That’s more or less the size of it. This is an excellent kit with far too many positives to list, so I'll jump right into areas that could bear improvement. Some assemblies look a bit more complicated than they need to be. The added complexity of multiple options could cause fit issues, so I strongly recommend doing a lot of dry fits before cementing anything. As mentioned earlier, I'd have approached the bomb bay doors differently, but that's not really criticism either. For fit, the wing tips, engine cowls, and nose assembly seem likely places that might have issues. Just take your time and assume that they may not fit. If they don't, you're ready for it and know what to do. If they do, celebrate. Instructions are mostly clear, but where there are choices to be made, I want sub-steps that are clearly marked for which aircraft that option is used. As it is now, it just shows you a question mark; c'mon man. These are just my thoughts when looking at the kit and reviewing the instruction sheet, not really dings.If you have any interest in RAF bombers of WWII, you will want this kit. If you'd like a little chuckle, put the Matchbox Halifax kit next to this and do the Pepsi Challenge. I picked up my kit this afternoon for US$34.99. Had the MSRP been a lot higher than that, I would not have been surprised. But it’s not!

