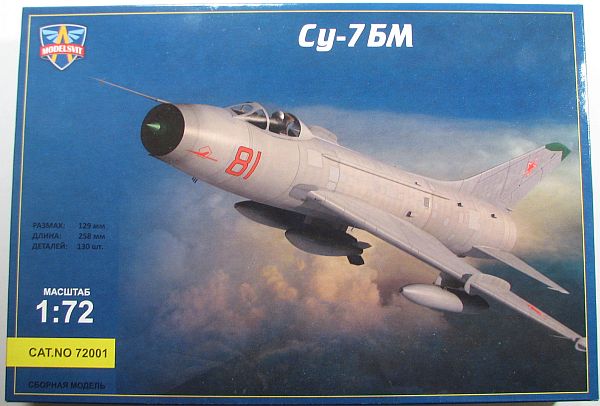
Modelsvit 1/72 Sukhoi Su-7BM
By Matt Bittner
Introduction
The Sukhoi Su-7 (known to NATO as the Fitter) was originally designed as a low-level dogfighter. However, it didn't perform well in that role so it was relegated to being a ground-attack and fighter-bomber aircraft. The Su-7BM had its engine upgraded and was capable of carrying nuclear bombs. There were almost 300 of this variant built.
The Kit
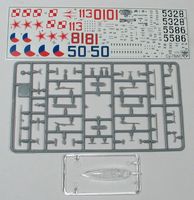
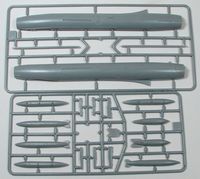 The Modelsvit 1/72 Sukhoi Su-7 consists of 124 pieces of gray injected plastic, and a sprue of five clear injected pieces. There are decals for six aircraft:
- Three Soviet (229 APIB, in camo; 497 APIB and Yeisk, VVAUL, 1980, both finished in natural aluminum)
- Two Czech (one camo and one natural aluminum)
- One Polish ('Red 01' in natural aluminum)
Decals are nicely printed, appear in register and even include stencils.
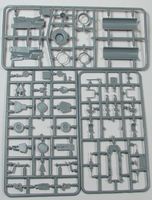
The only aspect of this kit I'm not too fond of is the two-piece nose wheel (which includes part of the strut), and this is where construction starts, by assembling the nose wheel. Once that is together then construction moves to the cockpit, which consists of a lot of pieces. The first assembly is the cockpit tub/nose wheel well, and this consists of ten pieces, which includes the nose gear (and I'm unsure if the nose gear can be installed towards the end). This also consists of gluing on the nose cone.
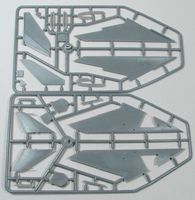 The next construction step is gluing the four pieces together that make up the ejection seat. It's not a bad seat, but definitely could be better, especially with the addition of seat belts. After the seat is finished, then it is added to the built-up cockpit tub, along with the control stick, rudder pedals, instrument panel and instrument panel hood. After the exhaust tube and pieces are assembled, the it and the cockpit tub are glued into one fuselage half, and those halves glued together. In addition, the fin/rudder halves are glued together, added to the assembled fuselage, along with the final nose pieces and area behind the cockpit.
Construction is now started on the wings. There are three walls to both landing gear wells that need to be glued to each, then the wing halves can be glued together. Some of the next steps in construction can be carried out, but I would leave most until the end. The steps I would carry out now include gluing the main wheels halves together, along with the fuel tank halves and bomb halves. The rest of the steps in this set I would leave until the end; these consist of gluing the landing gear and doors to each wing.
 Finally, construction moves to adding the wings and horizontal stabilizors to the fuselage. Other parts added at this time include the fuselage spine and wing fences. I would leave off the pitot tube until the very end.
Everything in the last construction step is best added at the end, except for maybe the weapon pylons.
There is one thing that is unusual and welcome in this kit. The Modelsvit Su-7 includes a bomb trolley to hold one of the bombs on. Even if you don't glue on any of the bombs to the aircraft, I would still build this up and display it next to the model, for an added conversation piece.
Conclusion
 Finally, we have an accurate Sukhoi Su-7 in 1/72 thanks to Modelsvit. I've read that there is a limited number of Su-7s that Modelsvit has made, so definitely track one down soon, if this type interests you. It's a great kit, with recessed panel lines and very nice interior and external detail, and is definitely worth tracking down. Nothing is mentioned in the instructions about nose weight, but I would be surprised if you didn't need any.
A huge "thank you" to Roll Models for sending this model to review.
