Minicraft 1/144 B-52H
By Matt Bittner
Introduction
I 'm not going to go into detail on the history of the B-52 because there are a lot of references, both on-line and in print, that will do a better job than I can. I just want to give an explanation of why the B-52 is "important" to me as an individual.
My late uncle was a jet engine mechanic on B-52s during his military career in the USAF. I remember visiting him when I was very young at Wurtsmith AFB, in Michigan, USA. It had such an impact on me I decided to join the military, specifically the USAF as well (I have another uncle that was a pilot during 'Nam, but he flew transports, mainly C-7 Caribou; however, that is another story). There were numerous times we were taken to the end of the runway, off-base, to watch the B-52s and KC-135s take off and land. Nothing like those old B-52 engines, pumping out plumes of black smoke, flying right over a young boy's head to make an impression. My uncle served (I belive) 26 years in the USAF and retired from Wurtsmith. Unfortunately he passed a number of years ago and I was unable (nor interested at the time) to ask him about his time served. I know he served on Guam during the Vietnam War, but I don't know the years he was at Guam during that time. When I learned that the latest B-52H release from Minicraft was to contain markings from Wurtsmith AFB, I knew I had to acquire it and finish it in those markings, to honor the memory of my uncle. While there's a chance he didn't work on this specific aircraft's engines, there's also a good chance he did. But that doesn't really matter as I have no photos or any other documentation showing which aircraft he actually worked on. Instead, what matters to me most is the aircraft I finish the model as has to have flown from Wurtsmith AFB, his last duty station of record.The Kit
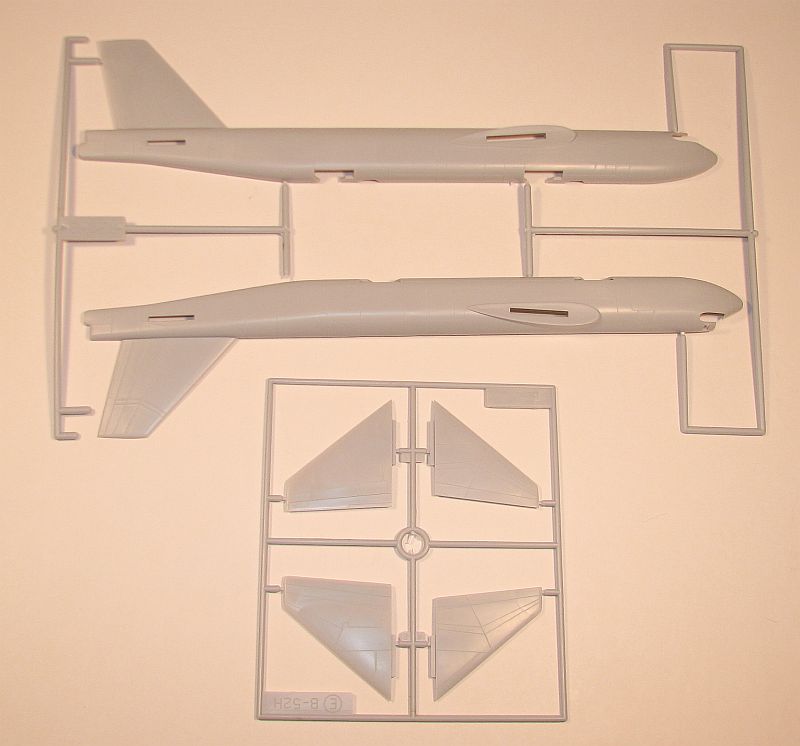
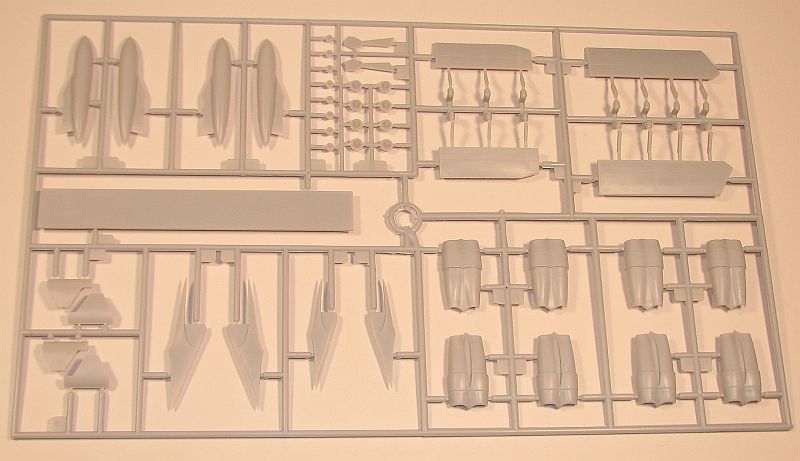
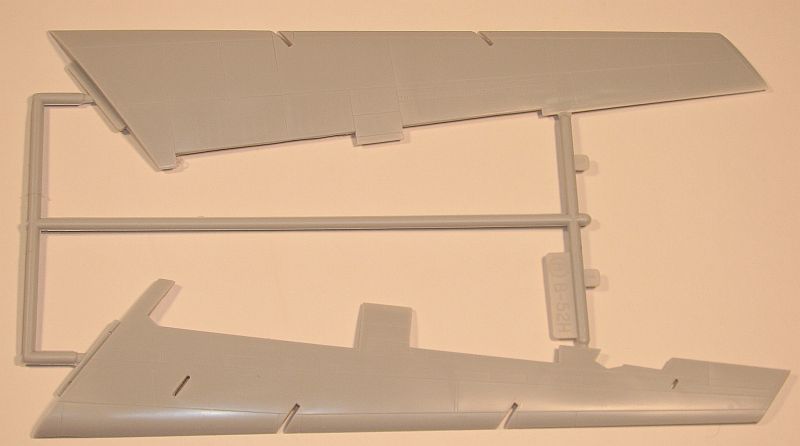
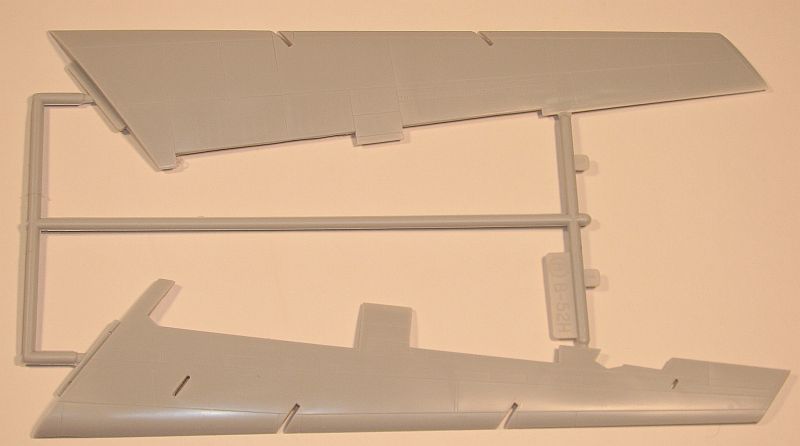
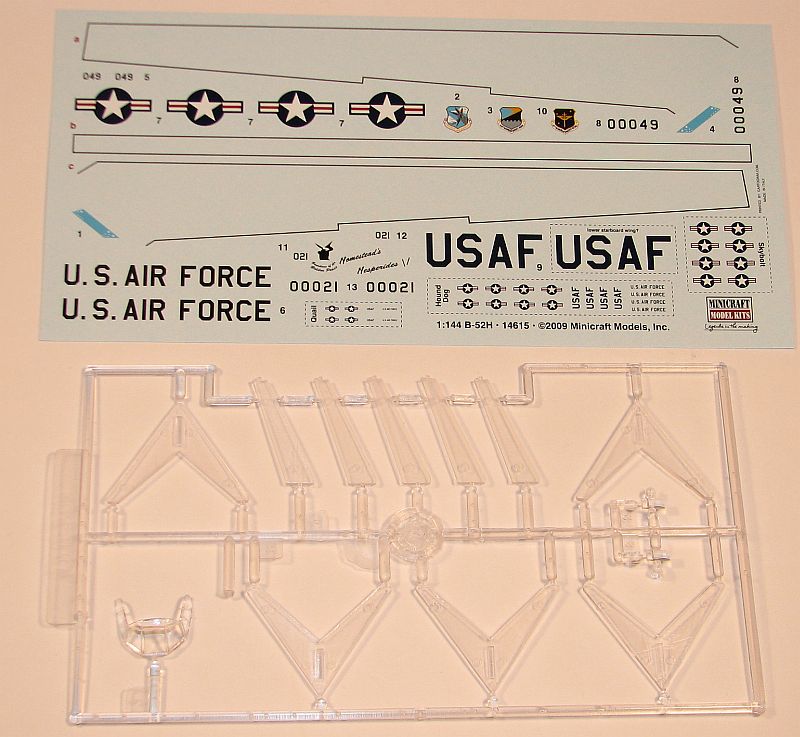
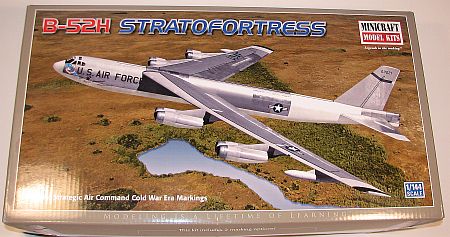
As most know, the Minicraft kit is a re-release. Some might claim it's not accurate here or there but that matters little to me. What matters to me most – aside from the Wurtsmith AFB markings – is it looks like a B-52 when finished. And there is no doubt this model will look like a B-52 when finished. In 1/144 this kit is manageable, more so than the 1/72 Monogram or AMT (now Italeri) kit. This is another reason why I wanted to build the Minicraft kit, for the scale. There are 129, grey, injected molded parts along with 13 pieces on the clear sprue. This release from Minicraft is for the early B-52H with the TF-33 engines, tail gun and lack of more current and up-to-date "humps and bumps" found on the later and currently flying B-52Hs. Decals are for two aircraft: B-52H, 60-0021, 449 BW, Kincheloe AFB, early 1960s; and B-52H, 60-0049, 19 BW, Wurtsmith AFB, Cuban Missile Crisis, 1962. Decals are very nicely printed and in register, and printed by Cartograf in Italy. Both aircraft are finished in the early guise of natural metal with patches of white and a black anti-glare panel. Construction starts with adding the rudimentary cockpit parts (not much can be seen through the windscreen, and I may paint it all black) into one fuselage half, along with the "shelf" the wheels adhere too. In fact, if you were so bold to open and detail the bomb-bay, this shelf would serve as a good starting point for the interior of that bomb bay. Along with the fuselage assembly one also glues the wing halves – and horizontal tail halves – together in the first step. Next, you'll glue the wings and tail to the fuselage along with the windshield and tail-gun and tail-radar.Now you need to make a decision. Display the model with the flaps up or down; and display the model with the landing gear up or down. You'll need to modify parts based on that decision. Once the decision is made then you glue on the flaps, glue together the wing-tip tank, as well as the engine parts to make up the eight engines (four engine "pods"). Once those parts are all together then you glue them to the wings. Your second decision will now decide the next round of construction. You'll either glue the wheel well doors flush with the fuselage or all of the rest of the landing gear to the wheel wells and go from there. You'll also either glue the wing-gear doors flush, or cut them apart to display them with the wing-gear down. However, all this should wait until after you have painted the model.
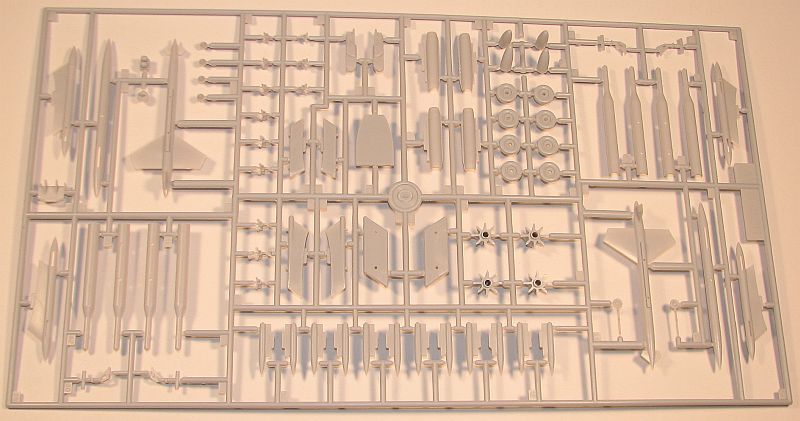
One nice aspect with this kit is not only the inclusion of a bunch of stores for the early B-52H, but also in the way they can be displayed. The weapons included with this release are the GAM-97 Skybolt (four of them), the AGM-69 SRAM (12 mounted on 2 racks), the ADM-20 Quail (only one), and the AGM-28 Hound Dog (two of these). You can either display them on the model (although the Quail was usually carried internally) or on the clear stands provided for all but the SRAMs. Pretty nice, I think, especially if you want to build a "clean" B-52 but still want to display the weapons it usually carried in its early career.Conclusion
If you want a B-52H in your model collection and you don't want to take up a lot of space, then the Minicraft B-52H is an excellent choice. The model is nicely molded and detailed "just enough" (you can always add more if you wanted to) to make an excellent model out-of-the-box. If the markings are to your liking, then you need no other aftermarket for this release. I'm looking forward to building this model and maybe placing it with a photo of my uncle to honor his memory both as my uncle, and as a former member of the USAF.
Many, many thanks to Minicraft for providing the review sample and giving me the opportunity to build it "for my uncle".

