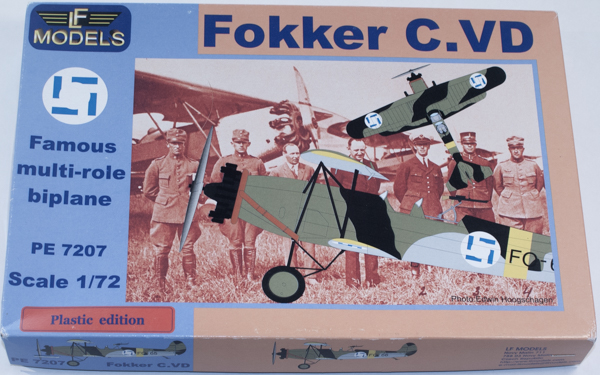
LF Models 1/72 Fokker C.VD
By Matt Bittner
Introduction
The Fokker C.V was a light bomber and reconnaissance aircraft designed for the Dutch air force. It was then licensed to various other countries for manufacture including the USA, Denmark, Finland, etc. While Finland mainly flew the C.V-E they did have two C.V-Ds which were interned Norwegian aircraft.
The Kit
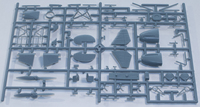
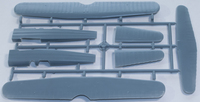
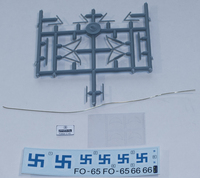
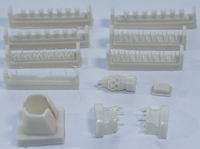
The LF Models 1/72 Fokker C.V-D consists of 45 pieces of injected plastic (although there are more plastic parts, some aren't used for this version), 27 pieces of resin, two clear-film windscreens and a paper instrument panel. There is also a piece of wire which can be used for wire pushrods for the engine (although there are also resin pieces for that, too), some struts and used in one of the pieces of resin, although that resin piece is not mentioned again in the instructions. Odd. Since there were only two C.V-Ds flown by the Finns those are the only two aircraft catered for with the decals: "FC-65" and "FC-66". Both aircraft are finished in the typical Finnish camouflage of Black/Green on top with Light Blue undersides, plus the typical yellow wing-tips and fuselage stripe.
|
As I mentioned above, instructions aren't great since I can't find anywhere that resin part R5 is used after adding wire to it. Plus when you add the engine/forward fuselage it's not very clear that yes, that assembly is actually added in Step I. One thing I will hopefully figure out when I build the kit is would it be better to add the engine to the forward fuselage before gluing that assembly to the fuselage, or add the nose pieces to the fuselage prior to adding the engine? I hope it's the latter since leaving the engine off until after painting is definitely the better option.
|
In fact, construction starts with first part R5 followed by assembling the engine and the forward fuselage. Once those are finished then construction moves to the cockpit. While the cockpit components look good out-of-the-box there is no color call outs so you'll definitely need to research this area. Once the cockpit components are glued together (two seats, rudder pedal and a control stick mounted the floor) then it and the sidewall structure is added into the fuselage halves and the halves closed. Then the lower wing pieces are added along with the tail parts.
|
From here I would glue the upper wing halves together and then start painting. Once the painting is finished then construction can continue.
I have a few concerns. First, as already mentioned, is the separate forward nose and how it will fit. Since everything is a "butt join" dry fitting of this area is a must. Another concern are the central struts that attach the upper wing to the fuselage. For this version the forward-most struts need to be built up from two separate sections. Plus, there are no indications of where the struts should sit. Another area needing research. My final area of concern is the landing gear. Again, the entire assembly is built-up of multiple, single pieces – including some of the wire included with the kit – so getting it all together and square could be interesting.
|
Conclusion
Aside from my concerns above this is still a nice kit. Since this aircraft didn't have any rigging wires there is one less step with this biplane as compared with others. Once built it will definitely look like a Fokker C.V and will look great sitting next to any other 'tweener biplane.
My thanks to Roll Models for supplying the review kit.
