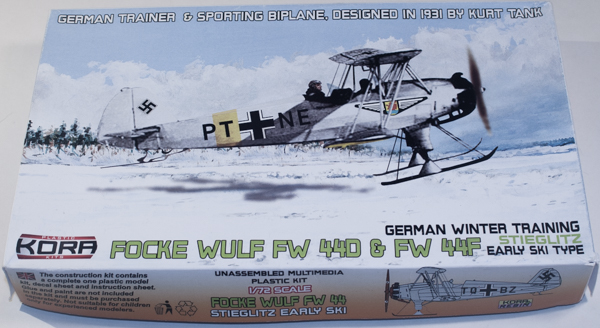
Kora 1/72 Focke Wulf Fw 44D & Fw 44F “German Winter Training Early Ski Type”
By Matt Bittner
Introduction
The Focke Wulf Fw 44 ("Stieglitz") was a two-seat biplane initially developed as a training and sport flying aircraft. However, as with everything during war-time, it was also put to use as a combat aircraft.
The Kit
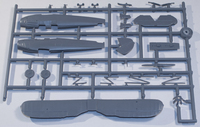
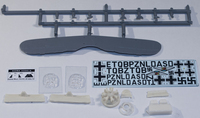
The Kora 1/72 Focke Wulf Fw 44D & Fw 44F boxing contains two frets of injected plastic that has 33 parts (some not used in this version). This boxing also contains eight pieces of resin (two seats, the engine, exhaust collector, instrument "panel" bulkhead, and the main and tail skis) as well as a piece of clear film that contains various instrument panels. Also included are four vac-formed windscreens for both cockpits (spares, "just in case"). There are decals for four Fw 44s, all German:
- Fw 44F, TQ + BZ
- Fw 44D, DA + SD
- Fw 44D, PT + NE
- Fw 44D, PZ + NL
All are overall aluminum-dope and the last two have yellow stripes on the fuselage and lower wing tips. Decals appear decent enough but according to the directions the film is over the entire sheet, so each decal will need to be removed as close as possible to the design. The only difference between the 'F' and 'D', as shown in the instructions, is the removal of the position lights on the wing tips and top of the rudder.

|
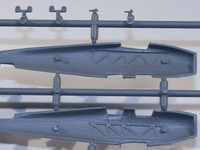
Construction starts with the cockpit and it's pretty decent, out-of-the-box. Each fuselage half has detail molded into it and the separate parts are for the floor, seats, rudder pedals and control sticks. The instrument panel is built-up from separate parts that includes the resin "bulkhead" and the clear-film instruments for the front cockpit, and injected panel (which needs holes drilled for the instruments) with its own clear film to add to the back. I actually plan on thinning this part to give it a better appearance. Once all parts are in a fuselage half then the halves can be joined together.

|
Other instruction steps have you assemble the engine including the prop, and once the fuselage halves are together the lower wing can be added. This step also has you add what appears to be an exhaust or other type of "dump" tube, along with the landing gear; since all four aircraft are overall aluminum it might be a good thing to add the landing gear now and deal with any gaps. Be aware, though, you'll need to scratch some parts for the landing gear.

|
The next step has you install the tail surfaces along with the skis, windscreen and gun sight. I definitely will leave off the windscreens and skis until the very end. Plus there are what appears to be hand holds that also need to be fashioned from wire on the rear of the fuselage. The last instruction step has you add the struts and upper wing again, best left until after painting. Thankfully the instructions contain a rigging diagram but that diagram leaves off the wires used on the skis. While the painting instructions show them I definitely recommend finding photos to help with this.
Conclusion
I'm looking forward to working on this kit. The only thing truly needed would be seat belts although like anything in the modeling world, everything can be improved. Whether we'll see a photoetch set specifically for the model is doubtful but you never know.
My thanks to Roll Models for the review kit.
