KP Models 1/72 MiG-21MF “Dual Combo”
By Matt Bittner
Introduction
Nothing truly needs to be written about the MiG-21, one of the most – if not THE most – produced jet fighter in history. While the KP Models MiG-21MF has been released before, this time around KP Models releases it in their "Hobbyline" product-line, with Eduard-produced photoetch and masks, along with a new decal set. In addition, KP supplies two actual models, to make this their "Dual Combo".
The Kit
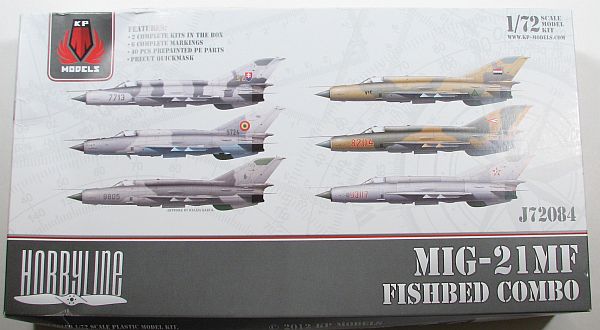
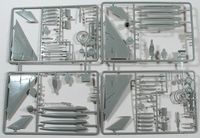
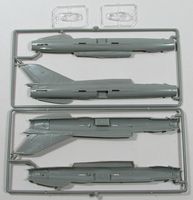
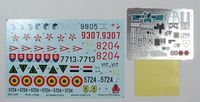
The KP Models 1/72 MiG-21MF consists of 57 (x2) pieces of injected plastic with a clear canopy and landing lights. Provided in this Dual Combo release – aside from two actual kits – is a fret of Eduard-made photoetch for one model, along with Eduard masks and new decals, for the following aircraft:
- MiG-21MF, Black 771, Slovak Air Force, Silac Air Base, 1999
- MiG-21MF Izdeliye 96, Red 8204, Hungarian Air Force, 1993
- MiG-21MF, 41.fighter sqn, Czech Air Force, Pardubice, 2003
- MiG-21MF, 17th sqn, Iraqi Air Force, Al-Hurriyah, 1980
- MiG-21MF, 'Red 9307', Hungarian Air Force, Pápa AB, Hungary 1971
- MiG-21MF-75 LanceR "Black 5724", Romanian Air Force, 2011
There are two instruction sheets you'll need to pay attention to, not only the one for the actual kit, but the instruction sheet for the photoetch as well. Since a lot of the photoetch is for the cockpit, you'll spend most of your time concentrating on step one of the plastic instructions, while using the majority of the instructions on the photoetch sheet. First, after painting, you'll work on building up the ejection seat with the photoetch back and seat, followed by all the belts and stuff. In addition there are a number of pieces for the seat itself, like the ejection handle. Now construction moves to the rest of the cockpit.
One piece of photoetch is ingenious, and that is the one-piece instrument panel and side console piece. Once folded, it will really make the cockpit look great, which is actually a problem because the canopy is a little thick, and a single piece combining both the windscreen and moveable canopy. I firmly believe you'll either need to track down a vacumformed replacement canopy, or make one yourself to really show off the cockpit.Other interior photoetch pieces are more pieces for the cockpit tub, including a throttle quadrant and a gun sight. The rest of the photoetch is for the exterior, including replacement main landing gear doors (nice!), brake lines for the main gear, and various antenna and other fuselage exterior bits and pieces.
Once the cockpit is finished then construction continues quickly. While the instructions don't state so, I suspect you'll need weight in the nose to keep the model from tail-sitting. After the fuselage halves are assembled – being sure to trap the nose cone and small exhaust "blades" part – then adding the wings and horizontal tail surfaces next. Thankfully the rudder/fin/spine is all attached to the fuselage halves, so there will be no seam worked needed there (unlike the Bilek kits all which have a separate rudder/spine that needs seam work).At the same time you add the wings and tail surfaces, you also add all the scoops to the fuselage. While the instructions have you add the pitot and angle-of-attack tubes, I would definitely leave those off until the end, as to avoid breaking those off while painting and final finishing. In fact, once this step of the instructions is finished, I would start painting and leave the rest of construction until afterwards.
That final bit of construction includes the landing gear (don't forget the photoetch pieces), landing gear doors, and whatever weapons you decide to add.
I have heard a few concerns with this kit, mainly in the canopy and the wheels. If you need to replace these, be aware that Pavla provides vacuformed canopies for this KP kit, but I'm unsure of any replacement wheels.
Conclusion
Although this is an older kit - with raised detail - it still holds up decently for now. Yes, it is old and does have some issues, but in general it is currently the most accurate 1/72 MiG-21MF on the market. I'm going to dry something different when I get to mine. I'm going to sand off all raised detail and after painting I will draw on the panel lines, to see how that comes out and looks. Wish me luck.
Our thanks to KP Models for sending this it to review.


