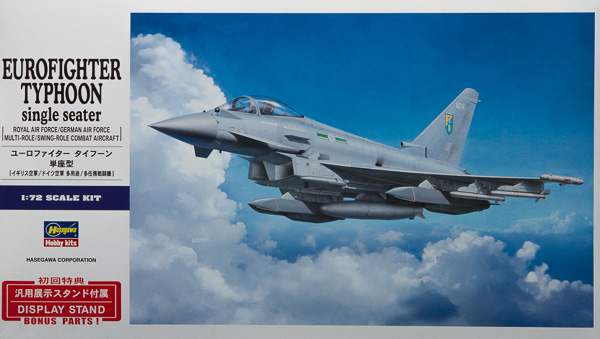
Hasegawa 1/72 Eurofighter Typhoon
By Chris Banyai-Riepl
Overview
The Eurofighter can trace its roots back to the 1970s, but it was really started in earnest in the mid-1980s with the EAP joint venture between Germany, England, and Italy. After a long design process, the first prototype took to the skies in 1994. It was not until 2003 that the first production Typhoon entered service, and it is currently in operation with Germany, United Kingdom, Italy, Austria, and Saudi Arabia, with Oman soon to add the Eurofighter to their air force. Other potential purchasers include India, Japan, and Greece, although given the latter's economic malaise, purchasing modern fighter jets might be the least of their concerns.
The Kit
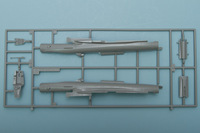 Hasegawa's Typhoon kit came as a bit of a surprise, as there is a fairly decent Eurofighter kit already available in 1/72 from Revell. However, the Revell kit is not available everywhere, and it is always nice to have more options available, so the Hasegawa kit is welcome. Molded in the usual light gray plastic, the kit features petite recessed panel lines and excellent detail throughout. In addition to the basic airframe, this model also comes with a wide array of weaponry, allowing you to fit out your Typhoon for a variety of missions. The kit comes with decal options for three Eurofighters, two British and one German.
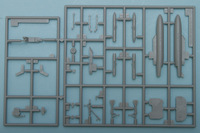 Construction begins with the cockpit, and this features some fairly nicely done raised details on the cockpit sidewalls and instrument panel. The one-piece tub has a center insert that provides the control stick, while the instrument panel is attached to the separately molded hood. Both the sidewalls and instrument panel have decal options to provide additional detailing. The seat is made up from three pieces and is good, but lacks seat belts. The completed cockpit is then sandwiched between the fuselage halves.
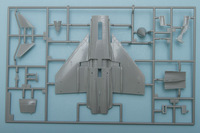 The fuselage halves complete the upper fuselage, but there is quite a bit of extra work to get the underside together. All of this revolves around the engines, as getting the intake looking right requires a complex assembly. First off, though, the exhaust pipes are attached to a rear bulkhead, and a forward bulkhead provides the beginnings of the intake assembly. The upper intake portion is separate and has the fine vent holes nicely molded. A thin wash will make these pop out. This fits on the fuselage assembly, and the rest of the intake gets built up on the lower wing piece.
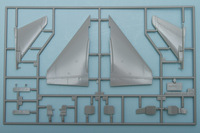 For the lower wing piece, this has the lower fuselage and lower wing panels as one piece. There is a lower intake piece, plus a separate two-piece splitter. This will result in a few seams, but the assembly is done in such a way as to make filling them very easy. It will also make painting easy, and with the inside of the intake white, prepainting and masking will make things simple. Adding the upper wing panels and the wingtip ECM pods (both done in multiple parts), and the wing assembly can be mated up to the fuselage.
|
|
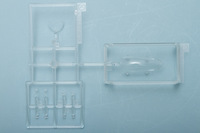
 From this point out, the rest of the assembly is in adding all the details. The landing gear is nicely done, with separate retraction arms and two-piece main wheels. The gear doors have nice detail on both sides, and the main gear doors have separate landing lights. The air brake on the top of the fuselage is molded separate and can be posed open or closed. There is a pilot figure for use in the cockpit, with separate arms and helmet. The instructions don't indicate an option for opening the canopy, so you'll have to do your own research on how this canopy is hinged.
|
|
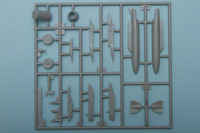
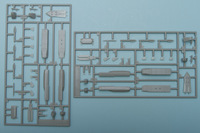
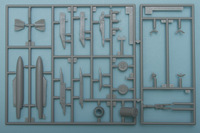
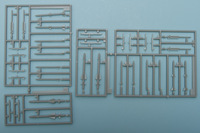
For the underwing stores, this kit is packed with goodies. You get Meteor, AIM-120 AMRAAM, ASRAAM, and IRIS-T air-to-air missiles, Brimstone air-to-ground missiles, ALARM anti-radiation missiles, Storm Shadow and Taurus KEPD 350 cruise missiles, and three 1500-liter drop tanks. This is a big selection of weapons, and there will be plenty for the spares box.
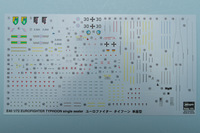 The marking options are for two British and one German. The British Typhoons are finished in overall light gray, with darker gray radome and dialectric panels. One option is from No 3(F) Squadron, while the other is from No 17(R) Squadron. The only difference between the schemes is the unit emblem on the fin and the colored bars on either side of the roundel on the forward fuselage.
The German option is finished in a darker gray than the British Typhoons, and has a lighter gray radome. This option is from JG 74 from when they deployed to Alaska for Red Flag in 2012. It is a pretty simple scheme, with just a small unit emblem on the fin and standard Luftwaffe insignia and codes. In both cases, the decal sheet features extensive stenciling, both for the aircraft and the wide variety of weaponry.
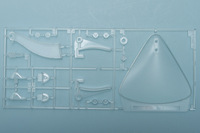 Finally, this release features a new display stand. Molded in clear plastic, this stand has two methods of supporting the finished model. The direct mounting method features a tab that fits into a slot on the underside of the aircraft. For those who don't want to attach the model permanently, there is a hook mounting option. This has two precisely spaced hooks that fit into the exhausts and have arms that reach under the aircraft and support it on the lower fuselage. In both cases the angle can be adjusted. This is an interesting addition, and the hook mounting could conceivably be used for other twin-engined aircraft.
Conclusion
This is a kit that is well up to the standards that Hasegawa has set for themselves, and the extensive range of weapons makes this an even nicer kit to have. I expect that we will see some of the more fancy color schemes show up in aftermarket decals before too long. My thanks to Hasegawa USA for the review sample.
