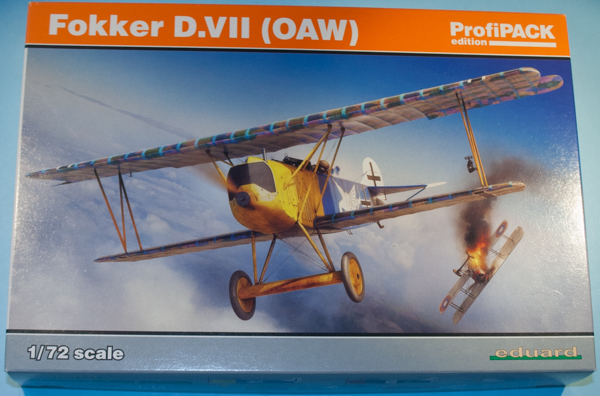
Eduard 1/72 Fokker D.VII (OAW)
By Matt Bittner
Introduction
From Wikipedia:
"The Fokker D.VII was a German World War I fighter aircraft designed by Reinhold Platz of the Fokker-Flugzeugwerke. Germany produced around 3,300 D.VII aircraft in the second half of 1918. In service with the Luftstreitkräfte, the D.VII quickly proved itself to be a formidable aircraft. The Armistice ending the war specifically required, as the fourth clause of the "Clauses Relating to the Western Front", that Germany was required to surrender all D.VIIs to the Allies."
This particular release from Eduard is the D.VII built by the Ostdeutsche Albatros Werke (OAW) in Schneidemühl.
The Kit
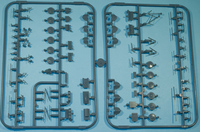
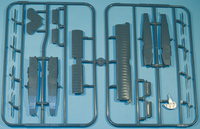
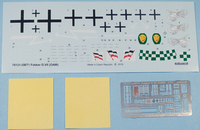
The Eduard 1/72 Fokker D.VII (OAW) consists of a lot of parts, many of those not used with this version of the D.VII. You'll have left over fuselage halves, props, landing gear "axle wings", wheels, engine parts, radiators, etc. Eduard has given you plastic for multiple versions of the kit and only showing what you need to build an OAW-produced machine. This release also comes with a photoetch fret and masks. Decals are for 5 D.VIIs:
- Ltn. Wilhelm Leusch, CO of Jasta 19, Trier, German, October 1918
- No. 6441/18, flown by Ltn Max Näther, Jasta 62, Preutin-Higny, France, Overober/November 1918
- Ltn. Franz Büchner, CO of Jasta 13, Trier, Germany, October 1018
- Ltn. August Raben, CO of Jasta 18, Möntingen (Montoy-Flanville now), October 1918
- Ltn. Alfred Greven, Jasta 12, Carignan, France, October 1918
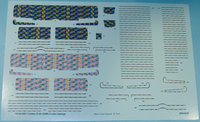
Decals are nicely printed by Eduard and include all lozenge fabric as well as rib tapes.
|
Construction naturally starts with the cockpit and it's very nicely detailed, out of the box. Be sure to pay attention to the instructions because it shows where the photoetch pieces go, and what modifications are needed to the plastic parts for them. Thankfully Eduard has included "reverse lozenge" for the interior as a decal so be sure to use that on the cockpit sides. Another first step is assembling the engine. (Note that you can also pick up one of Eduard's Brassin Mercedes/BMW engines if you want to display the cowl panels unattached to show off the nicely detailed resin engine.) Once all interior pieces are together and added to the starboard fuselage half, the fuselage halves can be assembled.
|
Next is adding the stabs and lower wings, along with some detail pieces. While the instructions have you add the stabilators control cables and "horns", I would wait on those until after painting and decaling.
Thankfully Eduard provide the cooling jackets of the machine guns in photoetch since that looks the most realistic. Once the guns are assembled they're best put off to the side and not attached until more toward the last stages of building. Now you add the fuselage "stitching" to the underside along with other detail parts.
|
The last instruction steps are all best left until after painting and decaling. Those steps include adding the upper wing with all struts; adding the landing gear with all struts; and adding the appropriate propeller (the instructions show you which one to use for the version you're finishing the model as).
One advantage to building a Fokker D.VII in any scale is the number of rigging cables, thankfully little. You'll need to provide whatever material you like for the rigging but Eduard does provide a rigging diagram, which is definitely helpful.
Eduard also shows which lozenge "colors" go on top versus the borrom of the wings. In addition Eduard includes the rib tapes as decals and provides the instructions on how those are applied as well.
|
Conclusion
It's awesome we finally have an excellent model of the Fokker D.VII in 1/72. As Eduard relaeses other "versions" of the D.VII, buy in confidence knowing this is definitely the best-in-scale.
I definitely thank Eduard for prodiving the model to review.
