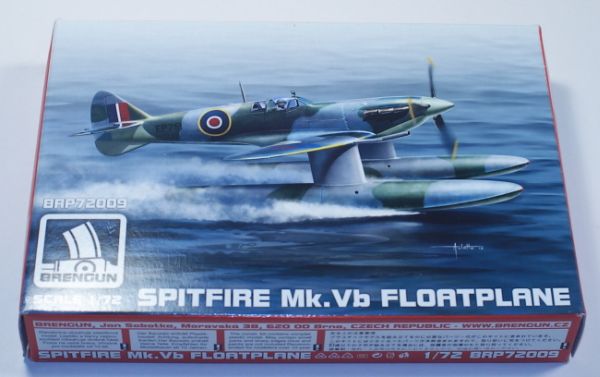
Brengun 1/72 Supermarine Spitfire Mk.Vb Floatplane
By Matt Bittner
Introduction
There has always been a fascination with providing fighters as close as possible to any air action, be it over land or over water. This includes providing the availability of using fighters in areas where an airfield on land was not feasible. It was this reason why the British decided to modify a few Spitfires with floats. It initially started with the Mk.I and moved into the Mk.V/Vb and later to the Mk.IX. Unfortunately the times during war changes quickly, so what was once perceived as a need later wasn't needed at all.
The two Mk.Vs converted were EP751 and EP754, while the F Mk.Vb was W3760. Not only were the floats added, but there were other changes needed as well to balance out the floats, such as an increase in the overall vertical tail area.
The Kit
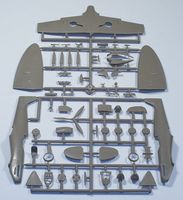
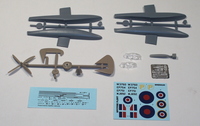
 Brengun's release of a 1/72 Spitfire Mk.Vb Floatplane is not all their own, and for this I am extremely grateful. While other companies could have produced an entirely new kit, Brengun went the intelligent way and provide the AZmodel definitive Spitfire with additional parts to create the Floatplane. In fact, there are a lot of parts that will be relegated to the spare's box. There are 26 parts used from the AZmodel kit, and three extra sprues specific to the Floatplane. These consists of two sprues that contain the floats and their parts, and another sprue for the two different rudders and four-bladed prop and spinner. There are also two different canopies dependent on which version you want to build and an extra resin part for the extra-long filter replacement. In addition there's a fret of photoetch, which includes such things as seat belts, etc. Decals are for all three Mk.Vs, so you'll need to decide before you start construction which aircraft you're going to build. You'll need to make that decision because it decides on different building options.
As with most aircraft kits, construction starts with the cockpit. The armored seat back and bulkhead are assembled first, followed by adding that assembly to the kit's "floor" along with the control column. Add the belts to the seat, the seat to the seat back/bulkhead assembly and the instrument panel to the "floor" and your cockpit is ready to glue into the right fuselage half. Naturally you'll want to paint during these construction steps so once that's all accomplished and the cockpit glued to the fuselage half, then the fuselage halves can be glued together.
You'll want to pay close attention to the instructions as there are various molded-on bits and bobs you'll need to remove; these are all excellently laid out in the instructions, but you'll definitely want to follow these closely.
 Glue the wing halves together and everything to the wing underside (again, paying attention to the instructions on what "extra steps" are involved) and it will be ready to be glued to the assembled fuselage. At this time are also added the horizontal stabs and the rudder/lower fin, dependent on the aircraft being modeled. Finally you'll add the chin filter (again, dependent on the aircraft chosen) and it's ready to be painted.
Granted, there are more steps, like gluing the float halves together, along with all the pieces for them, and then adding those to the wing's underside. But I would opt for some painting beforehand because the floats will get in the way. Another area you'll need to pay close attention to is the location of the floats. It's not marked on the kit (remember the kit itself is a "standard" Spitfire from AZmodel) so take the measurements from the instructions and to paraphrase a common saying in the housing market "measure twice mark once".
Conclusion
While I haven't seen any of the other kits or conversions to turn a "standard" Spitfire into a Floatplane, I believe Brengun has the concept done the best. Start with the best kit on the market (from AZmodel) and add the correct elements to it to turn it into a Floatplane. Provide comprehensive instructions to get to that state, and you'll have an excellent rendition of a Floatplane Spitfire in your built collection.
Huge thanks to Brengun for supplying the review kit.
