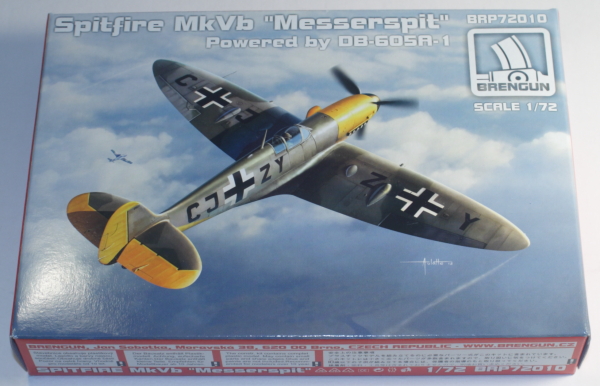
Brengun 1/72 Spitfire Mk.Vb “Messerspit”
By Matt Bittner
Introduction
In the early part of WW2, the Germans used a Spitfire Mk.Vb that made an emergency landing in Germany and mated it with a Daimler-Benz DB 605A engine. In essence, they took the front end of a Bf 110G and mated it to the rest of the Spitfire's fuselage. They then used the propeller and spinner from a Bf 109G to complete the test aircraft. It wasn't until 1944 the type started to fly once all modifications were made.
The Kit
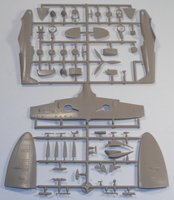
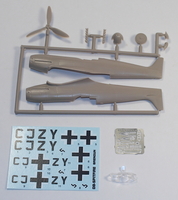
 Brengun uses most of the parts from an AZmodel 1/72 Spitfire Mk.V and replaces the entire fuselage (no cutting of kit parts, thankfully), prop, spinner, exhausts and cowl intake. The rest of the parts from the AZmodel kit are used. In addition Brengun provides a photoetch fret consisting of six parts being used (mostly seat belts). Since there was only one "Messerspit" made, decals are for that single aircraft only, "CJ+ZY" consisting of a lot of yellow (underside and most of the nose) with RLM74/RLM75 upper surfaces. The decals appear to be spot on and in register.
As with most aircraft kits, construction starts by building up cockpit parts. While you'll have to cut away the head rest from the armored seat back to replace with the part for the version, the rest of construction should go quickly using the kit's plastic pieces. The only parts not plastic are the seat belts you'll add to the already painted seat. Once the cockpit is built, you'll add it to the starboard fuselage half again, after both halves are painted. Now both halves can be glued together.
The next steps of construction are building the landing gear, but I would hold off adding the main doors to the landing gear until after painting the main landing gear legs and doors separately. Again, the next step you might also want to change, since it has you add the exhausts and the new intake pieces. I would add the intakes (since they will be yellow with the rest of the nose) but wait on the exhausts until the end and paint them separately.
 Once you add the main landing gear wheel well inserts into the lower wing piece, the instructions have you add the tops of the wing to the lower wing. Personally I'm going to see if adding the tops can be done after the bottom is added to the fuselage to achieve the best fit. I'll do that "dry", without cement, just to see how the best way to proceed will be. You'll also need to add the underside intake and radiator to the underside of the lower wing.
After the wing is added to the fuselage along with the horizontal stabs, then you can start painting. I would wait until after all painting is finished before adding the last of the external pieces, like landing gear, etc. However, if you decide to leave the canopy closed then add it now and mask it off.
Conclusion
If you're interested in "one-offs" or need to have a complete Spitfire collection, you'll be happy with the Brengun "Messerspit". Brengun provides an easier route to the Daimler-Benz powered Spitfire Mk.Vb instead of dealing with a conversion that requires you to cut part of the fuselage off. With their one-piece fuselage there will be little cause for additional seam filling.
A definite "thank you" to Brengun for sending the Messerspit for review.
