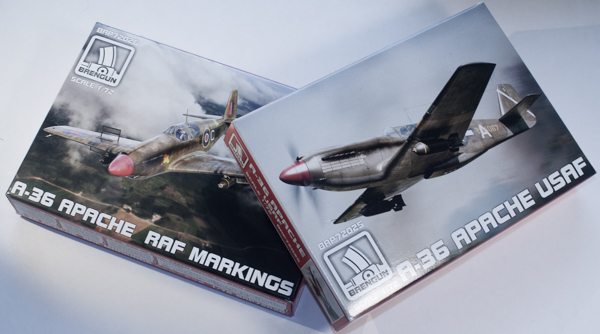
Brengun 1/72 A-36 Apache USAF & RAF
By Matt Bittner
The Kit
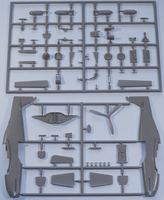
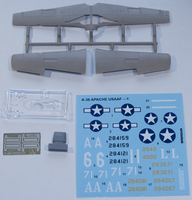
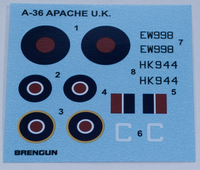
The Brengun 1/72 A-36 Apache consists of 66 brown, injected plastic pieces and a clear, injected sprue with five parts. Also included is a resin intake for under the fuselage/wing and a photoetch fret with four pieces, which are both upper and lower dive brakes for both sides of the wing. Two of the releases contain decals for the following aircraft:
- A-36 of the 311th FBG, Pinjan India, early 1944
- A-36 of the 311th FBG, Myitkyina, August 1944
- A-36, USAAF training unit, 1943
- A-36 of the 526th FBS, 86th FBG, 1943
- A-36 of the 525th FBS, 86th FBG, Italy, late 1943
- A-36 of the 527th FBS, 86th FBG, Italy, late 1943
- Mustang 1 Dive Bomber 1943, Boscombe Down
- A-36, November 1943, Foggia Italy (RAF)
Decals appear decent enough and should work well.

|
Construction naturally starts with the cockpit and in one aspect is disappointing. Yes, Brengun has included a photoetch fret; no, that fret does not contain seat belts. Such a shame, really. But be that as it may once the cockpit is constructed then it and other parts can be added to one fuselage half and the halves assembled. One thing shown in the instructions is the gluing of the tailwheel at this point, which I wouldn't add until closer to the final assembly so it's not knocked off. The prop with spinner and backing plate are also assembled at this time – after painting, of course – but best left off until the very end.
The next instruction step has you add the top of the forward cowl, rudder and exhausts to the built-up fuselage (probably best to leave the exhausts off until last). In addition, the wing is built-up as well. One review I read states it's better to leave the flaps off – if displaying them down – until after the resin air intake is glued to the lower wing/fuselage.

|
Step letter 'F' is where you glue the wing to the fuselage along with the horizontal tail pieces. Also in this step are added the tail wheel doors and landing light, items I would definitely leave off until closer to the end. It's here also you build-up the bombs and bomb racks. One thing to watch is the bomb racks are "handed" but unfortunately both racks are numbered the same and the instructions do not show this. Whether you add the bomb racks to the wing prior to the bombs is up to you but you might want to for painting and to help if any decals need to adhere on/around the racks. In this step I would also paint the main gear wells since the main doors are usually closed on the ground so you want the wells painted prior to adding the doors.
Now the resin radiator intake is added along with the closed, main gear doors, landing gear, gun barrels, bombs and dive brakes. Here's something that Brengun has messed up. Their lower dive brakes are a different shape than the upper ones but unfortunately the cut-outs in the wings for the lower dive brakes match the upper cut-outs, which means the lower dive brakes not only are the wrong shape/size, they won't work in the wing. Yes, Brengun has this wrong as photos show both upper and lower dive-brakes the same shape and size. Correcting this is difficult unless you buy another Brengun kit just for the photoetch brakes. An expensive proposition. Time will tell whether another company will release replacement parts.

|
The last step has you add the canopy, antenna, upper dive brakes and prop. Again, all but the canopy (masked, of course) best left off until the very end.
Conclusion
I've read some reviews that state the fuselage of the Brengun kit isn't accurate, which is a shame. However, it still looks-like an A-36 and is the only, new, current kit of the type out there. Some people have been thinking of combining the Academy early fuselage with the rest of the Brengun parts but that's up to you. I will probably build this "as is" and be content with the outcome.
My thanks to Brengun for supplying the review kits.
