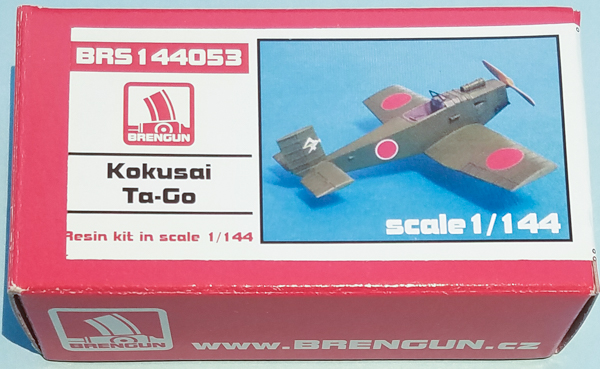
Brengun 1/144 Kokusai Ta-Go
By Matt Bittner
Overview
It's funny how you don't know about things until a kit is released. When I first saw the announcement for Brengun's 1/144 Kokusai Ta-Go I thought it was "cute", but had no clue what the aircraft was (I'm not a historian of Japanese aircraft). I thought the concept was interesting, that a person would be angry enough to create something to help his country. That's what this aircraft is basically all about.
The Kit
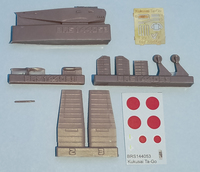
The Brengun 1/144 Kokusai Ta-Go consists of twelve pieces of gray resin and a photoetch fret with nine pieces. Decals are for one aircraft only, the single example of a Ta-Go built. The decals are very nicely printed and appear in register.
What I would say is that construction actually starts with cutting pieces from their pour blocks. The fuselage will take the longest as it's bottom is mostly molded to the pour block. Once all parts are separated then construction should go quickly. While the instructions have you start with adding the photoetch instrument panel - with the instrument panel decal - to the cockpit, along with the photoetch control stick. The molding quality on this kit is very high - these are the only two parts you add to the cockpit. The seat and floor are already molded in situ with the rest of the one-piece fuselage. The only thing I would add would be seat belts - no idea why Brengun did not include them on their photoetch fret.

|
So, glue the wings and tail surfaces to the fuselage, add the landing gear and bomb, add the photoetch tail skid and tail struts, and then paint. Yes, I would - and will - add almost everything prior to painting because this is a single-color aircraft. The only thing I will leave until the end is the windscreen and prop.
Oh, about the windscreen. The kit normally comes with a piece of clear film for the clear parts of the windscreen. Mine did not. This is not an issue, though, because I can add Klear to the photoetch windscreen frame, which actually might be easier.
Conclusion
My only complaint with this kit is that Brengun molded the wings to the pour block such that the surface to glue to the fuselage is that area attached to the block. You'll need to be careful with wing removal and that you keep the correct sit of the wings. They did not do this to the tail surfaces: the area of those that are attached to the pour blocks are NOT the areas you attach to the fuselage. Especially since the stabs have small tabs to glue into the fuselage. But don't let that deter you from building this kit. It will just take some extra care and time with the wings to get them correct.
Huge thanks to Brengun for the review sample. I've already started working on the kit.
