
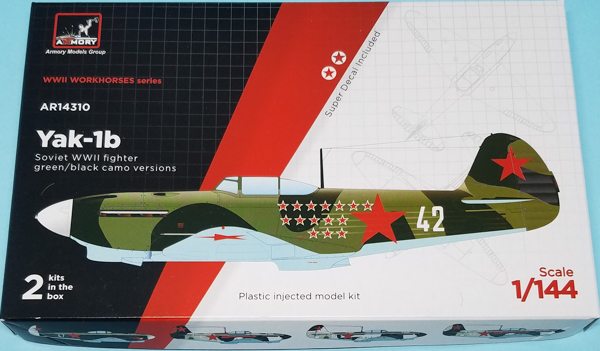
Armory 1/144 Yakovlev Yak-1b
By Matt Bittner
Introduction
Taken from Wikipedia:
"The Yakovlev Yak-1 (Russian: Яковлев Як-1) was a Soviet fighter aircraft of World War II. The Yak-1 was a single-seat monoplane with a composite structure and wooden wings; production began in early 1940.
"The Yak-1 was a manoeuvrable, fast and competitive fighter aircraft. The composite-wooden structure made it easy to maintain and the engine proved to be reliable. It formed the basis for subsequent developments from the Yakovlev bureau. It was the founder of a family of aircraft, with some 43,000 being built. As a reward, designer Alexander Yakovlev was awarded the Order of Lenin (Russian Орден Ленина, Orden Lenina) (the highest civilian decoration bestowed by the Soviet Union), a 100,000 ruble prize, and a ZIS motor car.
"("b" was an unofficial designation; after October 1942, all Yak-1s were built to this standard). New bubble canopy with lowered rear fuselage, increased armor, ShKAS machine guns replaced with a single 12.7 mm (0.50 in) Berezin UBS, electrical and pneumatic firing of the weapons instead of the mechanical system, new control stick based on the Messerschmitt Bf 109 design, new gunsight, airtight fuselage, retractable tailwheel, improved engine cooling, Klimov M-105PF engine with better low-altitude performance. The first flight (aircraft No.3560) took place in June 1942, with aircraft entering production in August. A total of 4,188 were built."
If looking for the earlier Yak-1 in 1/144, North Star Models (later re-released by Brengun) created a plastic, injected kit.
The Kit
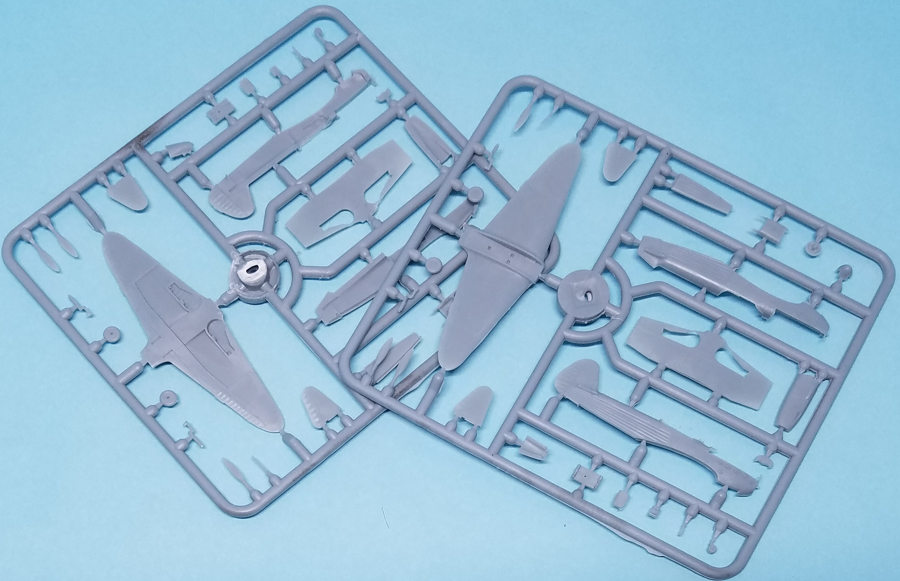
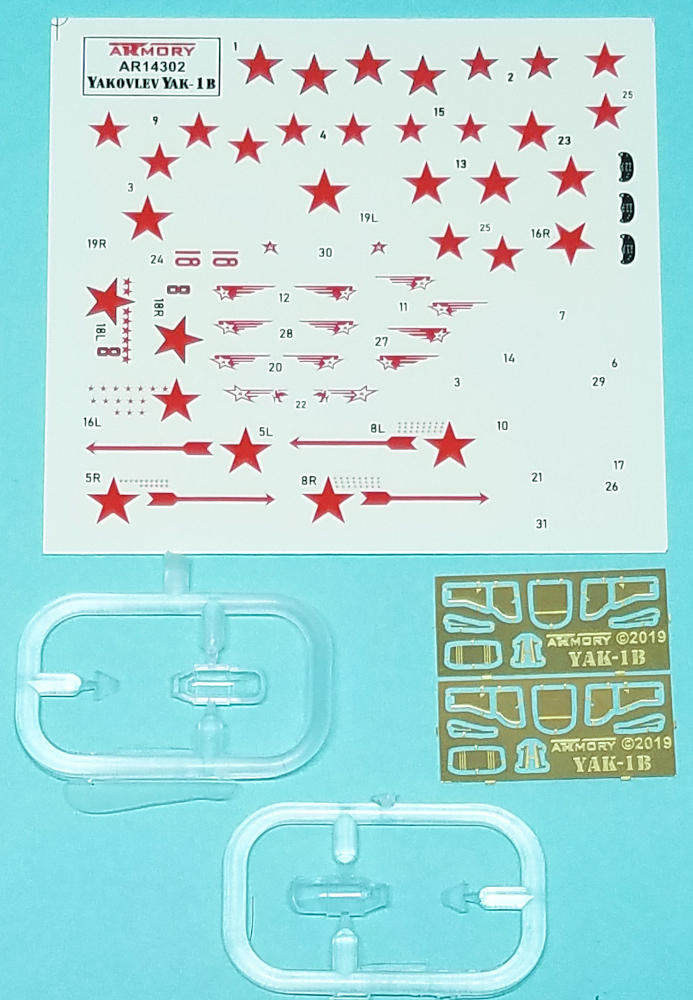
The Armory 1/144 Yakovlev Yak-1b consists of 26 pieces of gray, injected plastic per kit (there are two kits in the box); a sprue of injected, plastic clear, consisting of the canopy and the clear armor behind the pilot's head; and a photoetch fret with 10 pieces on it. Decals exist for fourteen (yes, 14!) different black-and green camouflaged Yak-1bs. Decals are nicely printed and appear in register. Included on the decal sheet are instrument panel decals, but no seat belts. In fact, the photoetch fret also does NOT include seat belts. What it does contain, though, are parts for the landing gear (oleo and all gear doors) as well as the radiator exhaust and the cockpit piece that goes behind the pilot.
|
Let me state something up front. Before I start gluing pieces together, I will tape the fuselage halves together and offer up the top part of the wing to the fuselage-to-wing joint. Based on my work with Armory's Lippisch, as well as North Star Models Yak-1, I should have done this first, before gluing any parts together. This will show just how much work is needed (or not, hopefully) to get the wing-to-fuselage joint to a point it can be glued together, with minimum putty work. Plus, since this Armory kit is designed like the North Star Models Yak-1 - by gluing the cockpit pieces to the upper wing part before gluing the wing to the fuselage - will show if adding the fuselage to the wing will work with the cockpit in place.
So, I would start assembly as Armory suggest, by assembling the cockpit pieces together. Glue the seat-back, the seat-tub and the control stick to the cockpit floor. The next instruction step has you glue the multi-piece prop blades to the spinner backing plate, prior to gluing the spinner to that assembly. Definitely paint all pieces separately, though. Note that Armory does not include color call-outs during assembly so you're left to your own research.
The next step has you glue the under-side-wing-piece to the upper wing part, and then glue the cockpit assembly to the top of the wing.
Now you can see how your preliminary fuselage-and-upper-wing-piece dry-fit worked. Hopefully you were able to get it to some point where gluing these pieces together won't result in ruining the cockpit glued to the wing. Even though it's not specifically shown, glue the fuselage halves together and then offer that assembly to the lower wing but before you do, add the instrument panel after painting and decaling. In addition, it's time to use the first piece of photoetch, a fold-up "shelf" that sits behind the pilot.
Step 5 of the instructions has you add the horizontal tail surfaces, the armored glass behind the pilot, as well as the upper and lower nose pieces. Step 5 also has you add the prop/spinner assembly but that should wait until the kit is completely finished.
|
After turning the model over you add the rear, underside fuselage (which is nice as a separate piece meaning you won't sand away the rib detail, by trying to sand a glue seam) along with the radiator (and its photoetch, fold-up exhaust section) plus all the landing gear bits and bobs. Those too should be left off until final assembly.
The last two pieces added are the radio antenna and the canopy. No masks exist for the canopy but hopefully will be released soon from "someone".
Conclusion
The Armory Yak-1b will look great once finished. Unfortunately I can't find the Brengun kit I have, but looking at images one area - at least - that Armory has on the Brengun kit is the landing gear. Brengun's consists of five pieces per gear leg, while Armory only consists of two. Hopefully at some point I can find the Brengun kit and build both it and the Armory kit, side-by-side.
I definitely send my "thanks" to Armory for sending their Yak-1b to review