Armory 1/144 Sukhoi Su-24M “Fencer”
By Matt Bittner
Introduction
The Sukhoi Su-24 has been around for quite some time. The first production aircraft flew in 1971, accepted into service in 1975 and is still flying to this day. It didn't take long to start upgrading the aircraft and the first Su-24M was accepted into service in 1983.
The Kit
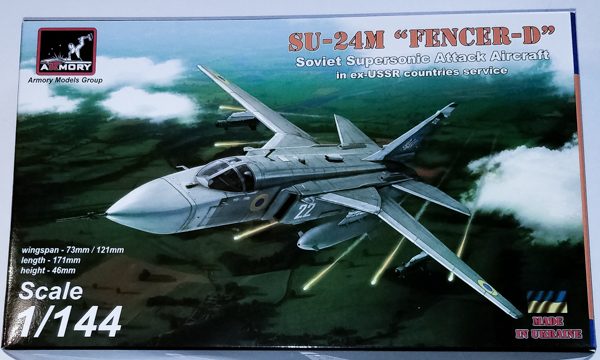
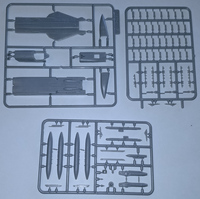
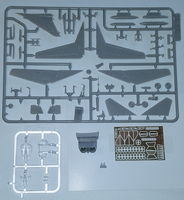
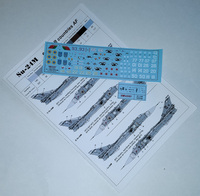
The Armory 1/144 Sukhoi Su-24M consists of 132 pieces of gray, injected plastic pieces; 3 pieces of resin (the control columns and the rear section with exhausts); a photoetch fret with 108 brass pieces (all for the weapons) and a clear, injected plastic sprue with 5 parts. There are decals for 15 schemes, all but one two-tone gray and 11 aircraft Ukraine, one from Belarus and the other schemes Russian.

|
Naturally, as with most aircraft models, construction starts with the cockpit and you'll definitely need to paint all parts prior to assembly. First add the instrument panel to the cockpit tub, then add the control sticks and what appears to be a heads-up-display, finally add the ejection seats and the overhead column and the cockpit tub can be fit into the lower, forward fuselage. Note there are decals to apply throughout the cockpit assembly so pay close attention to the instructions. In addition, there are decals to apply to the upper, forward fuselage (part 6) before you glue together the upper and lower forward fuselage halves. And here is my biggest complaint of the kit. Armory provides a nice photoetch fret but nowhere on that fret are there belts for the seats. Nor decals, if that's your preference but still, it would have been nice for them to include some sort of seat belts. The ejection seats look decent enough but will be quite naked without belts.

|
Now that the forward fuselage is together construction starts in earnest on the main airframe. Glue the nose-halves together (but nowhere does Armory state how much – if any – nose weight is needed; maybe not when assembling the kits with un-swept wings but what about swept?) then glue the nose to the forward fuselage. Next is gluing the fin/rudder pieces together then adding it to the upper, mid-fuselage half (although I may just add that after I have the mid-fuselage halves together). In fact the instructions have you add the wings (and here you decide between swept and un-swept wings; they don't move), fin and another "bump" to the upper mid-fuselage half before gluing the halves together. I think I'm going to opt to glue the mid-fuselage halves together before performing any of the other assembly. But once the fuselage halves are together and everything added (fin, wings, lower-fuselage strakes and resin rear fuselage and exhaust) then the only thing left is to add the forward fuselage and the intakes and now you have a complete airframe, ready for painting.

|
There are other decisions to make, too. Armory shows you how the "typical", following versions were outfitted: Su-24M bomber version w/38x OFAB-100-120 bombs, Su-24M missiles carrier w/2x Kh-59 "Ovod" cruise missiles, or a Su-24M aerial refueler version w/UPAZ-M refueling pod and 2x 3000l fuel drop tanks. So follow those diagrams when wanting to outfit your Su-24M model with underside stores. The instructions show how to assemble those stores before adding them to the airframe. In addition, the instructions also show the assembly of the undercarriage but again, those are best left off until after painting.
Conclusion
Finally, an injected plastic 1/144 Su-24! And it appears the way Armory has the sprue arranged there could be other versions coming as well. This specific example is labeled "in ex-USSR Countries Service" but there is, so far, one other release and the only difference I can tell are the decals. That one comes with decals for "other countries" that flew the Fencer; for example Libya, Syria, etc. But in any event, while Miniwing released a resin, 'early' Su-24 it has been out of production for quite some time and wasn't the Su-24M, the latest version. So, this is the only option for a 1/144 Su-24M at the current moment.
Huge thanks to Armory for sending the review kit.
