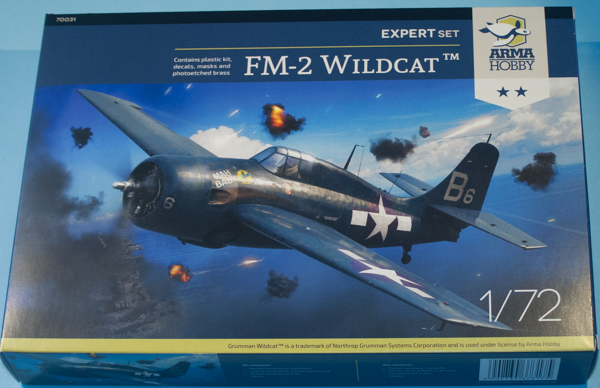
Arma Hobby 1/72 FM-2 Wildcat Expert Set
By Matt Bittner
Introduction
From Wikipedia:
"General Motors / Eastern Aircraft produced 5,280 FM variants of the Wildcat. Grumman's Wildcat production ceased in early 1943 to make way for the newer F6F Hellcat, but General Motors continued producing Wildcats for both U.S. Navy and Fleet Air Arm use. Late in the war, the Wildcat was obsolescent as a front line fighter compared to the faster (380 mph/610 km/h) F6F Hellcat or much faster (446 mph/718 km/h) F4U Corsair. However, they were adequate for small escort carriers against submarine and shore threats. These relatively modest ships only carried two types of aircraft, the Wildcats and GM-built TBM Avengers. The Wildcat's lower landing speed and ability to take off without a catapult made it more suitable for shorter flight decks. At first, GM produced the FM-1, identical to the F4F-4, but reduced the number of guns to four, and added wing racks for two 250 lb (110 kg) bombs or six rockets. Production later switched to the improved FM-2 (based on Grumman's XF4F-8 prototype) optimized for small-carrier operations, with a more powerful engine (the 1,350 hp (1,010 kW) Wright R-1820-56), and a taller tail to cope with the torque."
The Kit
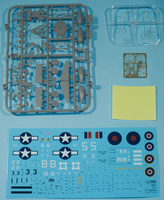
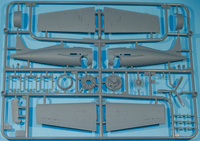
The Arma Hobby 1/72 FM-2 Wildcat Expert Set consists of 71 pieces of gray, injected plastic; five parts in clear injected plastic; masks for the clear pieces and wheels; and a photoetch fret containing 20 parts. Decals exist for six FM-2s:
- FM-2 Wildcat, VC-10, CVE-73 USS Gambier Bay (finished in overall Gloss Sea Blue)
- FM-2 Wildcat, VC-10, CVE-73 USS Gambier Bay (finished in a unique three-colour pattern)
- FM-2 Wildcat, VC-8, CVE-60 USS Guadalcanal (finished in Dark Gull Grey and White)
- FM-2 Wildcat, VC-69 CVE-60 USS Guadalcanal (finished in Dark Gull Grey and White)
- FM-2 Wildcat, VC-96, CVE 81 USS Rudyerd Bay, Okinawa April 1945 (finished in overall Gloss Sea Blue)
- Wildcat Mk.VI, 882 Sqn FAA, HMS Searcher, 26 March 1945 (finished in Dark Slate Grey and Extra Dark Sea Grey over Sky)
Decals are nicely printed with great color and appear to be in register. In addition to the aircraft markings, Arma Hobby provides full stencling as well.

|
Construction naturally starts with the cockpit and with this Expert Set, you'll need to pay attention to where all the photoetch is to be placed and how to paint everything. All of this is nicely laid out in the instructions so there is no guessing needed as to parts placement. Once all the cockpit pieces are together then you can continue with fuselage assembly.
Add the cockpit to the starboard fuselage half, and after adding the photoetch linkage (which represents the landing gear retraction mechanism) to the firewall then that firewall is also added to the starboard fuselage. In addition, part of the landing gear is also added at this time, prior to gluing the fuselage halves together.
After the fuselage halves have been glued together, then you add the engine firewall, the engine along with its front, all - of course - after painting. Note that there are photoetch ignition wires that need to be added to the engine as well. Once the entire engine assembly is in place, then the cowl halves can be glued together, followed by the separate cowling-front.

|
It's at this stage the model starts looking like an aircraft. First add the horizontal tail pieces (the control surface is a separate part) then glue the rudder on (it too can be positioned). Glue the wings together (remembering to drill out the holes for the rockets if you use them) and then add them to the fuselage. Finally, this stage has you glue whichever prop hub you need for your build to the prop, which you also remembered to paint before this stage.
Next you move on to constructing the main undercarriage. I've read a few online builds where this aspect of construction can be tricky, so take your time and follow the instructions. Once built up, though, they definitely look like Wildcat landing gear.
The next few stages of construction are best left until after painting and decaling. Those steps consist of adding the landing gear; gluing on the wheels and tires (again, there are differences so pay attention to the airframe you're modeling); assembling the external fuel tanks prior to adding them; gluing the rockets together and adding them too (if using); putting the gun sight into the cockpit prior to adding the windscreen and canopy (which can be positioned opened); the antenna; and all antenna wires again, dependent on the airframe (and which is nicely shown in the instructions).

|
All in all the instructions are first rate and other modeling companies would do well by studying them and making their instructions as Arma Hobby's are.
Conclusion
Finally, an accurate - and really well done - model of the General Motors (Grumman) FM-2 Wildcat. This will look really great on your shelf and is definitely the best in the scale.
