Academy 1/72 F-16CG/CJ Fighting Falcon
By Matt Bittner
Introduction
Does the F-16 truly need an introduction? Since winning the "light-weight fighter competition" in 1975, the Falcon (or Viper as it's known to its pilots) has served quite well in not only the USAF, but other air forces as well. There have been - so far - 4400 built of this excellent aircraft, and it will serve well into decades to come.
This Academy kit is actually the third to be released in recent years of the later-block F-16s (CG/CJ, etc.). Sure there have been others from ESCI, Italeri, Fujimi, etc., but the later three - from Hasegawa, Revell and now Academy - are considered the best in 1/72. Having performed a lot of research on builds of this kit, it has come to my attention that there are some flaws with the Academy version. None are easy to rectify (especially in terms of the shape of the nose and intake) but when it comes down to it, when built it still looks like an F-16. Especially to me, someone who primarily builds biplanes.The Kit
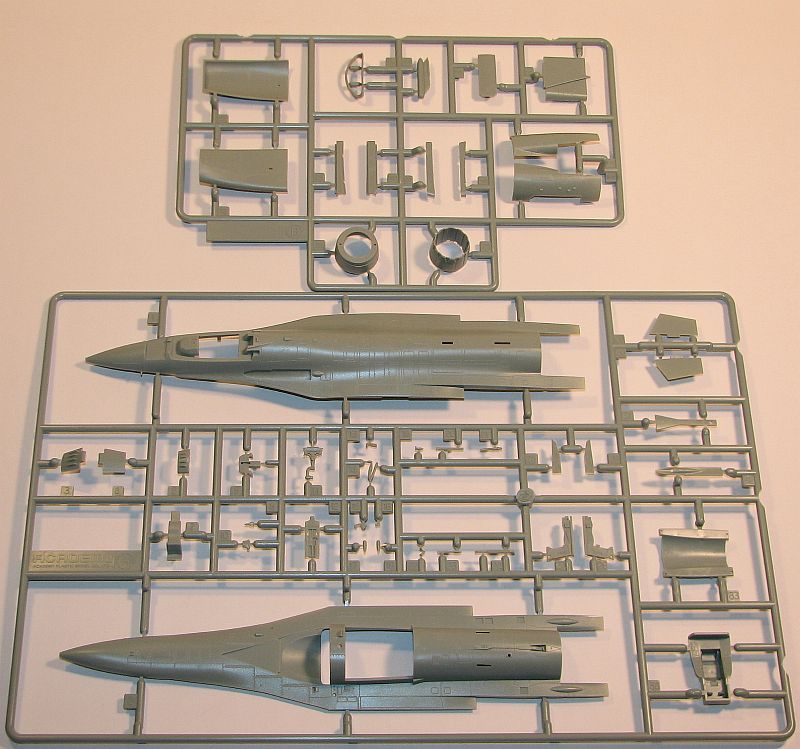
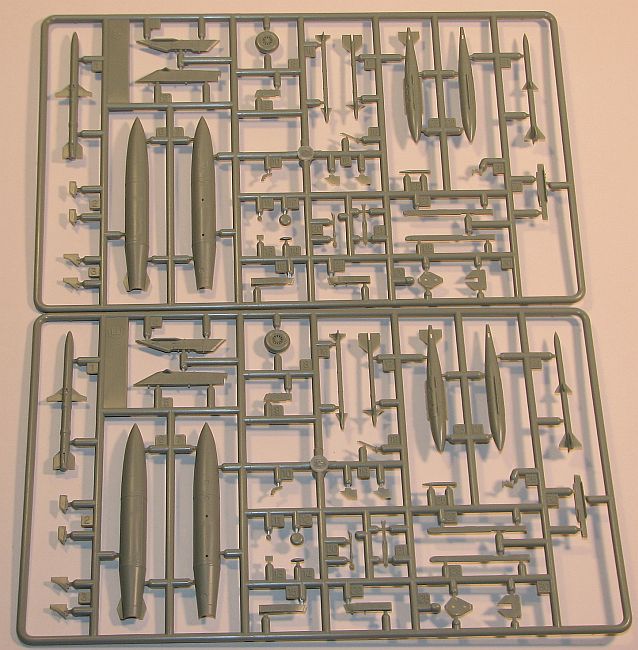
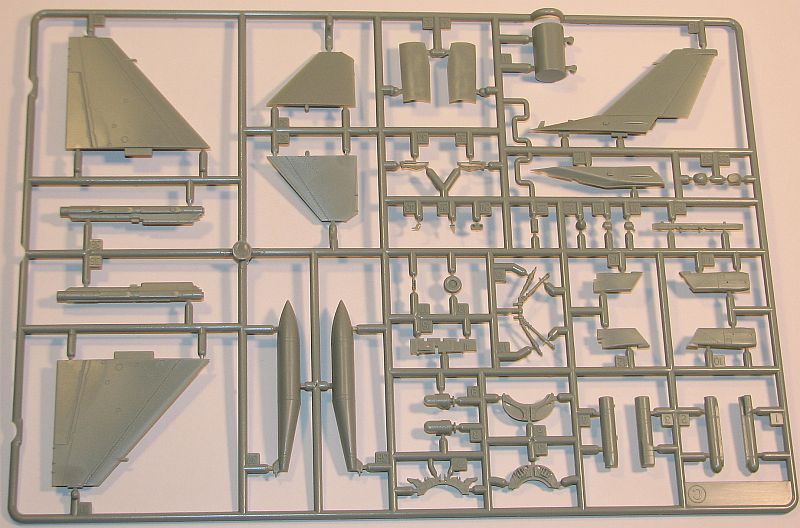
The level of detail on this Academy kit is exceptional! Nicely detailed cockpit (more than adequate if closing the canopy), plenty of stores, wonderfully detailed landing gear; the kit is awesome in the detail department. From the builds I've read there aren't too many fit issues with the kit, especially none that can't be solved by performing plenty of dry-fits. There are 159 grey injected-molded parts along with two "tinted" clear, and 8 other clear pieces (landing lights, etc.). Parts are very well molded (one forum I read talked about a "grainy" texture - Academy must have worked it out because mine is smooth) with engraved panel lines. All in all, when you look in the box it's an awesome kit. 70 of the parts mentioned are for stores alone - two full frets worth.
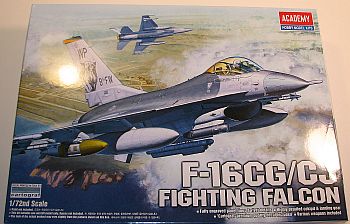
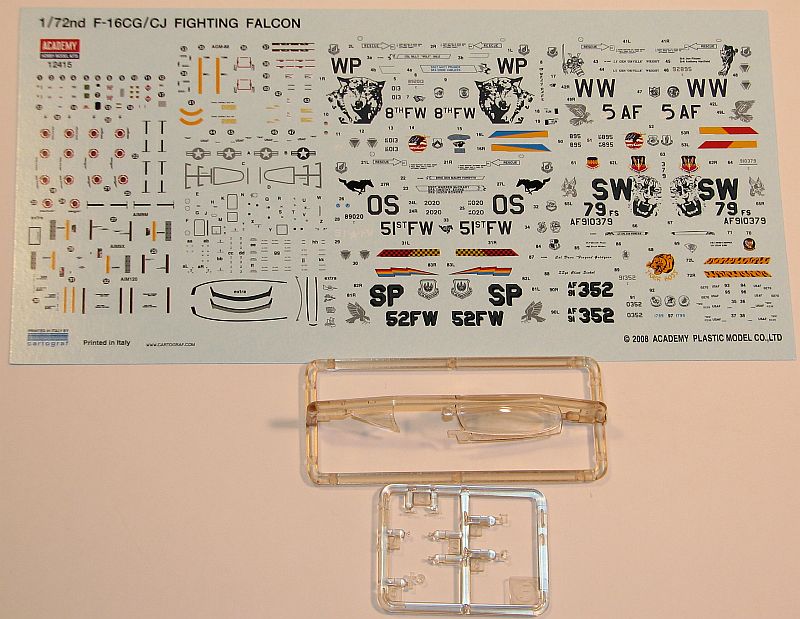
The decals, superbly printed by Cartograf, are for the following aircraft (all in two-tone grey):
- F-16CG Block 40E (89-2013), 8th FW, Kunsan AB. South Korea, 2004
- F-16CJ Block 50P (92-3895), 5th AF, Misawa AB, Japan, 2005
- F-16CG Block 40E (89-2020), 51st FW, Osab AB, South Korea, 2004
- F-16CJ Block 50D (91-0379), 79th FS, "Operation Southern Watch", Shaw AFB, South Carolina, 2002
- F-16CJ Block 50C (91-0352), 52nd FW, Spangdalem AB, Germany, 2005
Construction commences with assembling the nicely molded ejection seat. There are six parts to this by itself, and personally I think it's one of the nicest ejection seats to come from a main-stream injected molded kit. Add it, the control column and instrument panel (after painting each, of course) to the cockpit tub, and you move to the next step, which is assembling the seven parts of the intake trunk. This is then glued to the lower fuselage half. Now the assembly moves to the main gear well, which is assembled and also glued to the lower fuselage. Add some side cockpit pieces and you can then glue the fuselage halves together. One thing, though. The directions don't call out for any nose weight, so I'm unsure if any is needed, and how much. It could be the F-16 has a decent center of gravity - even in kit form - to not need nose weight. If anyone has built this kit and knows more, please contact me through the email address listed in the by-line.
While construction moves to glueing the exhaust pieces together and that to the fuselage, I bet the fit it good enough that this step can be left off until last, so there is no complex masking needed. Same with the next steps which is assembling the landing gear and gluing them into the gear wells (except for the couple of pieces that are themselves added to the main gear well). Detail in this area is also superb and with the right combination of washes and dry-brushes, the gear will "pop".
Add the wings next, and since (I believe) the F-16 has "moveable" elevons for the tail, you could leave those off until the end (assuming the fit isn't horrid, and given this is an Academy kit it shouldn't be). The next step is adding the vertical tail and its pieces (the kit contains both the "short" and "long" end behind the rudder/fin) and then decide which piece you'll add to the nose right in front of the canopy (with or without strakes) and you're ready to paint.As I mentioned in the beginning, this kit comes with a multitude of stores, so you'll need to decide what - if any - you're going to hang from your Viper. I believe almost all that the F-16 carries is catered for in the box.
Conclusion
 I normally wouldn't have added this kit to my stash except for it being for a local club competition (an "everyone builds the same kit"-type) but now that I have, I'm glad I have because it's a very nice kit. Okay, maybe the people really into the F-16 don't like this as well as the Revell or the Hasegawa, but for those not extremely picky on their builds (I tend to be in the biplane world, but not with jets) the Academy F-16CG/CJ is an impressive model. Plenty of detail to satisfy most and it will definitely look like a Viper when finished. For my particular model, I plan on adding a Quickboost seat along with the Eduard Zoom photoetch set. Just enough to make the model "pop" without going full bore.

