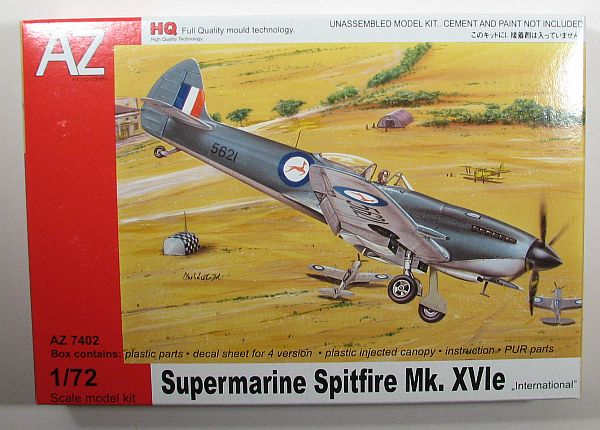
AZ Model 1/72 Spitfire Mk.XVIe
By Matt Bittner
Introduction
A new series of Spitfires - new tools, new molding - coming from AZ Model shows great promise. This new "High Quality" molding is state of the art, and these Spitfires are definitely worth tracking down.
The Kit
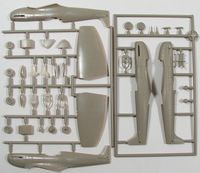
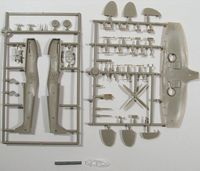
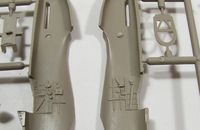
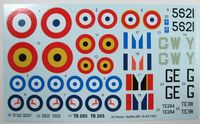
The AZ Model 1/72 Spitfire Mk.XVIe consists of 59 pieces of tan, injected plastic; two pieces of clear (the windscreen and sliding canopy); and a resin exhausts. Decals, which appear to be well done and in register, are for the following schemes:- Tb 305, 340. Sq, Linge-Drope, France, 1945
- TE 284, Royal Hellenic AF, Tatoi Airfield, 1949
- 5621, Air Operations School, AFS Langebaanweg, South Africa, 1953
- TE 191, Name "Stad Gent", Fassberg Air Base, Belgian AF, 1946
Construction naturally starts with the cockpit, and out-of-the-box is extremely well done; the only thing missing are seat belts. Although the door isn't positionable, the cockpit is so well done that I would consider cutting the door and opening it, showing off all the great detail. I don't say that with a lot of out-of-the-box kit cockpits. You build the cockpit out of the resin floor; an instrument panel/front bulkhead; rear bulkhead with separate seat-holding sides and a two-part seat; a control column; separate head rest; and oxygen bottles. Most detail is raised, including the instrument panel, and with the right treatment all the great detail will really "pop". Once all of that is put together, then you add the cockpit to one fuselage side and glue the fuselage halves together. At this time you also glue on the separate rudder.
The next instruction step has you build up the kit to look like an airplane. First glue the small landing-gear inserts to the lower wing piece, glue the upper wing halves to the lower wing, then glue that to the fuselage (although, since I'm unsure of fit, you might want to glue the lower part of the wing to the fuselage first, then follow up with the upper wing pieces to help with fit). You'll need to make a decision now as to if you want the "early" or "late" wing configuration, then based on your decision glue the bulges to the top of the wings. The last part of this step is to glue on the horizontal tail parts. The next few steps I would change what is glued on at which point. For example, the next step in the instructions is to have you glue on the guns and cannons, along with the exhausts. I feel it's best to leave those off until the end, in order to help with painting. However, while leaving the landing gear off, I would definitely glue on the chin scoop, both radiators and other accoutrements to the bottom of the wing (while leaving off the pitot tube, though). Add the windscreen and – if you decide to close it – the canopy, mask them, and now you're ready to paint. After painting you can add the landing gear, assembled prop, gun sight and rear-view mirror. Now your Spitfire Mk.XVI is complete.This is my first foray into the world of AZ Model Spitfires, and it looks great to me. I can see that looking at other Spitfires in the AZ range they all look great and shouldn't be too difficult to build.
Our thanks to AZ Model for sending the Mk.XVI to review.

