AZ Model 1/72 Spitfire Mk.IX
By Matt Bittner
Introduction
There's plenty of references in the world on Spitfires so I will let you discover those on your own, if you don't already have something. AZ Model has come out with a new line of models they call "High Quality", and it definitely shows, especially when compared to their kits that aren't "High Quality".The Kit
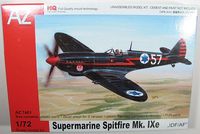
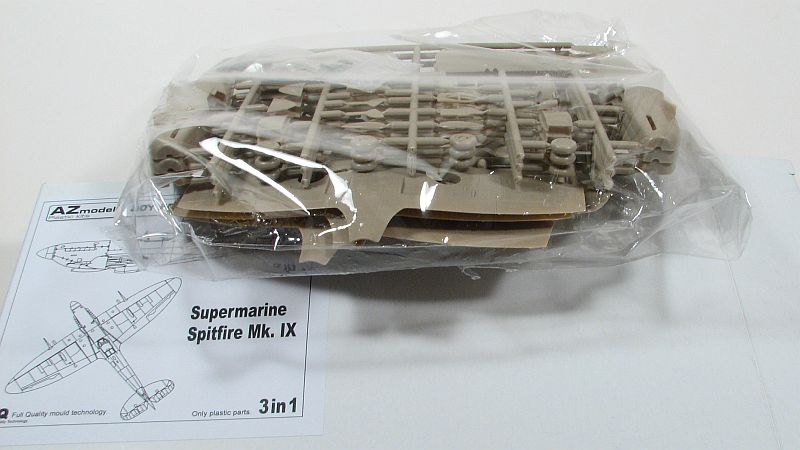
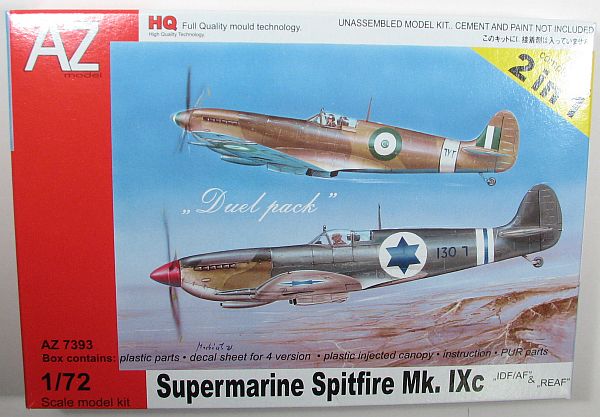
Whichever sub-type of the Mk.IX you purchase from AZ Model - the Mk.IXc or Mk.IXe - you'll receive the same exact parts in the box. The differences lie in the instructions and the decals, if they're provided. I cover three boxings of the Mk.IX from AZ Model, the Mk.IXc "2 in 1", "IDF/AF" & "REAF"; Mk.IXe "IDF/AF"; and the Mk.IXc "Joy Pack" with three complete kits, but no decals. Since the plastic is the same, I'll mention the markings provided:
- Mk.IXc, D-131, Herzlyia, October 1948 - topsides grey-green, bottoms azure
- Mk.IXc, D-130, Herzlyia, July 1948 - topsides grey-green, bottoms azure
- Mk.IXc, 672, No.2 Sqn REAF, El Arish, October 1948 - topsides RAF desert camo, undersides azure
- Mk.IXc, 664, No.1 Sqn REAF, El Arish - topsides RAD desert camo, undersides azure
- Mk.IXe, 101, Tajeset, IDF/AF, personal mount of Sq. commander Ezer Weizman - finished overall in satin black with red lightning bolts on the sides, prop boss and rudder stripes
- Mk.IXe, 107, Tajeset, IDF/AF, 79 (2079), during the 1950s - overall in aluminum
- Mk.IXe, 101, Tajeset, IDF/AF, 2004/14, Hatzor, January 1949 - finished in dark green and ocean grey on top, with light grey undersides
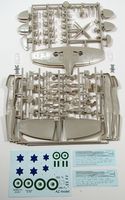
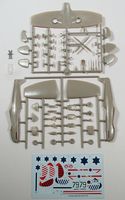
Options are abundant, since the plastic covers the Mk.IXc and Mk.IXe. There are early and late stabilizers for the horizontal tail; rounded or "spiked" rudder; large or small gun bulges for the top of the wing; early or late chin intake; the guns can be swapped as needed (but for the Mk.IXe you'll need to fill in the outer guns yourself); plus, while out-of-the-box the wing tips are clipped, the kit does include separate extensions that can be added.
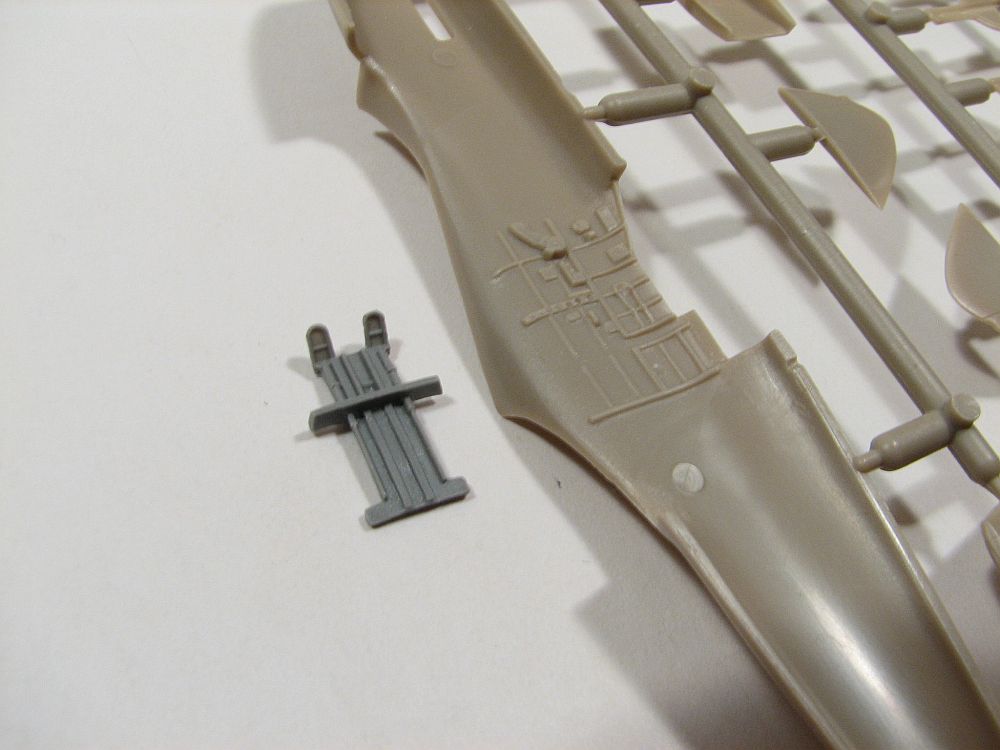
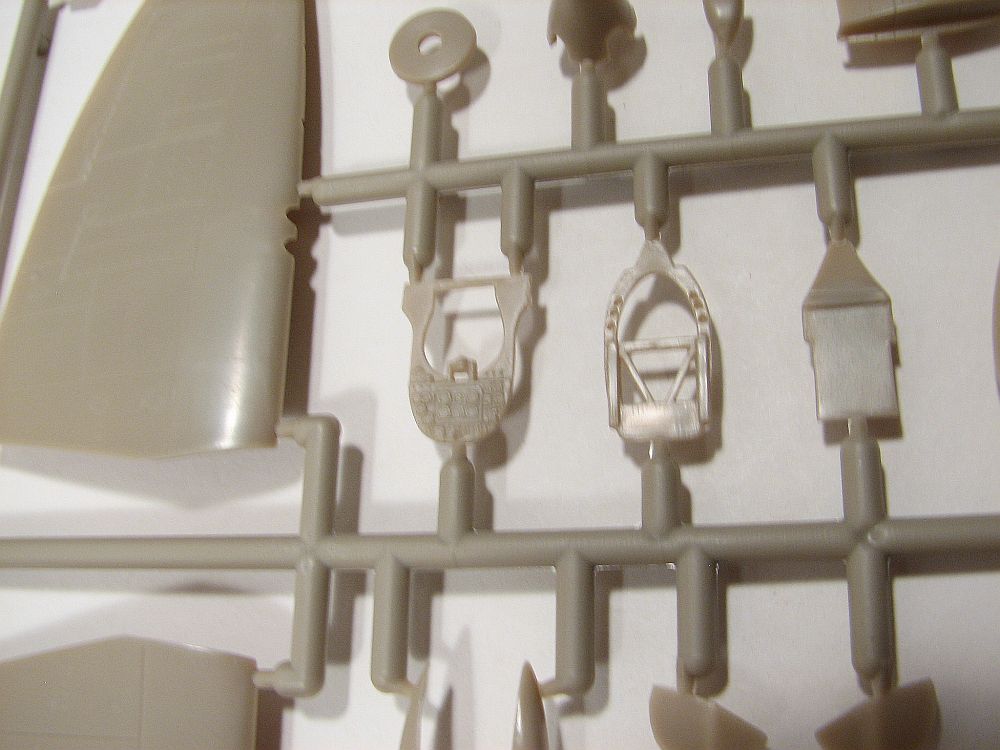
Each kit contains one plastic sprue with 62 pieces, a resin cockpit "floor" and one clear, injected one-piece canopy and windscreen. The plastic is extremely well done, and with the new masters it reminds me of Eduard, it's that good.
Construction starts with the cockpit, by assembling the control column and front bulkhead/instrument panel to the floor, followed by the seat to the seat back, the seat back to the reard bulkhead, and the seat supports to the bulkhead and seat. Out of the box the cockpit is extremely well done, and the only items missing are seat belts. Once the finished cockpit is glued into one fuselage half, then the halves can be joined together, and the rudder (once you're sure of which one you'll need) and gun sight can be added.The next step is to make the aircraft look whole. First glue the smaller well-well piece to the lower wing. Then, glue the lower wing and upper wing halves either together, or glue the lower part to the fuselage first, followed by the uppers. Next are the horizontal tail pieces, once you decide if the machine you're building requires the "early" or "late" tails. You'll also need to decide if you need the "small" or "large" gun bulge for the top of the upper wing, depending on your armament choice. If the machine your building requires the longer wings, then you'll need to add the separate wing tips now.
The next steps I would pay close attention to, and not add everything they show. For example, I would add the exhausts close to the end of construction, as well as the landing gear. However, I would definitely add the chin intake and under-wing radiators prior to painting. The prop and antenna would also best be left off until the end. The last instruction step is adding the single-piece windscreen/canopy, so either tack that down, or permanently glue the single piece down prior to painting, if wanting to display it closed (and you'll need to separate the canopy if you want to display it open).Conclusion
This is an awesome release from AZ Model, and I expect them to sell a lot of them. Especially the "Joy Pack", since there are a lot of aftermarket 1/72 Spitfire Mk.IX decals in this world. It should go together well enough, and will look great when finished. From what I've read on-line, this Mk.IX is now considered the definitive 1/72 Mk.IX on the market.
Huge thanks to AZ Model for sending these in for review.

