AZ Model 1/72 Curtiss P-40E
By Matt Bittner
Introduction
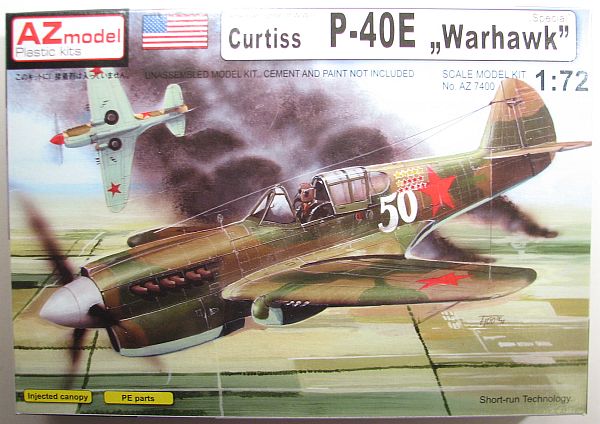
Although the P-40E has been served already in 1/72 – by Hasegawa and Academy – a new kit is definitely welcome, especially when it corrects one main flaw the Academy kit has. The AZ Model P-40E is that kit.
The Kit
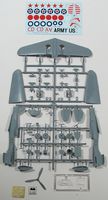
The AZ Model 1/72 P-40E consists of 58 pieces of injected plastic, three pieces of clear injected plastic, and a photoetch fret with seven pieces on it. Decals appear to be in register and are for the following aircraft:- P-40E, 154. IAP, May P.A. Pakryzhev, Leningrad, Summer 1942
- P-40E, 1lt James O Beckwith, CO of the 72nd FS, 15th FG, Hawaii, January 1942
- P-40E captured of the 24th PG, Mindanao, May 1942
- P-40E, operational training unit, RAAF, 1944
Once again, construction starts with the cockpit. This is where most of the photoetch pieces are put, which consists of a main instrument panel (with instrument film to be put behind the photoetch), and three other pieces of brass to build up the full instrument panel. This is assembled to the cockpit floor, along with the rudder pedals to the instrument panel, control stick, seat, rear bulkhead, headrest on the bulkhead, and "hand brake" (I'm assuming). Once all this is assembled, then it and the instrument panel, along with the tail wheel well and tail wheel are glued into one fuselage half. After the fuselage halves are glued together, then after assembling the chin intake from is three pieces, it is glued onto the nose.
While one of the next steps in the instructions have you glue one of the two different sets of exhausts on, I would wait until after painting. However, the other steps in this set are important. You'll need to glue the landing gear bay "outlines" onto the lower wings, then glue the lower wings to the upper wing part. This is then in turn glued to the fuselage. You will probably want to check fit before you do this, though, to be sure that's the way you want to proceed. The other way would be to glue the lower wing to the fuselage first, then glue the upper wings onto the lower wing/fuselage, with the fit hopefully being better. In addition, at this point the separate rudder and horizontal tail pieces are also added.Now the kit is turned over and pieces added to the underside. Even though the instructions have you glue the landing gear on, I would wait until after painting to accomplish that. Same goes with the propeller and the photoetch bead-and-ring gun sight.
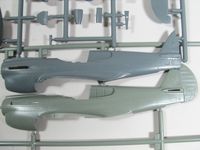
The item where Academy is inaccurate is mainly the height of the canopy, which is too high in this kit. As you can tell in the pictures, AZ Model appears to have this one area correct, or at least more accurate than the Academy kit.Conclusion
An excellent addition to 1/72 P-40 kits, the AZ Model will build up into a very nice P-40E. While this isn't molded using their latest "HQ" technology, it still is a kit worth tracking down.
Thank you to AZ Model for supplying the review Kittyhawk Ia.


