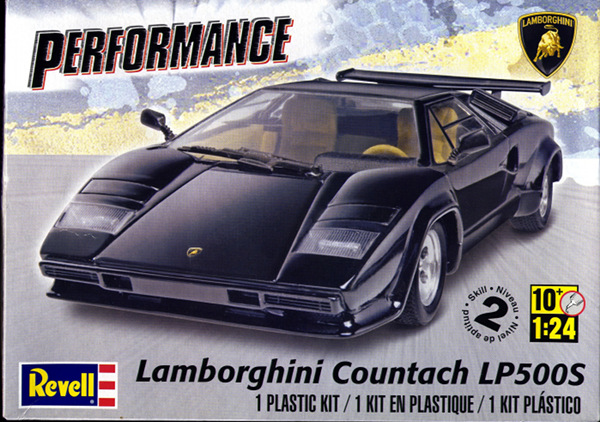
Revell 1/25 Lamborghini Countach LP500S
By Tommy Vanness
Intro
Hello fellow builders. I was very happy to receive this Lamborghini Countach LP500S kit from Revell. I had a poster of this very car on the wall in my room when I was a kid. The Countach represented what dreams were made of for me and many of my friends.
The Countach was first available in 1974 but the LP500S, of which only 321 were made, was introduced in 1982. It packed a 4.8L V12 that gave it a 0-60mph time of 5.4 seconds and a top speed of 186 miles per hour. The numbers are pretty impressive considering the era.
The Kit
The kit is molded in white. It is rated Skill Level 2 with a total of 124 parts in the kit, including the clear parts, chrome parts and 4 rubber tires. The instruction booklet contains 16 steps of construction. The directions are clear and broken down into mini steps which are easier to follow.
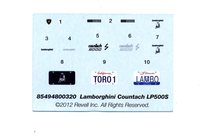
The parts list is two whole pages, and the paint guide recommends 9 different colors to match the model illustrated on the box. The decal sheet is pretty small, containing only a few license plate choices and the Lamborghini emblems. But the car never really needed additional schemes or designs!
I am excited to see how low slung the body of the car looks when I look at the parts. The car is very angular with many sharp edges. This will be something to watch out for when one polishes the body after painting. You don't want the primer or plastic to show through the paint. I noticed that the mold lines are done really well on this kit.
One area that will need a little sanding (to remove mold lines) is the rear fender just above the wheel wells. An exciting feature of the kit is the full engine detail. The kit allows for opening both the hood and engine cover. The Countach had room for a full sized spare, which is molded into the body of the model and will be covered by a panel for the hood.
I love the huge wing that will be attached to the rear of the car. It really looks like it belongs to part of a fighter plane. The front hood emblem has been molded into the plastic and is raised higher than the surface, but a decal is included for this.
Conclusion
This looks like it will be a fun kit to put together. It brings back memories from my childhood, when I dreamed of driving this car. The directions are well written and provide good illustrations of the parts and assembly. All that is left to do is decide on a color and get to work! I would like to thank Revell for providing the kit.

