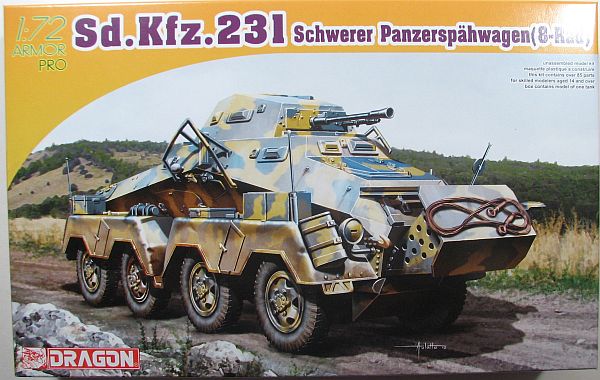
Dragon 1/72 Sd. Kfz. 231 Schwerer Panzerpähwagen (8-Rad)
By Matt Bittner
Introduction
This is the third kit manufacturer that has come out with 8-Rads (wheels) that I own. The first (for me) was from Roden, the second from Hasegawa. Each kit had its plusses – for example, you could build the Roden kit so all axles had articulation as well as having the wheels turn. The articulation was the biggest "selling" point for me. I haven't touched the Hasegawa kit since buying it, so can't really comment on how it compares with the Roden – and now – Dragon kits.
I do remember enough, though, to unequivocally state that Dragon's kit is the best of the three. The amount of detail contained on the kit parts is fantastic, and with Dragon's "slide mold" technology, you can attain a level of detail not available from these other, older kits.
The Kit
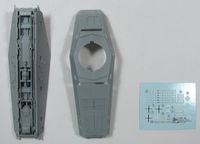
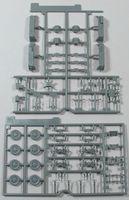
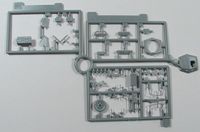
 The Dragon 1/72 Sd. Kfz. 231 consists of 92 pieces of gray injected plastic. All parts are expertly done, and you can tell these were done with "slide molds" – for example, the main gun barrel is already hollowed out. There are decals for four schemes:
- 2.Div (Motorisiert) "Reich", Yugoslavia, 1941, finished overall in Panzer Gray
- 1.Div (Motorisiert) "LAH", Greece, 1941, finished overall in Panzer Gray
- 23.Pz.Div, Mozdox, 1942, finished in both Panzer Gray and Panzer Yellow
- 2.Pz.Div "Das Reich", Kursk, 1943, finished overall in Panzer Yellow
- Aufkl.Abt.129, Pz.Gren.Rgt.29, Sicily, 1943, finished in Panzer Yellow with Panzer Gray "wavy lines"
Decals are nicely done and appear in register.
 Construction starts with the differential and suspension, gluing it all to the lower hull. While the instructions have you glue the tires on now, I'm uncertain if you have to, or if there's a way to glue them on after the fenders are attached to the upper body. If you're unable to do that, then painting the tires after the main hull could be "fun".
The third step in the instructions consists of building up the fenders. There are plenty of small details to add and some of them – like the corner "poles" – would be best to leave off until the very end. Those fenders are now added to the already built-up lower body hull. From here you'll attach the upper hull and add some details to it as well. The instructions have you add items to the front and back of the upper body before adding to the lower hull, but I'm unsure if there will be any seam work needed on those areas, so when I build this I will add those items after the body parts are glued together.
 The next-to-the-last step of the instructions has you assemble the turret. This consists of a top and bottom piece; forward bulkhead and mantle; the two guns (the main xx gun and the machine gun); and finally the commander's separate hatch. Dragon has made it so the turret is rotatable after putting it onto the main body.
Finally, Dragon has you add the large "nose armor" to the front, if you so desire. This wasn't fitted to every Sd. Kfz. 231, so it's up to you if you decide to add it or not.
Conclusion
While some parts are a little fiddly, especially those for the suspension, overall this shouldn't be a difficult build. With the amount of detail Dragon has put into the kit, in my opinion it is better than both the Roden and Hasegawa kits. The only drawback is assembling the suspension so that all eight wheels touch the ground – something the Roden kit has to problems with, since it was designed to provide a "floating", articulated suspension.
My thanks to Dragon Models USA for supplying the review kit.
