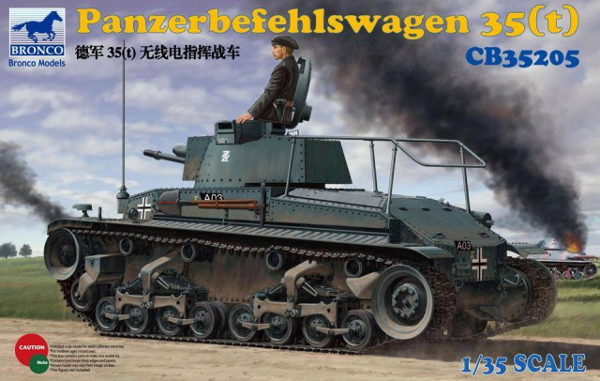
Bronco 1/35 Panzerbefehlswagen 35(t)
By Eric Christianson
The Tank
The Panzerkampfwagen 35(t), commonly shortened to Panzer 35(t) or abbreviated as Pz.Kpfw. 35(t), was a Czechoslovak-designed light tank used mainly by Nazi Germany during World War II. The letter (t) stood for tschechisch (German: "Czech"). In Czechoslovak service it had the formal designation Lehký tank vzor 35 (Light Tank Model 35), but was commonly referred to as the LT vz. 35 or LT-35. Four hundred and thirty-four were built. Germany seized two hundred and forty-four when they occupied Bohemia-Moravia in March 1939 and the Slovaks acquired fifty-two when they declared independence from Czechoslovakia at the same time. Others were exported to Bulgaria and Romania.
In German service it saw combat during the early years of World War II, notably the Invasion of Poland, the Battle of France and the invasion of the Soviet Union before they were retired or sold off in 1942. Other countries used them for the remainder of the War. Bulgaria used the Pz.Kpfw. 35(t) as training tanks into the 1950s.
The Kit
Bronco Models offers up an excellent rendition of this early war Czech tank which was commandeered and pressed into service with the German Wehrmacht. The kit features workable tracks and a highly detailed interior that can be displayed by lifting the single-piece upper hull. The interior contains the driver's and fighting compartments, a full set of radios and other rack-mounted equipment, and a pretty nice faux-engine firewall at the rear. Although no engine is included, the empty engine compartment is accessible under the same one-piece upper hull. Super-detailers could remove the firewall and add an engine.
Opening the Box
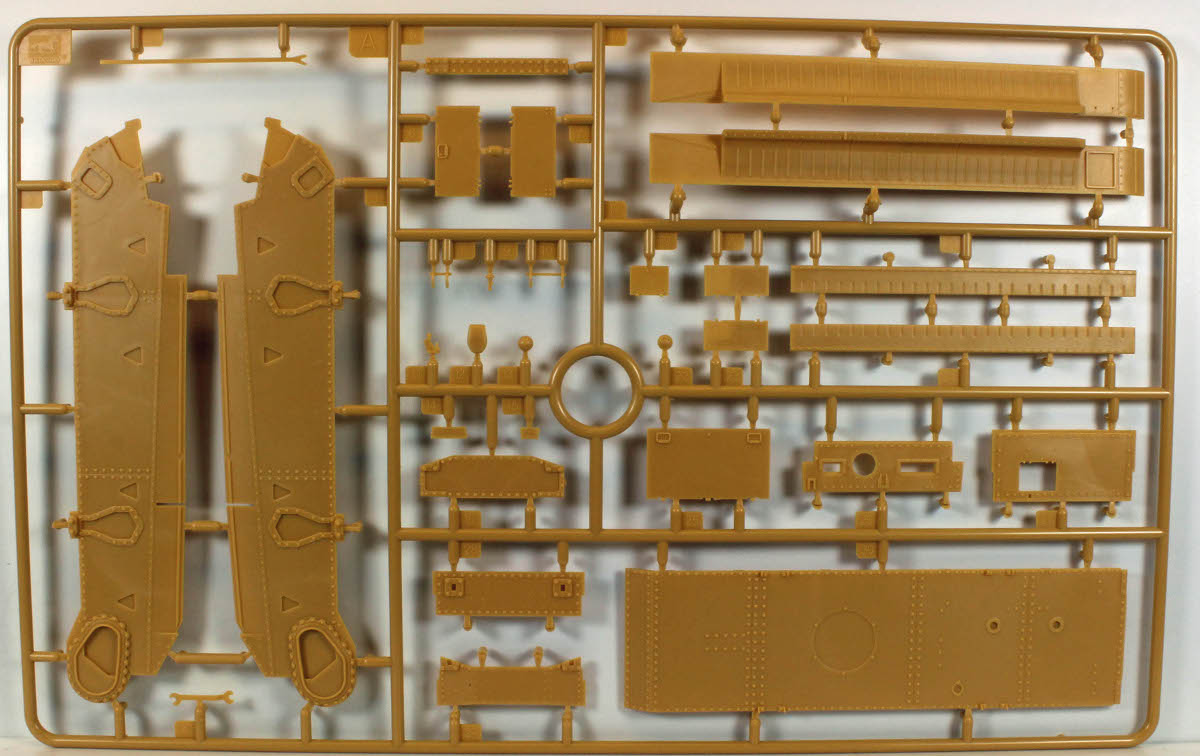
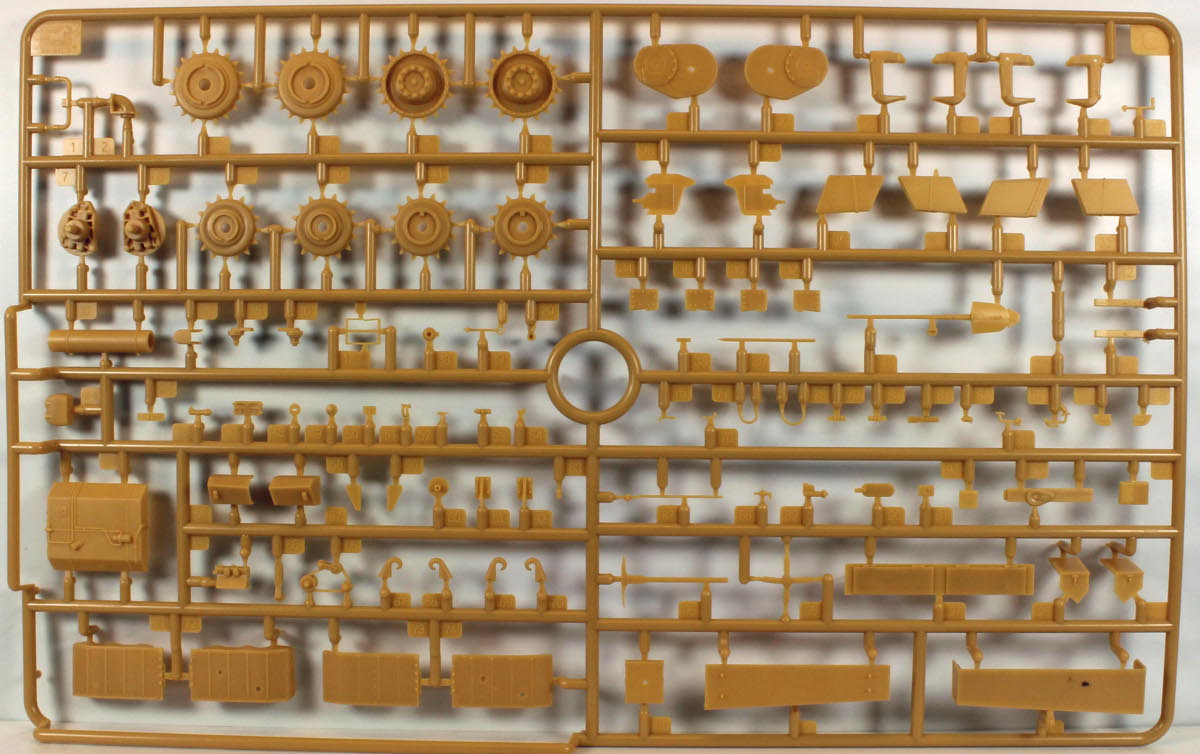
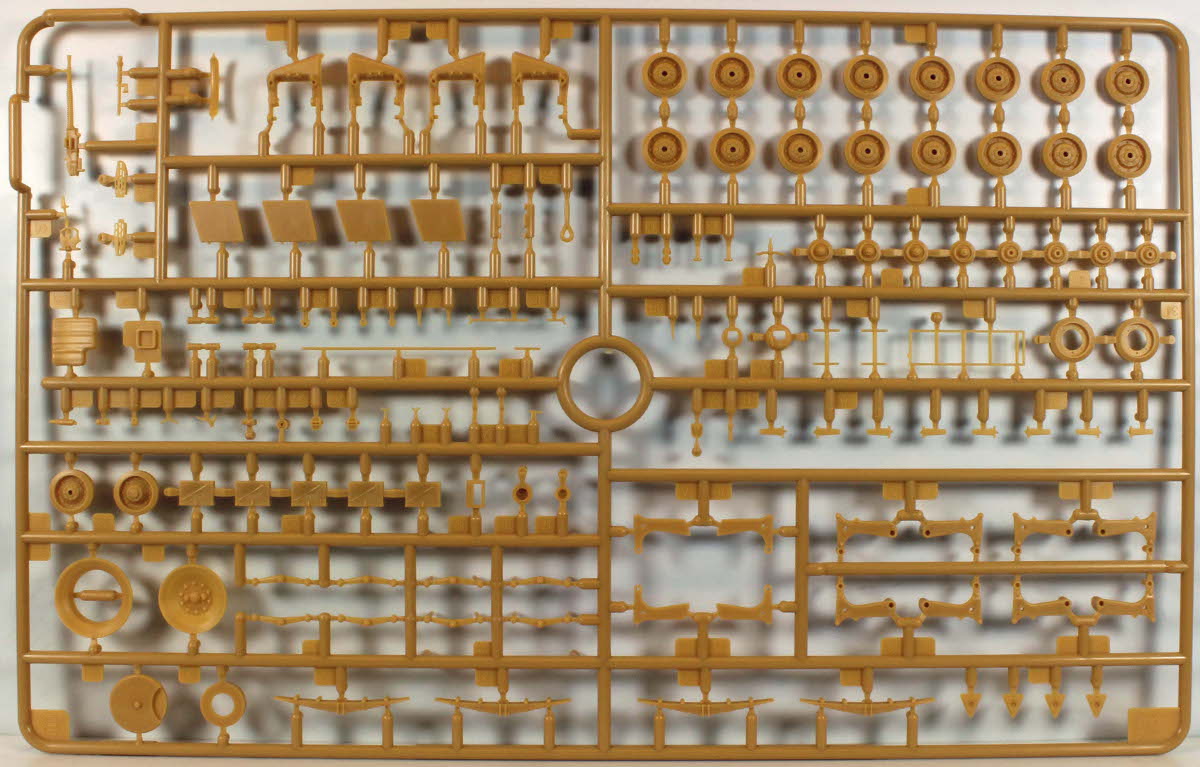
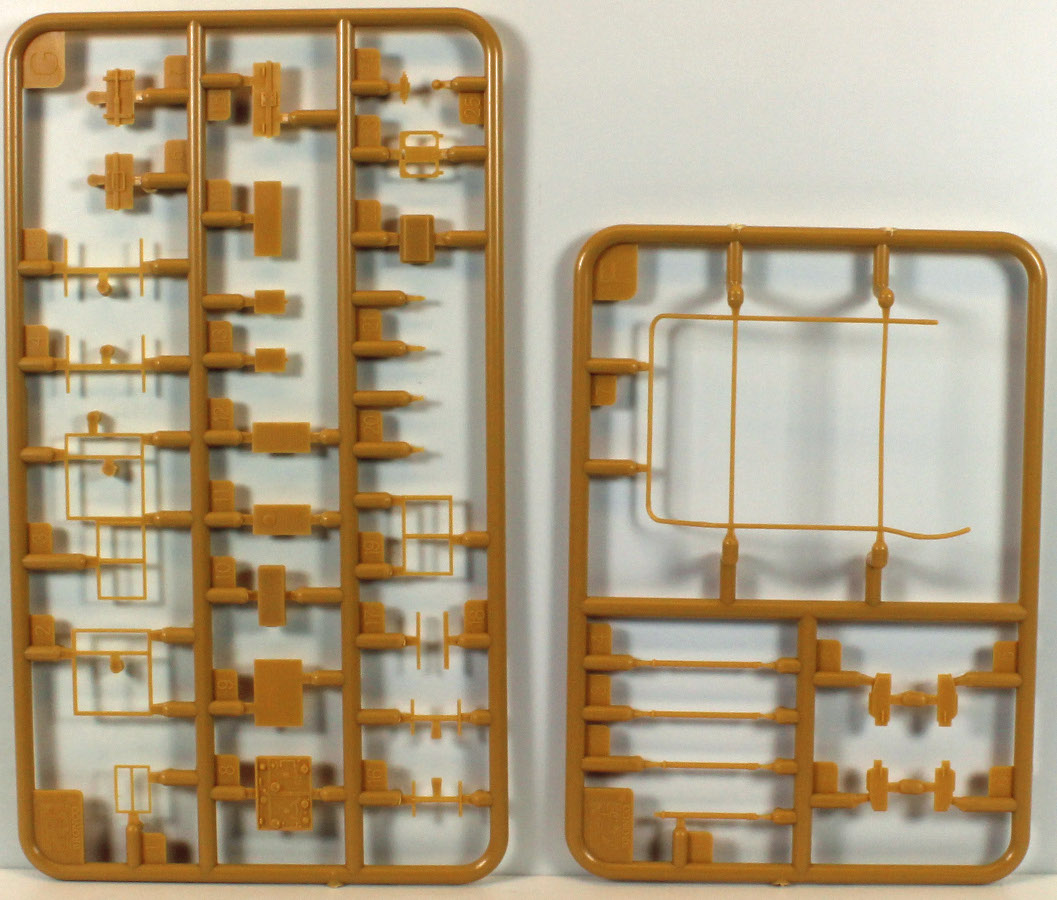
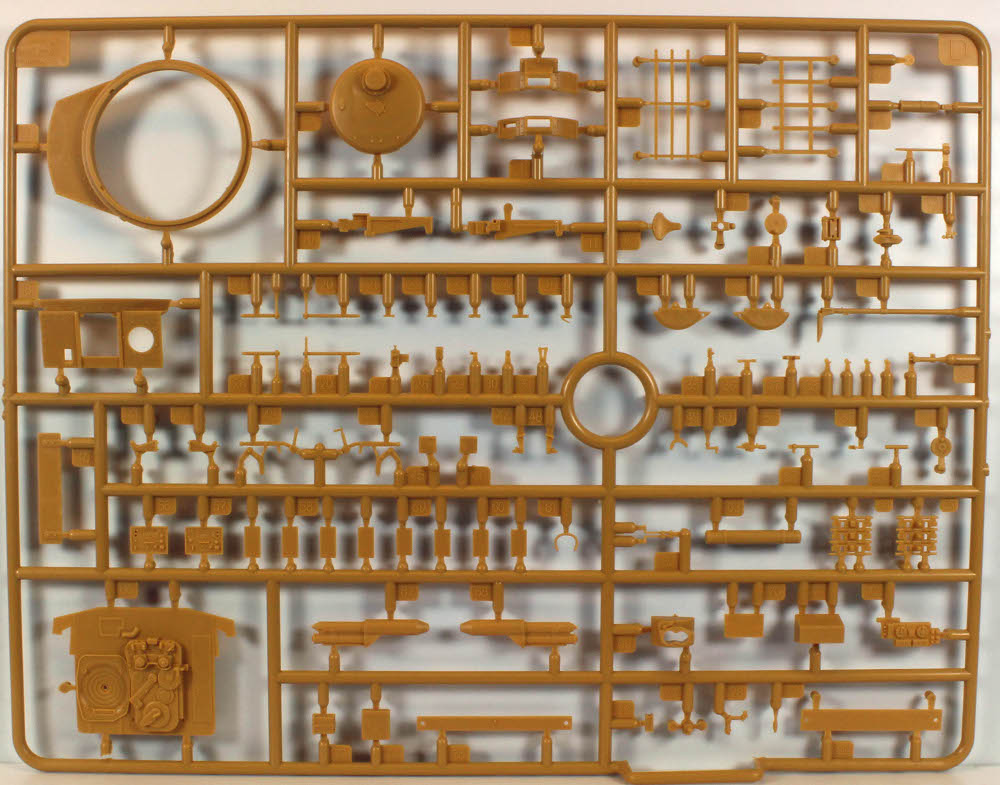
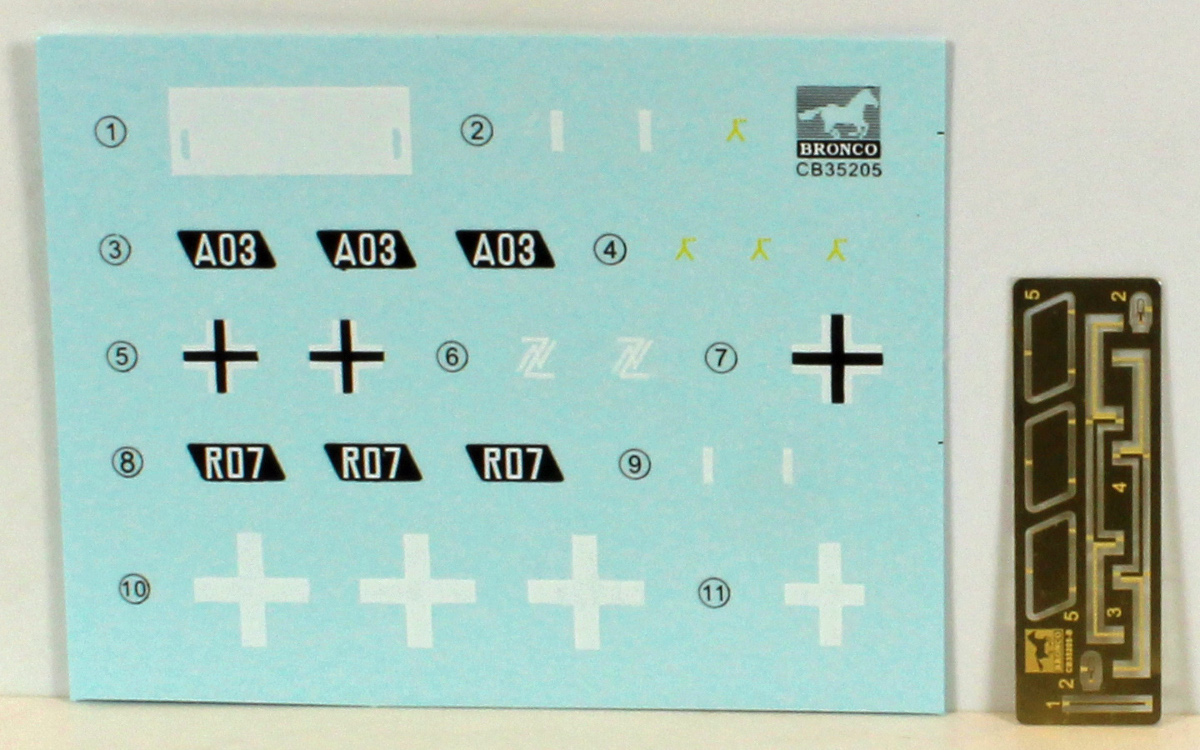
The thin, sturdy box contains bagged sprues, a large art poster of the box art, a separate bag of track link sprues and a baggie containing the PE and decals. It looks as all of the included parts are used since there is no indication otherwise on the parts map. No parts arrived broken, although many of them are very, very thin and delicate.
The contents of the box include:
Upper front and rear hulls and turret packaged separately.
7 sprues in soft, light tan plastic, packaged separately.
1 plastic barrel, packaged separately.
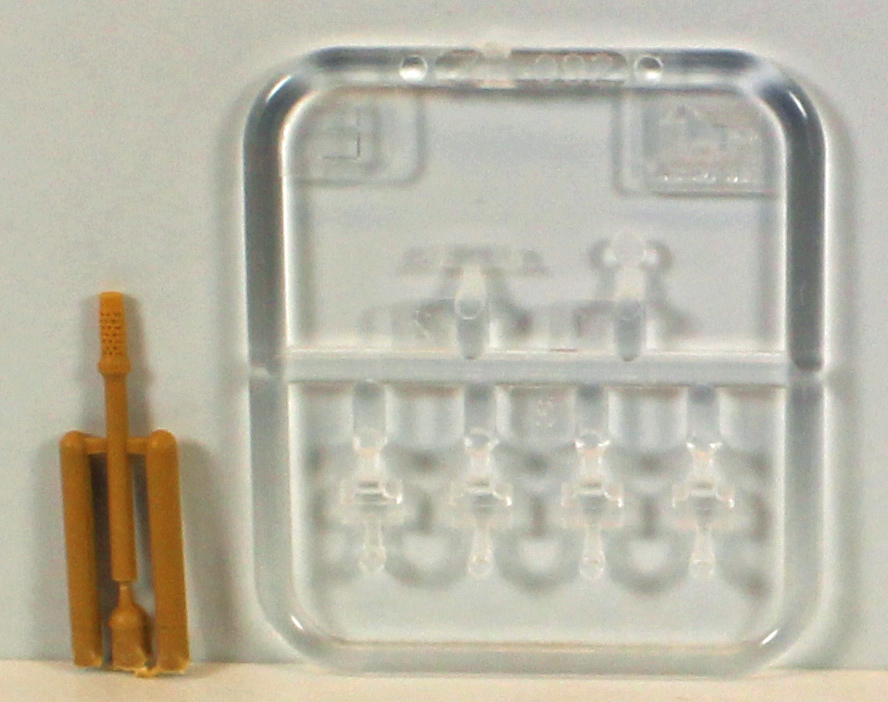
1 clear plastic sprue.
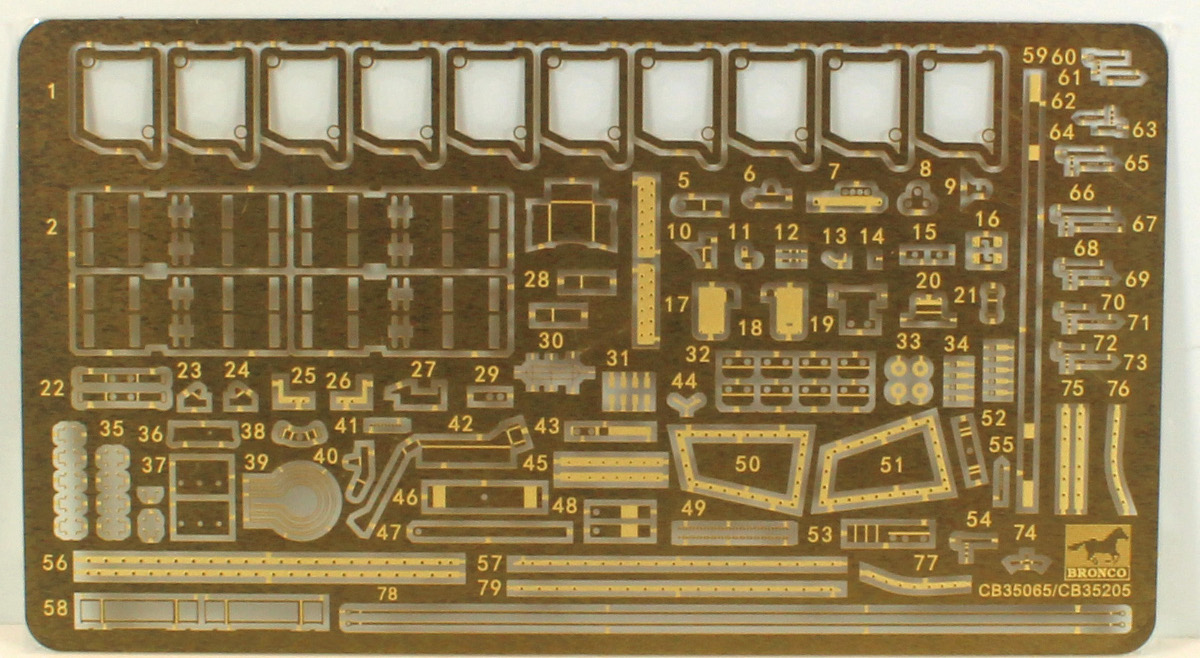
2 photo-etch sheets individually wrapped.
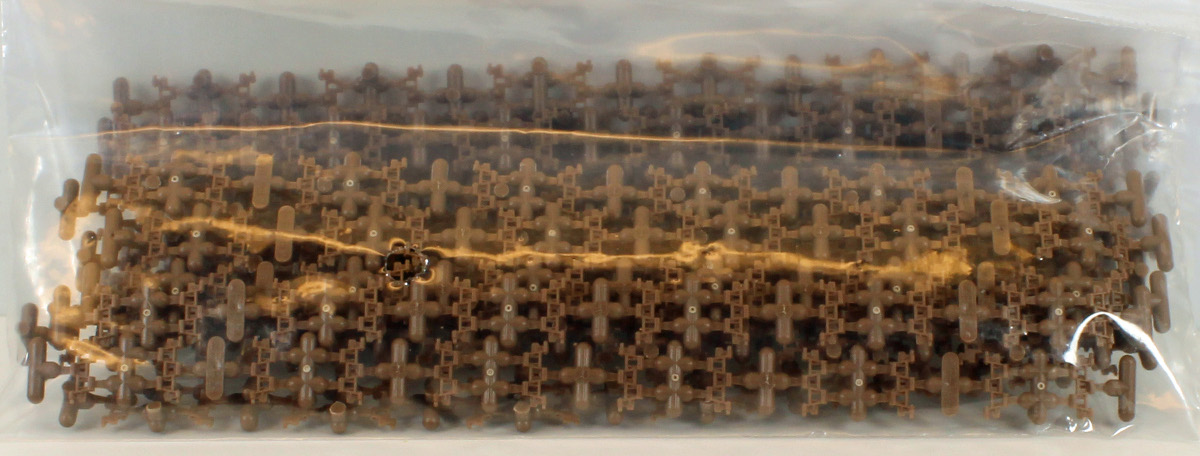
20 in-line sprues of individual link track in light brown plastic
1 19-page, 32 step full-color instruction booklet.
The kit comes with two full-page, 4-view full-color CAD drawings with two color schemes. A small but perfectly registered decal sheet from Cartograph of Italy includes the following six units: four German, one Slovak and one Czech:
6. Panzer Division, France, May/June 1940 in overall grey RAL 7021 with tactical number 212.
6. Panzer Division, France, May/June 1940 in overall grey RAL 7021 with tactical number 502.
Unit unknown, Poland, September 1939 in overall grey RAL 7021 with tactical number 214.
Unit unknown, Slovak Army, 1938 in green/yellow/brown camouflage with vehicle number 13.840.
Unit unknown, Czech Army, 1937 in green/yellow/brown camouflage with vehicle number 13.691.
6. Panzer Division, Russian Front, 1941 in overall grey RAL 7021 with tactical number 715
The Instructions
Bronco excels in this department. The glossy, high-quality booklet included in the kit is accurate and well-designed. Full-color CAD drawings abound, and small illustrations assist the modeler when the drawings alone won't suffice. The color paint schemes are excellent, and color call-outs are made for Gunze's Mr. Hobby and Hobby Color lines, as well as Humbrol and Tamiya paints.
Things to consider before building:
The interior takes up a full five busy steps. If you choose not to build the interior and button up the hatches, your build is half-done when you open the box. If you build the interior and want to show it off, just don't glue the main deck to the hull in Step 29.
The area beneath the fenders is slightly obstructed up front, so attach the tracks in Step 13 as instructed. You can build the entire exterior before painting, but you will have to paint the interior during assembly.
The Interior
Assembly starts with adorning the side walls of the interior fighting compartment and the engine firewall. The parts here are single-piece affairs, except for two wall-mounted electronic equipment racks, and like the rest of the interior, will require detail painting. The firewall is meant to be seen through an open hatch, and if you expose the interior by pulling off the upper-deck, a large-and very empty-engine compartment behind this busy firewall will be seen. A 41 piece equipment and ammunition rack made from plastic and photo etch squats in the middle of the floor, behind the highly detailed driver's position. Photo etch is used throughout and no plastic alternatives are offered. The entire compartment comes together by step 7 and the focus turns to the exterior.

The Running Gear and Suspension
The ten-piece bogies are designed to be articulated with turning wheels. They can also be glued in place without first building in the articulation. The eight part drive and return wheels are designed to allow the inner wheel to turn, with the outer concave parts staying put. The 35(t) has a unique track-tensioner bogie in front that consists of 10 parts each. When you add these to the rest of the bogies and return rollers the chassis of the tank looks pretty darn busy.
The Track and Fenders
Bronco includes individual-link track on 20 light-brown sprues. The track is handed and each side is contained in a separate baggie to distinguish them. The detail on the links is very nice, and they are attached in such a way that snipping and cleaning the three attachment points for each link should be relatively easy. The instructions say the links are cement-free (i.e., workable) and each run should use 109-111 links each (the higher number presumably represents track sag). Each fender is rather complicated, since neither one sports much hardware on top to speak of. Photo etch is involved but the fenders themselves are plastic.
The Upper Hull and Main Deck
The upper deck starts with the assembly of attachment hardware for a shovel and pick axe that looks pretty intimidating with seven pieces of PE and no plastic alternative. As you progress through the next few steps you encounter a common theme: lots of PE with few alternatives. Modelers experienced with photo etch can produce an amazingly detailed superstructure, while the rest of us might resort to our spare parts box for pioneer tools and such. Even then, however, photo etch is included in each step, sometimes dominating the detail. Several hatches can be posed open or closed, and Bronco has included some, but not much, detail on the inner portions.
The Turret and Main Weapon
The busy main weapon looks great when assembled, and it looks positively intimidating when inserted into the turret's front plate alongside the beautiful coaxial machine gun. The turret sports a unique looking 14 piece cupola that extends downward from the top port side. In Step 25 you line the lower inside of the turret with 40 tiny bolt heads that you'll need to shave off a sprue.
Final Assembly
The main deck, turret and other detail come together in the last few steps, with no less than 13 more pieces of photo etch. The radio antenna is thin and delicate and it should look great once it is installed.
Conclusion
Bronco's kits historically contain a lot of parts and are on the more complex end of things. This kit is no exception. The parts fit very well and the crisp detail is magnificent. The interior is simply stunning, and it should be more than enough to get super detailers on their way. The tracks are described as workable and they are highly detailed. The design of the main weapon and coaxial machine gun, like the rest of the kit, looks great although most of the detail will be hidden inside the turret. There is a lot of photo etch in this kit. Given that no plastic alternative parts are offered, this could spell trouble for those who find working with photo etched parts challenging.
For that reason, along with the multitude of small parts typical of Bronco kits, I recommend this kit only to experienced modelers who are up to the challenges offered by a kit with so many parts and options.
I would like to thank Bronco Models and Stevens International for providing this kit for review, and to Internet Modeler for giving me the opportunity to review it.
