Trumpeter 1/48 F-100D Super Sabre
By Gary Meinert
Introduction
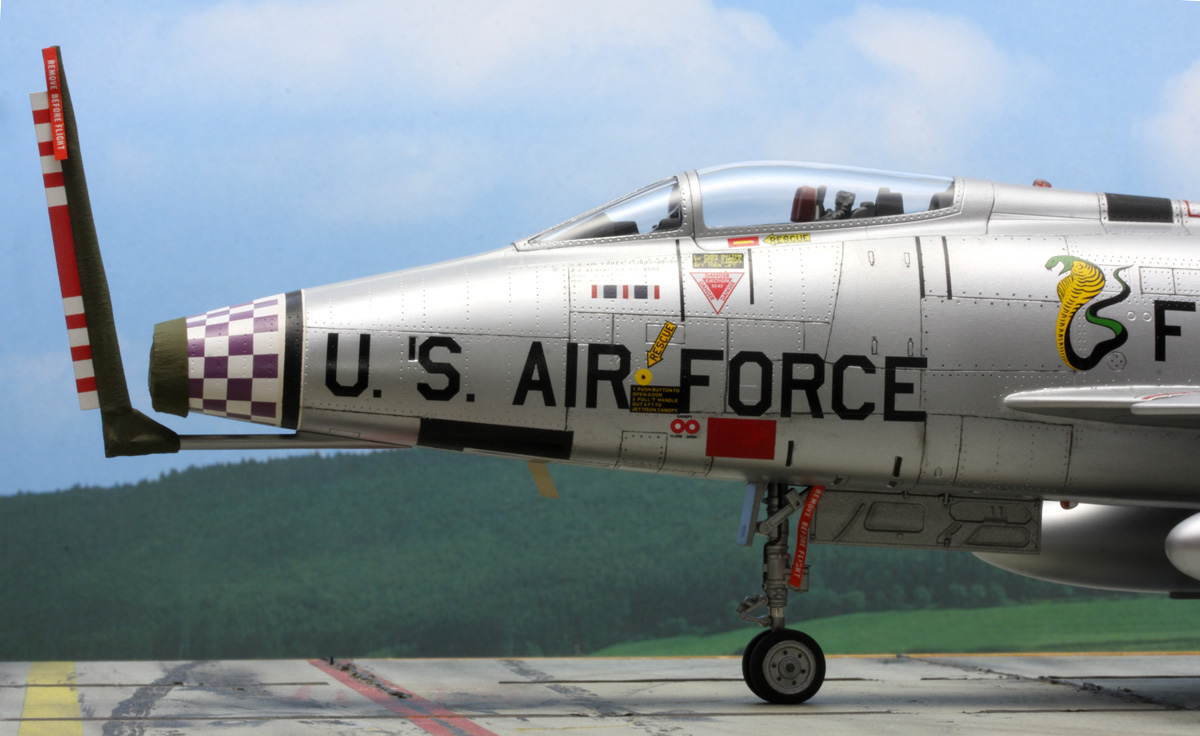
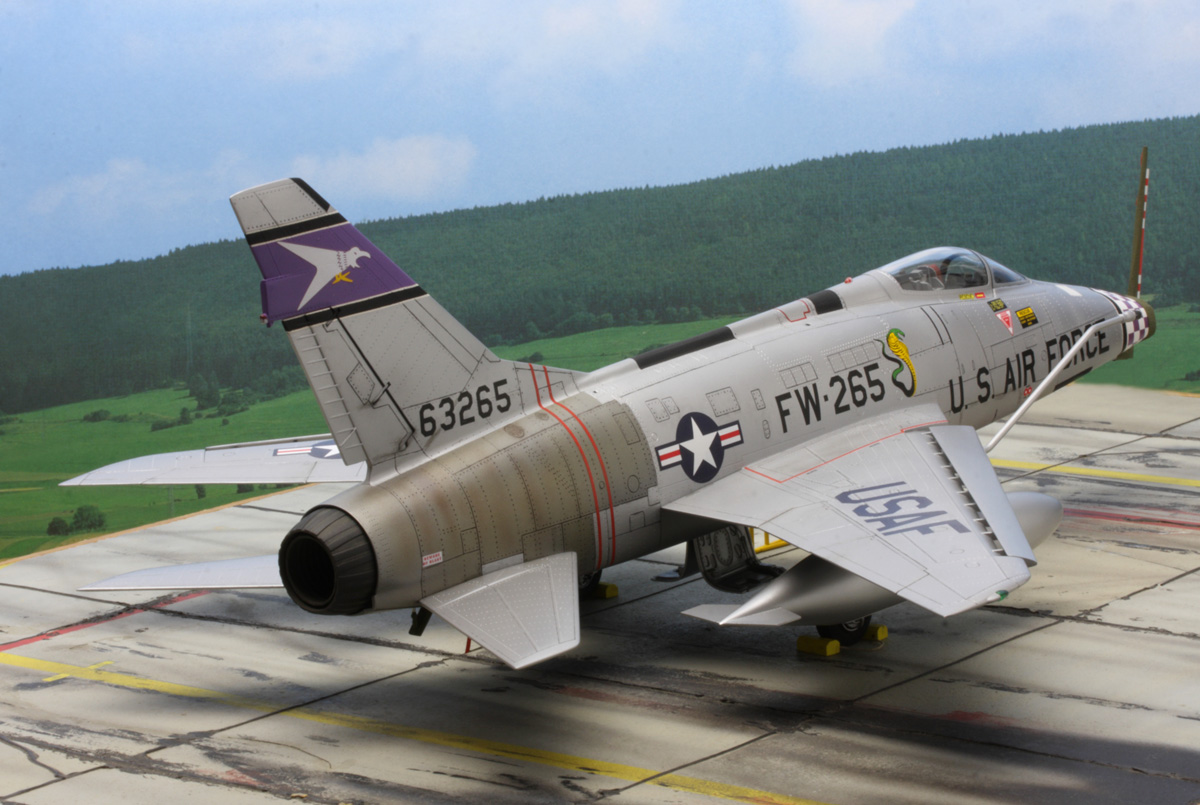
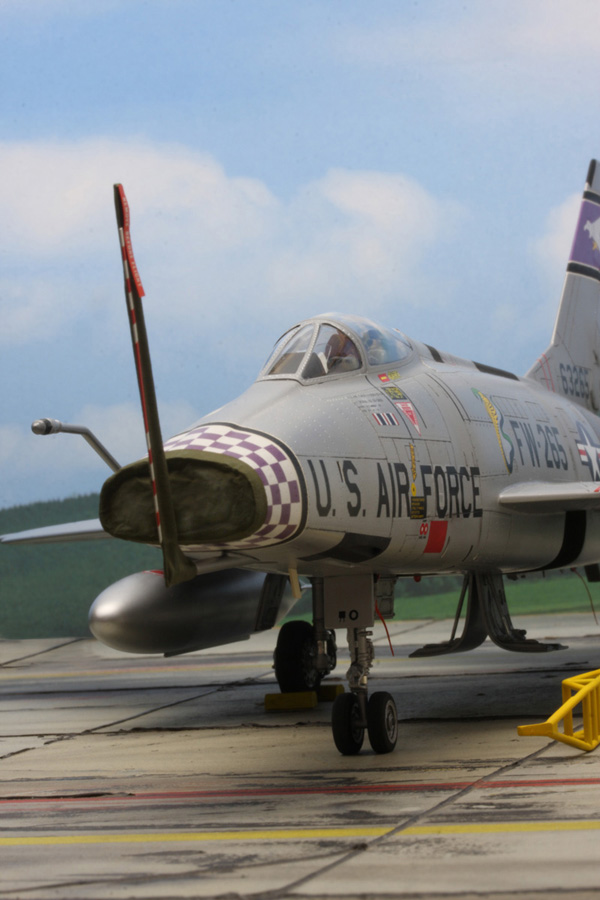
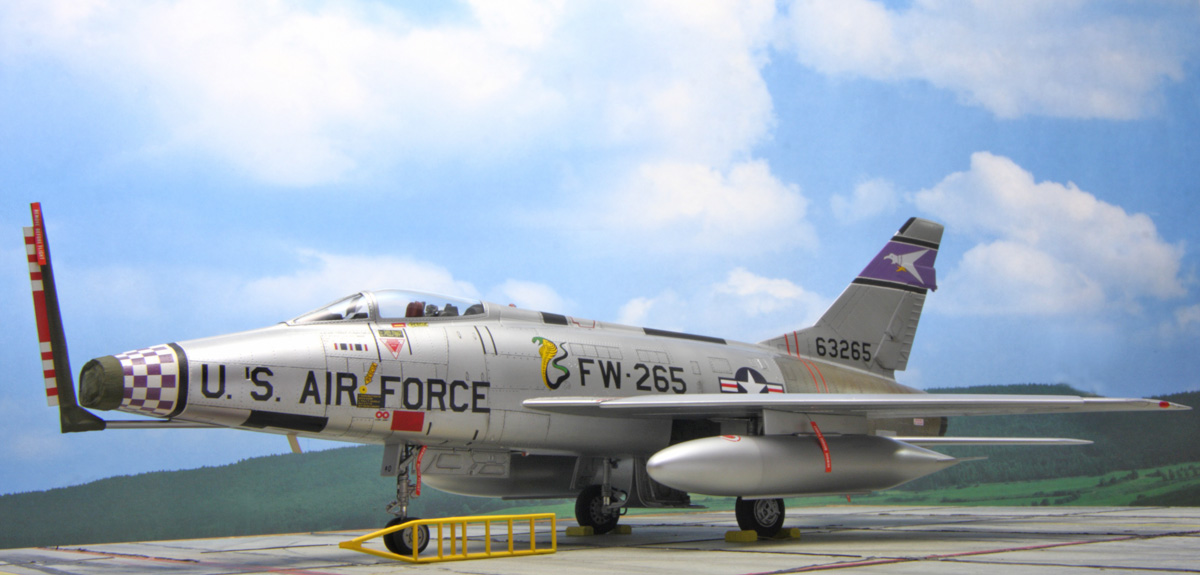
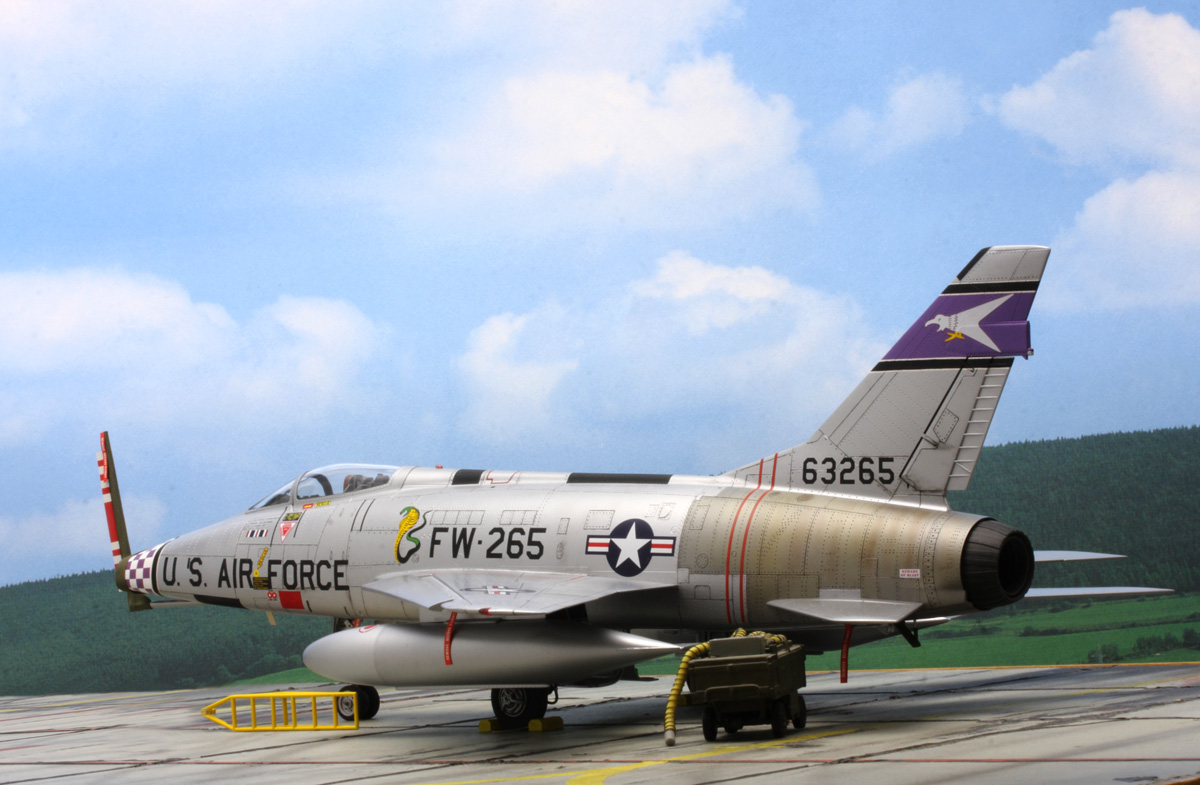
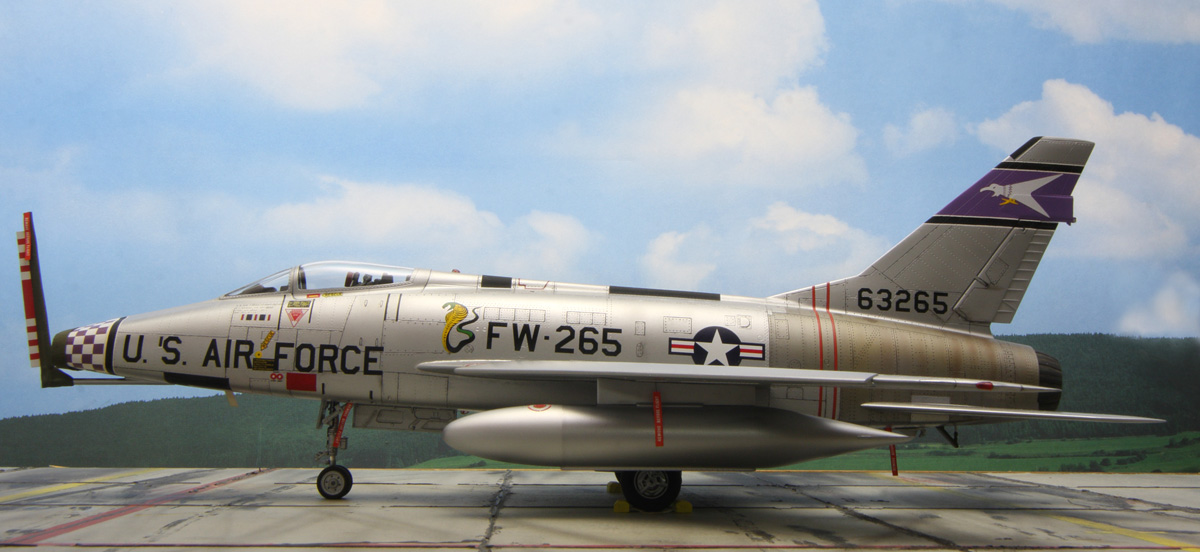
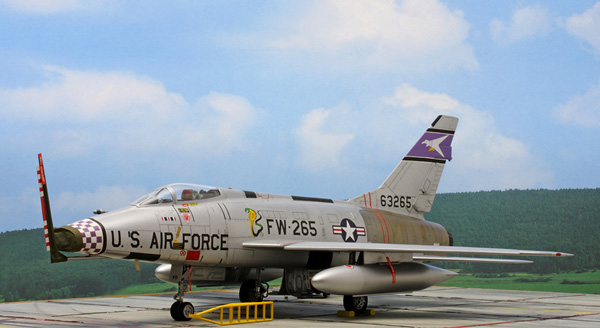
I refer the reader to my first-look review of April 2010 for the kit description and history of the subject. The kit was a review sample obtained from Stevens International via Internet Modeler.My model depicts an F-100D of the 510th Tactical Fighter Squadron during the squadron's deployment to Thailand in 1962. As per my reference photo, my aircraft has the speed brake up, the horizontal stabilizers in the neutral position, and the pitot tube in the folded position with a cover installed. The air intake cover is also in place.
Construction Overview
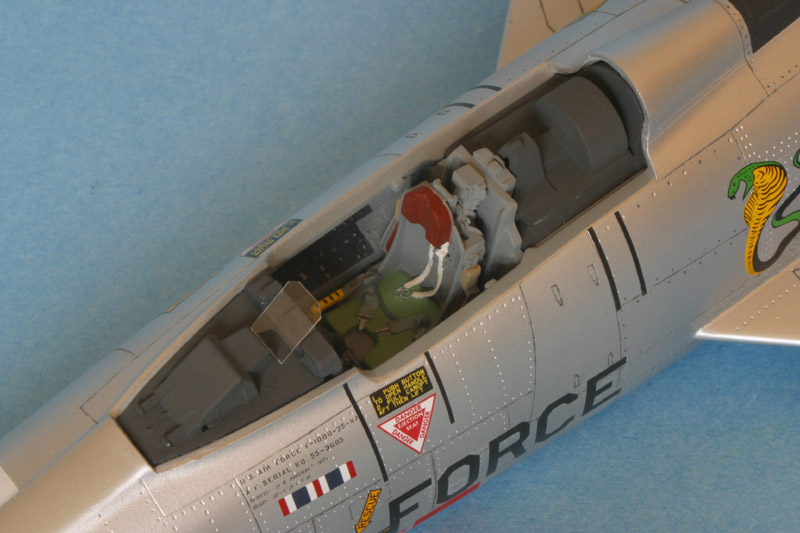
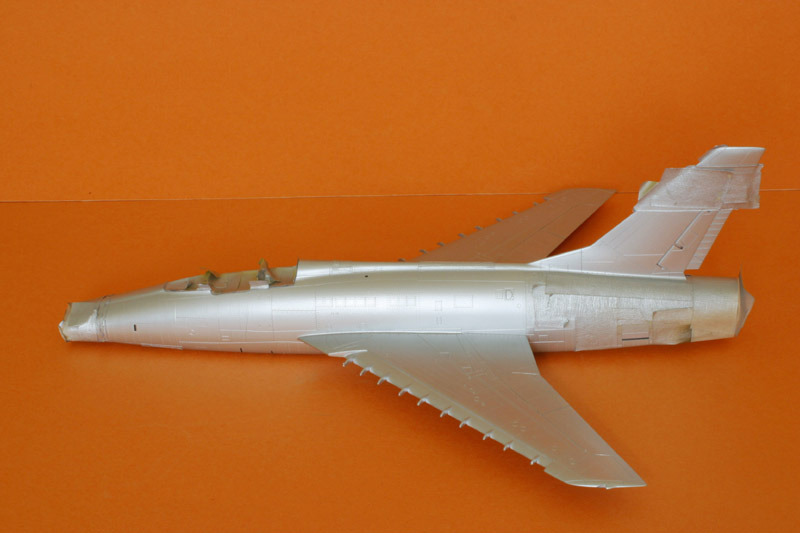
I found most of the parts to be well-molded, although an annoying raised mold line along the lower part of each fuselage half had to be removed. Some filling and sanding was necessary in most areas, especially the bottom fuselage and the trailing edges of the wings and rudder.Nothing remarkable to note about fit except that the fit of the cockpit tub inside the fuselage was very good, and the fit of the speed brake in the up position was very bad. The canopy is too narrow and this is conspicuous in the down position.
The recessed surface detail is not to my liking, but it is not as exaggerated as in some of the earlier Trumpeter/Hobby Boss kits.
Construction IssuesThere are several errors in the kit that should be confronted by any serious modeler. The following are the "big four" because they are obvious and quite visible:
NOSE AIR INTAKE: The intake is molded with a flat bottom, but it should be curved all the way around. There is no practical way to fix the intake, so I decided to simply cover it up. Guided by my reference photos, I used masking tape and aluminum foil to create an intake cover. This type of cover has no straps or cords attached to it. (I also made a cover for the pitot tube, again from tape and foil.)
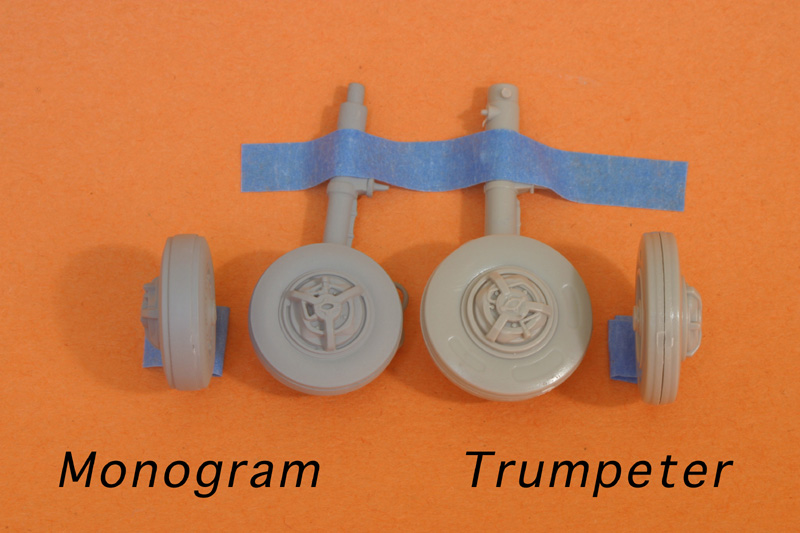
MAIN LANDING GEAR: The kit's right MLG leg had no axle, only a tiny lump of plastic where the axle should be. The wheels are too large in diameter and too narrow across the tread surface. The wheels also have erroneous deep recessed ovals on the sides. My solution to this mess was to adapt the wheel wells to accept the superior MLG legs and wheels from the Monogram F-100D kit. (I also utilized the Monogram nose wheels on the Trumpeter nose gear leg.) Installation of the Monogram parts corrected the problem and gave my model a more realistic stance as well. EJECTION SEAT: The kit seat is very inaccurate and should be replaced. I substituted a much better Avionix resin seat.FUSELAGE LATCHES: Each half of the forward fuselage has two large, deeply recessed rectangular shapes. These are supposed to be latches that are level with the surrounding surface. I simply filled these areas with styrene strips and putty and sanded them down.
There are other deficiencies that I did not try to correct:
-- the wheel wells in the wings are too shallow
-- the large center main wheel well doors (parts H31 & H36) are oversimplified(they should be segmented with the lower segments hanging down at a different angle)--there is no rear deck piece behind the seat with the canopy raising mechanism
--the pitot tube is too thick
--the horizontal stabilizers attach via rectangular tabs/slots instead of the proper circular pegs/holes
I left these problems alone. A seasoned campaigner knows when to say "Enough!" and get on with the task of completing the model.
Improvements
I devised a few simple improvements, such as adding a throttle and gunsight to the cockpit, making a new fuel dump outlet, adding replacement dorsal and ventral beacons, and making a new actuator rod for the tail skid (H25). I modified the taxi light housings (K4) to accept MV lenses instead of the kit lights (K6). I also added a scratch-built blade antenna to the bottom forward fuselage.Since my aircraft lacked wing fences, I omitted the kit fences and filled in the locator slots on the wing top surfaces. I also removed the tiny raised bumps (lights) on the upper wing surfaces, as these are a later modification inappropriate for my aircraft.
Hindenburg Tanks
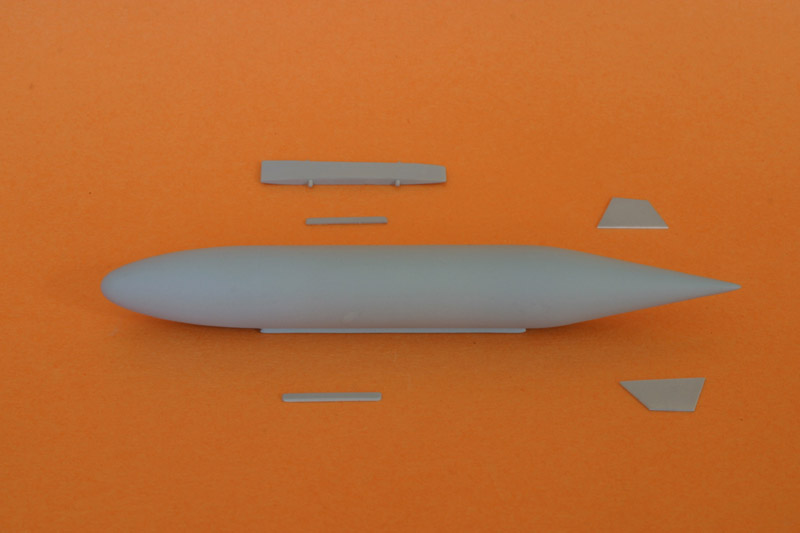
It seems that all F-100 kits come with the traditional 275 gallon "banana" drop tanks, and this is what modelers hang from the wings of their models. However, my reference photos reveal that the 510TFS aircraft were equipped with 450 gallon drop tanks for their deployment. The subsonic 450 gallon tank was the largest type of tank carried by the F-100 and was the choice for long-range deployment or ferry flights.Daring to be different, I decided to use the 450 gallon tanks from the Monogram
F-101B Voodoo kit on my model. Modifications were made to the tanks and kit pylons, which included scratch-building new fins for the tanks.
Paint
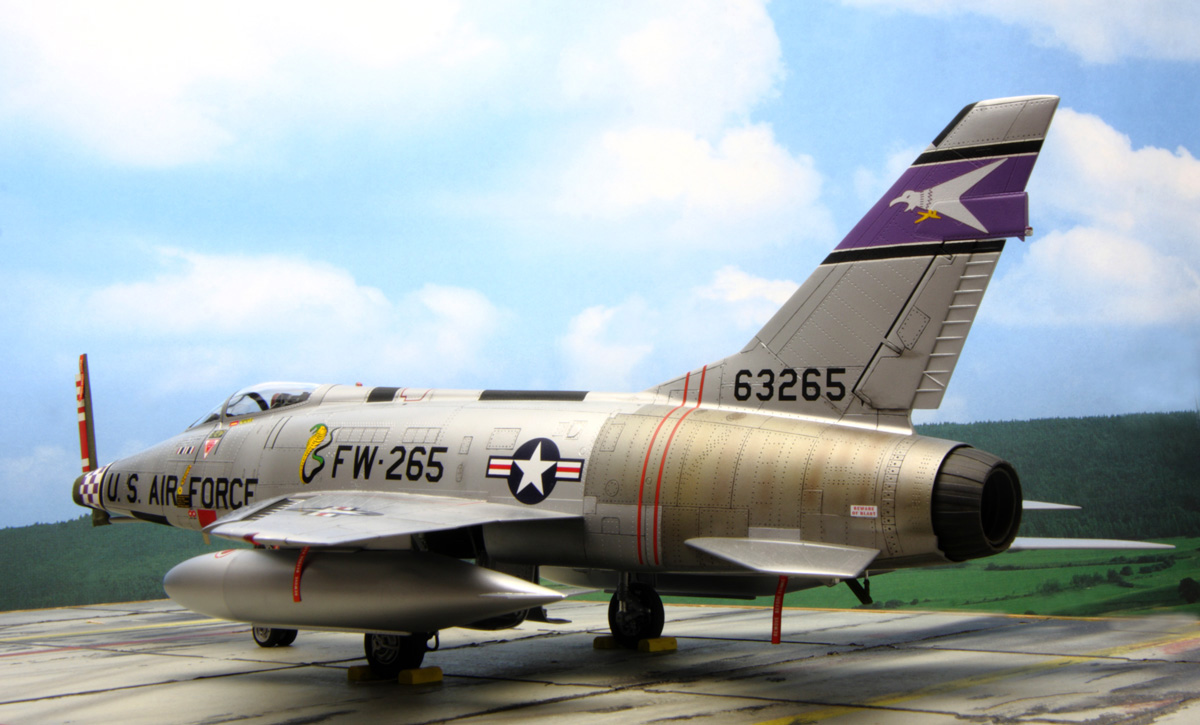
Prior to 1965, F-100Ds were almost always painted with a silver lacquer protective finish. I therefore chose Floquil Old Silver for my model because it is the correct color and provides a durable finish that can withstand gentle masking.The rear fuselage section was sprayed with a base coat of Testors Model Master Metalizer Magnesium Buffing. Next, I streaked on Tamiya Clear Orange and Clear Brown to achieve the characteristic discolored appearance. (I made the brown by mixing Clear Red plus Clear Blue.)
The colored tail bands of purple, black, and white were carefully masked and painted with enamels ahead of time, before I applied the silver. Ditto for the black and white areas on the nose. Testors Model Master Napoleonic Violet enamel was ideal for the purple color.Tempera paints were used to accent all the recessed surface detail in the dark rear fuselage area, and in selected panel lines and divots elsewhere. Some light weathering fades and smudges were accomplished with pastels and Polly Scale Clear Flat. I also applied protective coats of Metalizer Sealer on my model.
Decals
The squadron markings came from Super Scale sheet 481244, which is a re-issued older decal sheet. I like Super Scale decals because they are easy to handle and compatible with my Solvaset decal setting solution. However, they always contain errors and/or omissions, and this sheet was no exception. For example, the national insignia is printed out of register, and the "USAF" is too large.
Since I had previously painted the colorful tail bands, I carefully cut the white speed bird designs out of the corresponding Super Scale bands and placed them on my model. The checkerboard decal for the nose was a poor fit, and I wrestled it into position as best I could. This checkerboard pattern is missing one vertical row of purple/white checks, but the blank area is nicely hidden by my air intake cover.The rest of the decal application process was straightforward, although I made repeated trips to my decal dungeon to acquire all the decals that I needed. My particular aircraft is FW-265, while Super Scale provides decals for FW-263. A simple swap of decals for the tail number and buzz number was accomplished. The USAF Outstanding Unit Award ribbon came from an Aeromaster sheet.
Conclusion
Trumpeter's F-100D has a lot of shortcomings -- too many in my opinion. It could have been a much better kit if the designers had exercised more care. Still, an experienced modeler who is willing to put in extra effort can create from the kit an impressive model of this icon, the first of the Century Series jets.
References
--Profile Publications No. 30 by Ray Wagner
--Warpaint No. 4 by Lindsay Peacock
--F-100 Super Sabre In Action by Squadron/ Signal
--F-100D/F Super Sabre Walkaround by Squadron Signal
--F-100 Super Sabre in Detail & Scale by Bert Kinzey
--my own color slide collection

