Roden 1/72 Zeppelin Staaken R.VI
By Dennis Ugulano
It's been over two years since my review of this kit in Internet Modeler. Let me explain why something that started out with such great promise took so long.
Fuselage
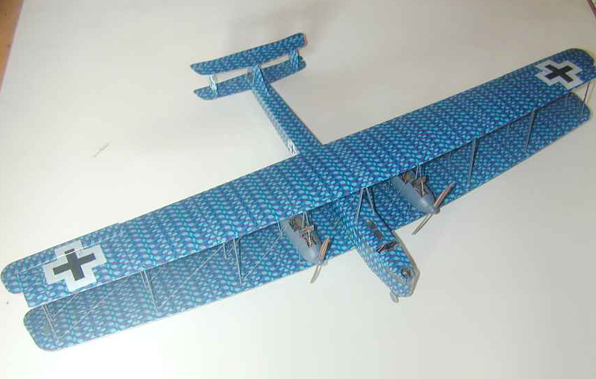
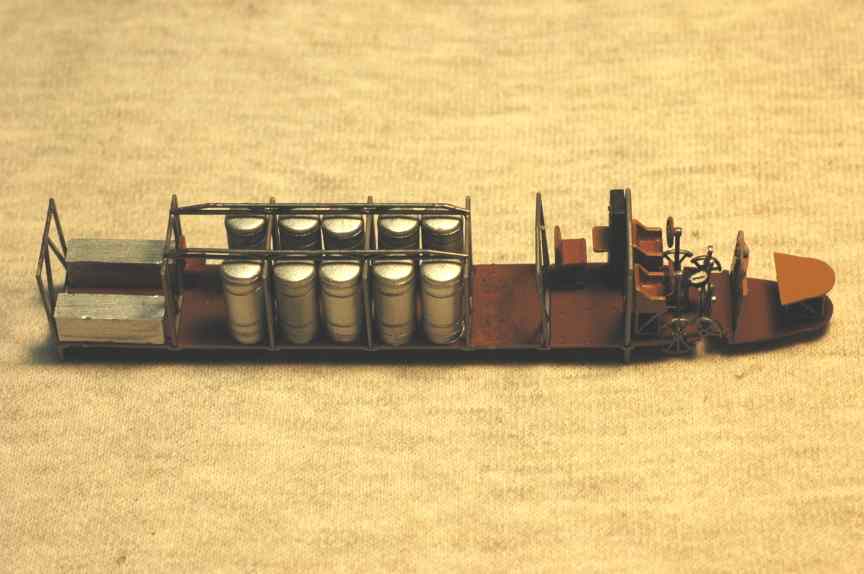
 Steps 34 through 39 shows the fuselage construction from interior assembly to closing the two halves together. There is nothing hard here, just a lot of it. All of the sub assemblies go together well and fit exactly as shown in the instructions. I don't think this section took over three hours to complete. It did require some putty work but nothing to be concerned about. Since I am going to apply the decals prior to wing installation, the fuselage is sanded and coated with Future Floor Wax and put aside to dry. Already the size of this model is apparent.
Undercarriage
 As fragile as this section looks, it does hold up the weight of the model. I would make one change though. Replace the axle with a metal rod and your wheels will not have a upward cant as mine do. It's not a hard fix but I do not want to work on the kit anymore.
Wings
No problem here except for sheer size. I cut the wing tips to correctly depict the R.VI which took an extra half hour. The wing was glued together and put aside to dry. Roden recommends adding the cabane struts at this time but I say no as you will knock them off while applying decals.
Here is my first complaint against Roden's engineering. The tab that connects the two wing halves is much too small. I can see no reason why it could not have been deeper and longer which would have provided a stronger wing.
Tail surfaces
No problems here. They are a little delicate and the attachment points are small. Again no assembly until after decals.
Engine assembly
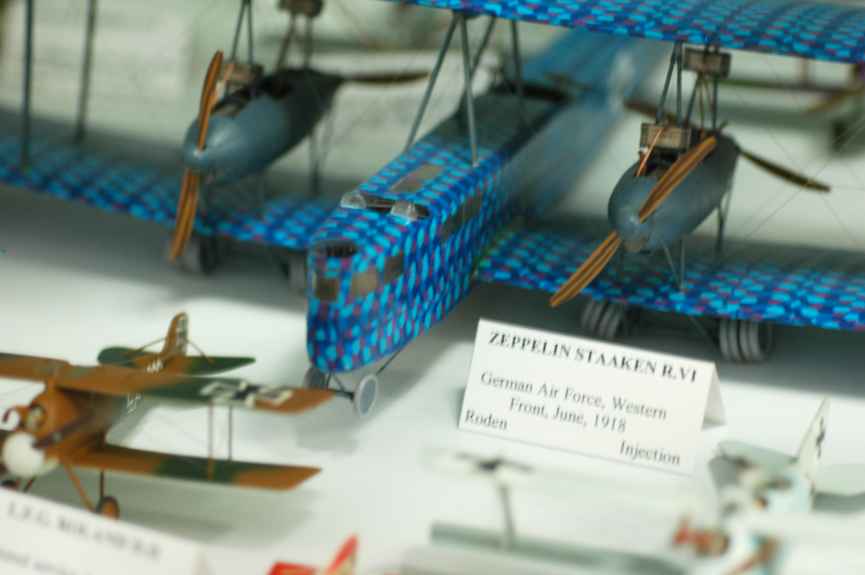
 The engines go together perfectly and fit inside the nacelle halves with only minor trimming and fitting. However the fun ends with the installation of the engine struts. You are required to drill four holes in the nacelle halves, install the engines and then insert the two large V struts into the drilled holes while closing the nacelle halves together, while aligning the struts while holding everything together with your third hand while...... In theory and on paper, this must look like a good idea. In reality, it is nightmare. But wait, it will get worse. Add to this that the instructions say to add the radiators and all piping at this time.
 A better idea would be to make the struts separate pieces that will allow for some minor misalignment problems down the road. It took me a long time to get past this stage and the fun of build this kit started to diminish.
Decals
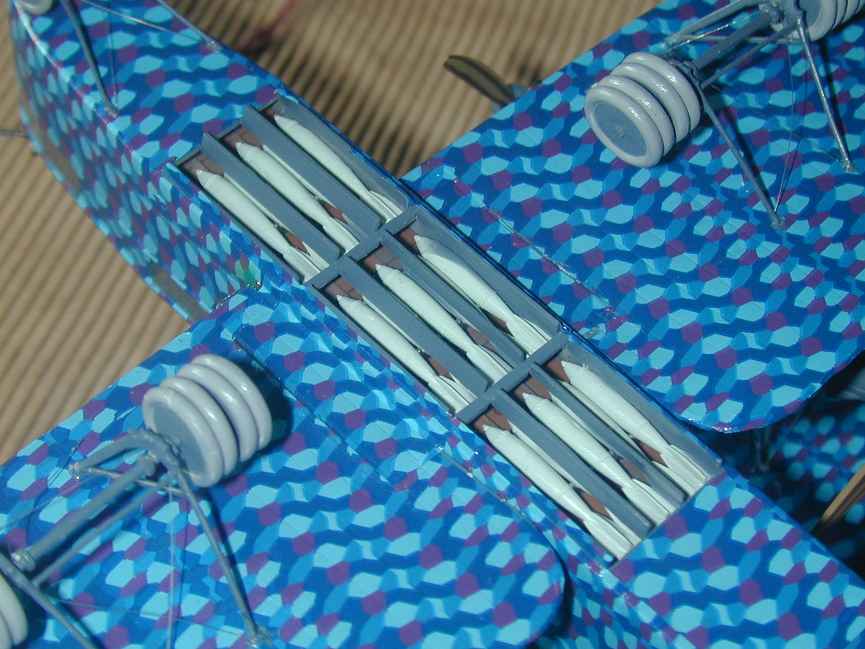
This is the high point of the kit. First, Roden has changed their decal provider and they are great. They are soft and will contour to a curved surface. There are three sheets with templates and if followed exactly, will cover the entire kit. I repositioned my templates, moving sections closer together so I could have a little more surplus in case of a mistake or accident. Roden assumes you are going to have no problems and they provide very little extra for mistakes.
 Lay the decals out exactly as shown. Check and recheck many times as it is easy to get mixed up. After you are sure of the location, dip in water and let the decalling begin. The decals are not brittle, they move around for positioning and set down using only a mild setting solution. Except for the fact you could decal a dozen fighters, there are no problems. This was the best part of the kit.
I now have all of the surfaces decaled and I am ready for the main assembly.
Main assembly
 Here is a major design flaw with the kit. Roden designed the kit for the wing tips to rest on wing tip supports. If that is acceptable to you, there is no problem. If not, the engineering is very bad. The tabs on the fuselage that is to hold the wing on are much too small and too thin. They could have been made at least three times longer and twice as thick. Then the wing would have had a chance. I finally used epoxy to hold my wing on and the results are only marginal.
I then added the tail surfaces and undercarriage and put the beast on its wheels. I am now ready to install the top wing.
Top Wing
 All struts are glued in place. Since there is no angle to the wings, alignment is easy. I added the engine assemblies and allowed this to dry for while. I laid the top wing upside down and lowered the fuselage and lower wing down and glued the struts to the top wing. Lining up the engine assemblies proved to be problematic but I seemed to be making progress.
Let the nightmare begin. As carefully as possible, I turn the kit right side up and look on in horror as the top wing breaks loose, wrecking havoc with the engine assemblies. Repeat this two more time. After the third try, the kit was put in a large box with the intent of it never seeing the light of day again.
Some months later
Guilt, sense of obligation and a plan have caused me to lift the lid on the box. It hasn't changed. Not that I thought it would but there has been a history of miracles in the past and who knows, maybe it was my turn.
My plan was to take my Aeroclub jig and expand it to its maximum range in all directions. The wing width just barely fit but that's all I needed. I had to take off the undercarriage to make the jig work. Now I can work on the kit without having to turn it over. I get all of the struts in place, some with epoxy. All cabanes and other supports are put into place before tackling the engines. They were badly damaged each time the wing fell off but I was able to to get them to look OK. Nothing about this kit looks good at this time. After everything between the wings is set, I remove it from the jig, re-install the undercarriage and proclaim it done.
Rigging
 This is my favorite part of a build but this model was a monster to rig. Normally I can pick up the kit and get into the tight spots between the wing. Not this kit. It cannot be picked up. So I had to put it on a turntable, elevate it above my head, rig a light so I could see what I was doing and rig the model standing up. Because the wing fell off so many times, most of my rigging holes were closed so they all had to be re-drilled. So a three hour rigging job turned into at least twice that. But little by little I chipped away at it and finally finished the beast.
Conclusion
This is a big, impressive, beautiful kit but its size is its undoing. It's just too big. Now that I'm finished, where do I put it? It will not fit in my case at Hobbytown or at home. It's the first kit in my collection that is separated from the rest of the kits. I'm not pleased with the results; there are too many flaws in the construction. So it goes back in the box. (You know the one where the light don't shine)
 A few more months pass and I purchased a new display case and realize it is one inch bigger than the Staaken. So the light does shine again on the Staaken. I take it to Hobbytown with my new case, put the kit on the bottom shelf and add shelves above it. It cannot be removed from the case as it had to go in sideways and lowered into place. I must say it looks impressive and my entire collection is together.
But I was still not happy with the construction and pondered whether or not to put it on Internet Modeler. I was sent the kit in good faith, so whether or not I'm happy with it, I still was under obligation to publish my build. So here it is. If I can steer someone away from some of the problems I had, I will be happy. Enjoy.
My thanks to Matt Bittner for sending me the kit and Roden for providing it to Matt.
