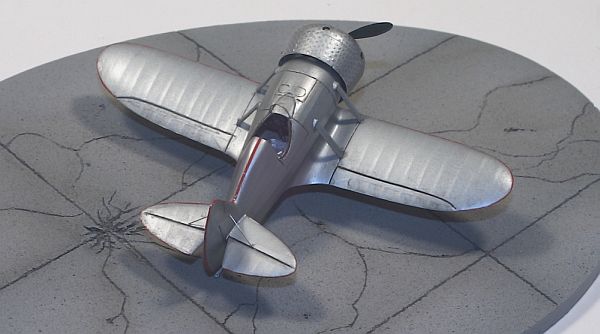
Prop & Jet 1/72 Nikitin NV-1
By Matt Bittner
Introduction
Ever have one of those kits that no matter how excellent the kit is, there are other "forces" in the universe that conspire against you? The Prop & Jet Nikitin NV-1 turned into my Achilles Heel. It was not due to the kit at all – the kit is excellent and the fit is great (only a little bit of putty was used) – but all due to my ineptitude.
Construction
|
Building the NV-1 is not difficult, not in the least. Since the fuselage is one piece, you paint the inside from the bottom, add the instrument panel and the rest is added to the top of the wing, so when that is glued to the fuselage, it provides the cockpit floor. I also found it best to glue the seat into the cockpit after the wing was on, that way it wasn't in the way while trying to fit the wing. The "worst" area that required putty was where the wing met the fuselage at the rear of the wing. There was putty needed to blend this in, but it wasn't a lot. There was also some putty needed where the wing-root met the fuselage, but that was easy to deal with because using Apoxie, I was able to completely smooth it out with water and a brush. That was it for any putty needed.
|
The horizontal tail surfaces went on really well, and what seam was there was taken care of with the CA I used to glue those on and some light sanding.
After these were glued on and dealt with, I had an airframe I could start painting. And this is where the "fun" begins.
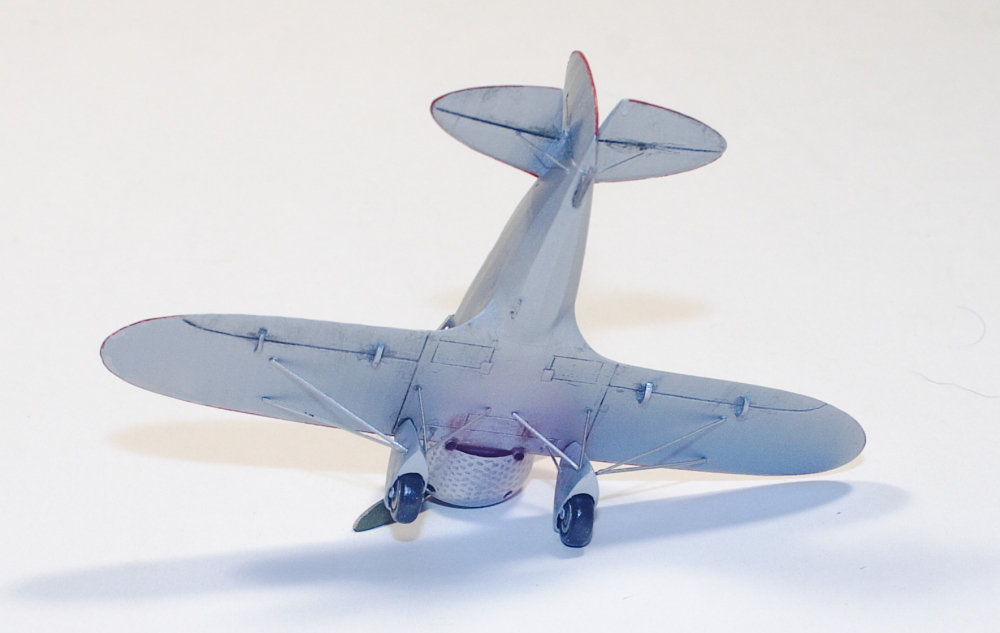
First of all I wasn't paying attention and had the model sitting "normally" on a flat surface and started to work some areas (like when I worked on the wing-root seams). Unfortunately I pressed down too hard and all of the aileron control horns - on the underside of the wing - broke off. Yeah, not a good thing. So, this was the first time the project stalled until I could figure out a good way to replicate those. When it finally dawned on me how to fix this - months later - I found a piece of styrene tubing that when it was cut in half was of the correct diameter. So once I had all of them cut from the tubing I sanded them thinner so they would look closer to scale. Not perfect, but it works.
|
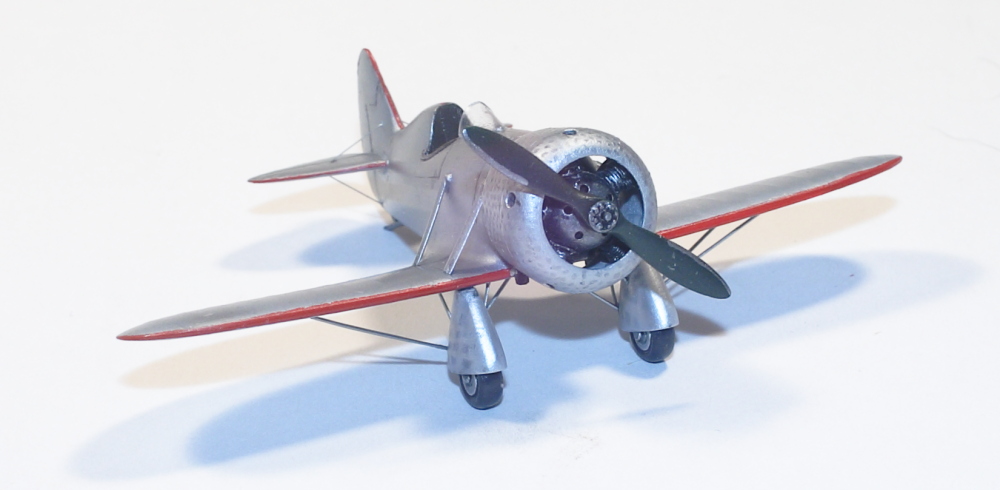
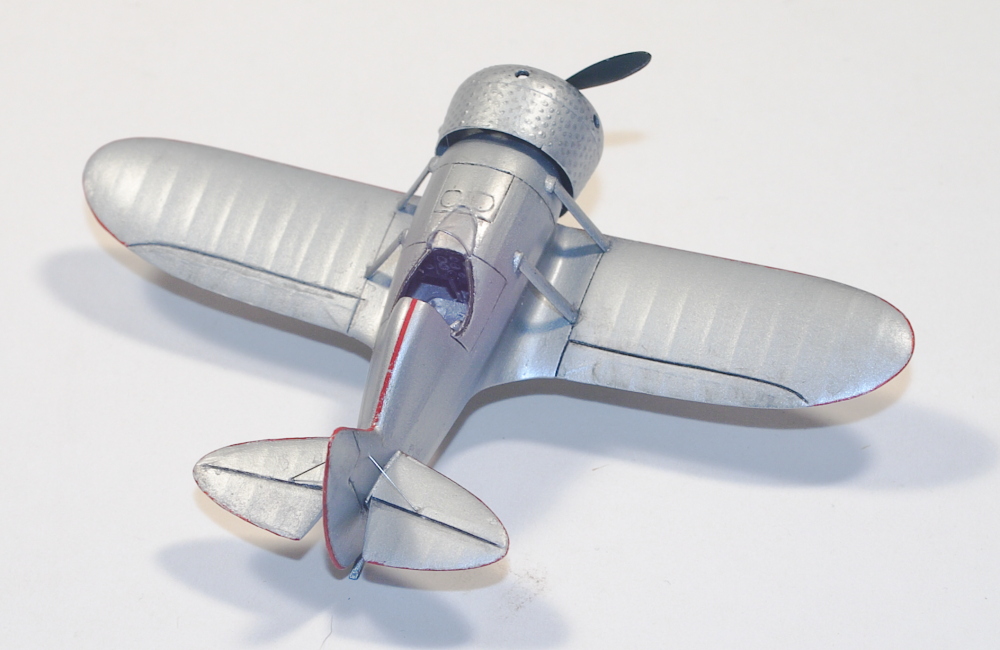
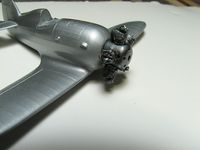
Excellent. The next round was painting, so I opted not to spray any primer and used (now discontinued, unfortunately) Hawkeye Model's Talon Aluminum. It worked this time, but I would not recommend not using a primer. There were a couple of areas I rubbed the paint off due to handling and had to re-spray.
|
My next problem was again of my own making. The leading edges of all flying surfaces were red, and what I should have done (shouldawouldacoulda) was sprayed the red first and masked, and then sprayed the final color. Nope, not me. So I spent months trying to figure out how I was going to get the red on the leading edges without masking. Months later, I discovered Colorado Decals make red stripe decals, so I bought two sets ("you never know") and started to apply them. In my modeling experience Colorado Decals are THE WORST decals I have EVER used. When I first cut them out and immersed them in water and tried to use them, they broke apart. Into a lot of pieces: a lot! So then I read somewhere someone sprayed clear Krylon over "bad" decals to get them to work, so I tried that. Nope, that was horrid because the Krylon would make the decals brittle so while they didn't break apart while removing them from the backing, they did crack when I tried to bend them around the edges. Lovely. And that shot one of the two sheets I bought (see? now you know why I bought two). So the second sheet I tried Future over the decals to no avail. Finally I used Microscale's Liquid Decal Film, and after brushing it over the decals, it worked better. Not perfect, but better. There was still some breakage while trying to bend them around the edges, but not as bad as the Krylon-coated decals. However, this wouldn't work at all on the wings' leading edges.
|
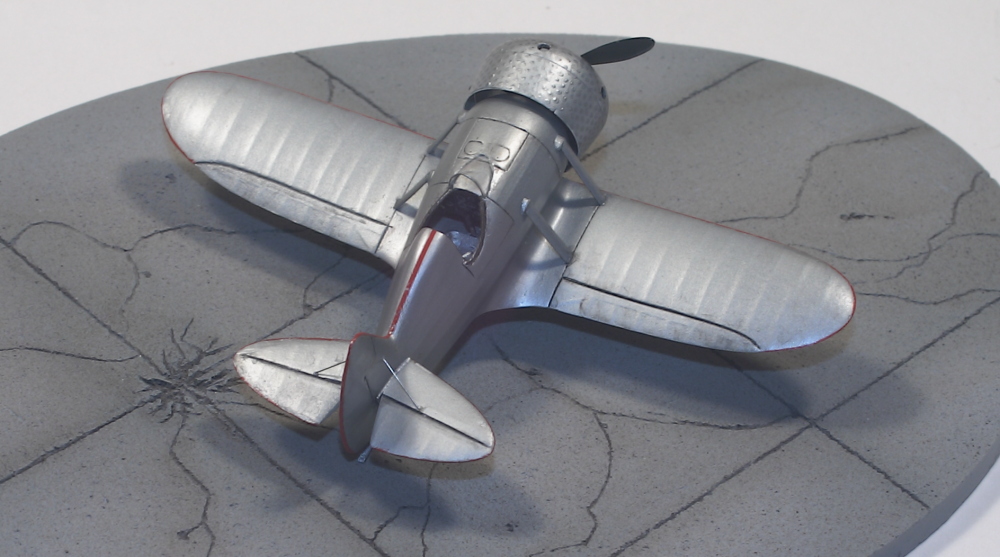
So, as a last resort, I masked and sprayed the wings' leading edges. I originally was worried that I would pull up paint with the masks, but thankfully that didn't happen. I guess I could have masked all of the flying surfaces and sprayed them. Oh well, live and learn.
|
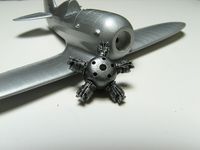
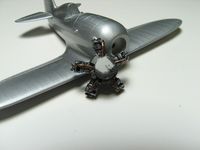
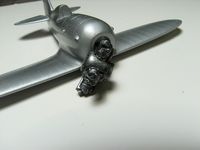
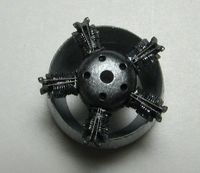
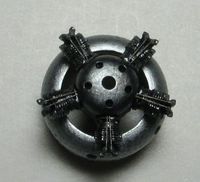
However, this was not the last of my building-woes. Next up was the engine. The kit's engine consists of five cylinders glued onto a central crank case. It's all molded superbly, but naturally the cylinders are missing the ignition wires. So after I painted all the pieces separately I glued them together and started working on adding the ignition wires. Unfortunately the engine is larger than the cowl - something I didn't realize until it was too late. In order to get the engine to fit inside, you'll need to sand down the outside-ends of each cylinder, especially if you've glued everything together. If you haven't glued it all together yet, you might be able to get away with enlarging each hole for each cylinder, and have each cylinder sit lower in the crank case. That way you'll keep the molded-in detail on the ends of the cylinder.
|
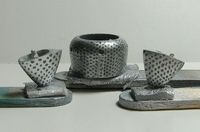
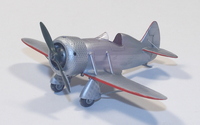
Now onto the next bit of "fun". The metal pieces on the real aircraft were "hammered", giving those pieces a "turned" look to them - not very easy to replicate in plastic/resin. In fact, I wish there was an easy way, but the problem with that is since these were all done by hand, nothing would be the same between the same aircraft type, let alone other aircraft. For the cowl and landing gear spats, I first sprayed Alclad followed by a coat of Future. I then tried to replicate the "sworls" with oil paint, creating small circles in a uniform fashion. It worked okay on the cowl, but I couldn't get it to work on the spats, and in doing so I ruined a set of the spats. Thankfully Prop & Jet were very forgiving and generous, and sent me another set of spats. While looking on the 'net, I discovered another modeler used gauze to replicate the "turned" look. So, I tried that on the spats. Unfortunately finding gauze small enough for 1/72 is near-impossible, but I went ahead and used it anyway. I don't like it, but I was at the point I wanted to finish the kit so left it as-is.
|
The next headache-inducing step was adding the exhaust stacks. I just couldn't figure out how to do it, so I ended up using the Dremel to drill out areas in the wings were the exhausts could go, and after trimming the exhausts by quite a bit, finally glued those in. Again, probably not the best looking way to add the exhausts, but it worked.
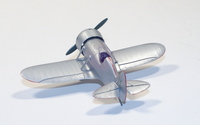
So now that I had something I could live with, I started final assembly. I drilled through the fin and rear-fuselage underside so the rigging could go through, and used .005 stainless steel wire through those holes. For the landing gear support, I used the thinnest brass Strutz! available, cutting each piece separately. I actually like how that all came out. Once everything was done, I sprayed the model with Polly Scale semi-gloss and as my final bit of assembly, added the windscreen.
|
And this was another self-induced headache. I couldn't get the piece of acetate supplied with the kit to bend in the correct way, and while there are two windscreens in the kit, managed to ruin the first, and lose the second. You can't make this kind of stuff up. So, I used a piece of plastic and squash-cast it over the correct diameter rod, then cut it to form the windscreen.
Done.
Conclusion
|
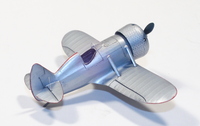
I don't know why this kit fought me at each turn, but fight it did. However, I think I persevered well enough. Sure, I have made plenty of mistakes on the kit, some most will notice, others I think I covered up, but all mistakes are mine and the kit is not at fault. Not at all. Prop & Jet kits are some of the best resin kits on the market today, and as long as you're not as ham-fisted as I am, you should be able to create a masterpiece using a Prop & Jet kit as the base. The NV-1 is a cool looking aircraft and an excellent kit, so by all means build it, but build it better than I have.
Huge, HUGE thanks to Musa at Prop & Jet for all his patience and providing replacement parts when needed.

