
Miniwing 1/144 Grumman F9F-8T Cougar
By Angus McLaren
One of the things I like most about 1/144 scale is the ability to build several of the same aircraft type in a variety of different schemes. I have built a number of Grumman Cougars in this scale now. The Cougar was the swept wing development of the Grumman Panther. Though it arrived too late on the scene to play a part in Korea, it is a very handsome aircraft I think – a truly classic jet design.
|
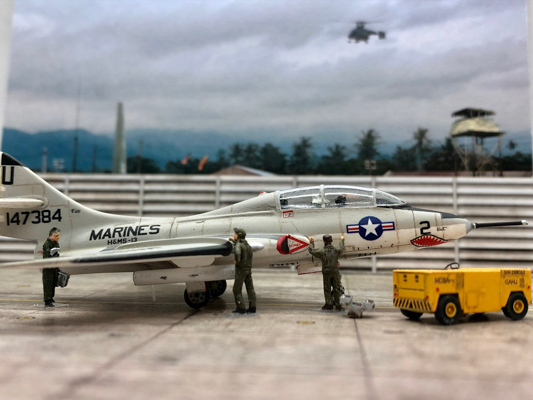
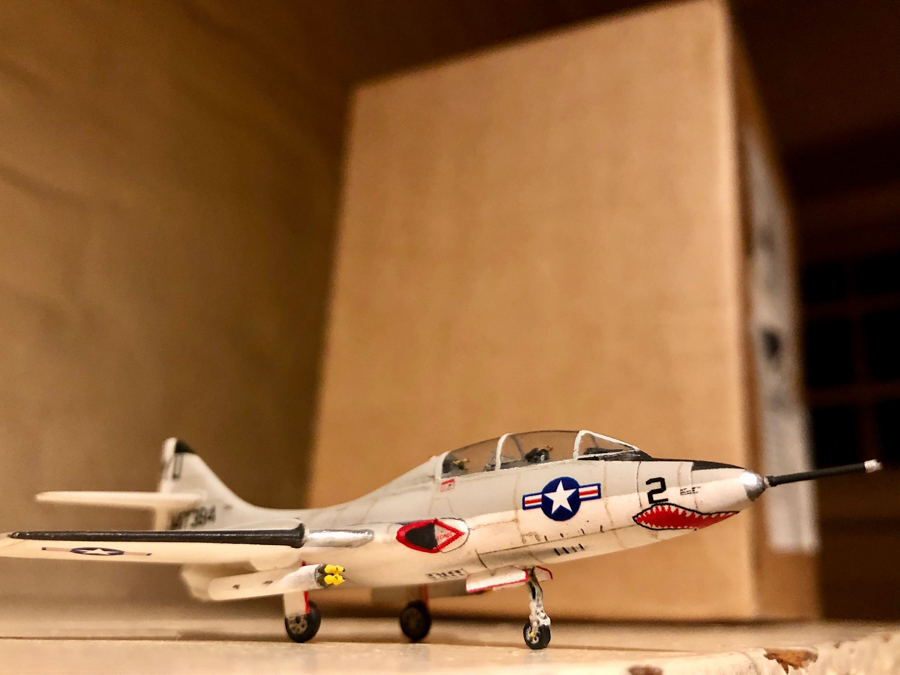
I was going to make this twin seat Grumman Cougar a part of a series of builds I have on the go of US Navy aircraft... but then I found I had some decals for this toothy Marine bird based at Chu Lai in Vietnam in the late-1960s.
I can't resist a shark mouth at the best of times. But with the prospect of hanging some meaty Zuni rockets under the wings and not doing the rather dreary USN white/orange trainer scheme, I was sold.
The Kit
The kit is from the Czech company Miniwing, which has released both single and twin seat Cougars (the same moulds were previously released by FE Resin). Matt has already done a First Look.
|
Parts count is low, but what is there is well cast resin (silky smooth, no bubbles or warping, and few moulding seams) and with some nice surface detail. As a rule I do not take calipers to these things (a slippery slope…) but it looks very Twogar-ish. There is a vacform canopy and kit decals are provided for a training Twogar from VT-25 as well as Number 7 from the Blue Angels. The decals are pretty underwhelming I’m afraid – printed on a very old Alps system and highly pixelated. But most of the insignia you can replace and the numbers/letters themselves are fine (being all 90 or 45 degrees, they don’t become pixelated). Thankfully Miniwing has lately moved to very nice silk-screened decals instead.
The Build
This builds much as the single seat Miniwing Cougar builds but with....well, more cockpits. Twice as many, in fact. Miniwing provides a pair of resin slabs that sort of resemble the earlier Grumman ejector seats (if you squint). I added in some Martin Baker Mk5(ish) bang seats to both, as these had been retrofitted to most Cougars by this point, including those that served with the Marines. These came from 3D printing site Shapeways and have proved a useful addition to the spares box over the years.
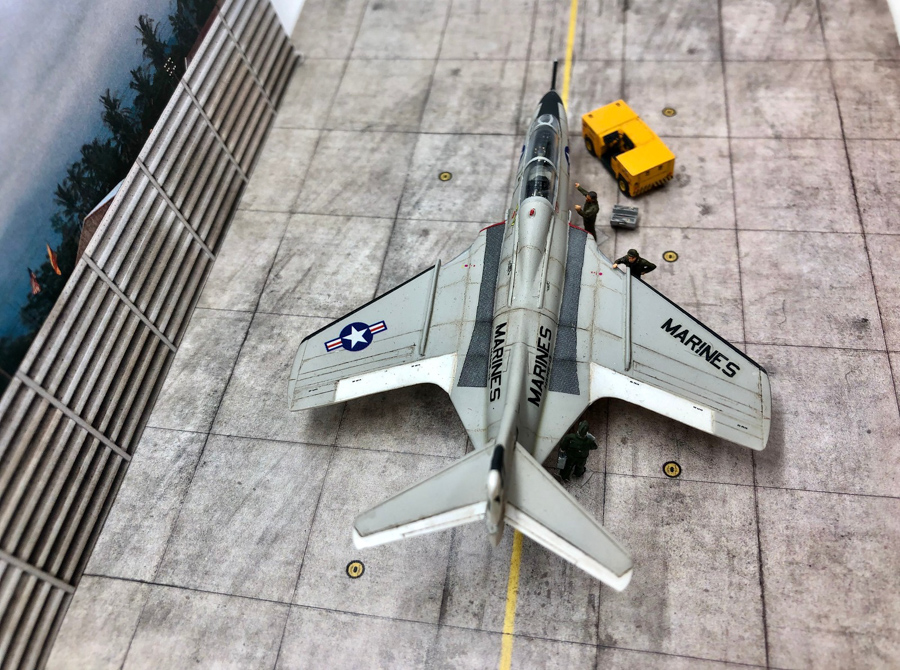
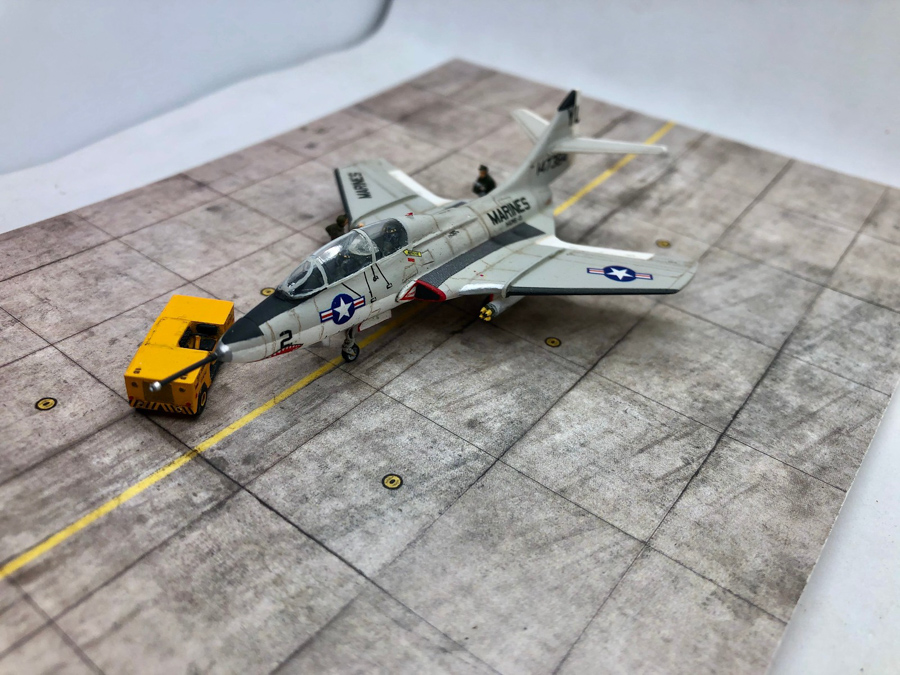
The vacform canopy provided no real problems, just a lot of care, patience and a brand new blade. The main undercarriage on mine needed to be trimmed to give the aircraft the right nose-up attitude on the ramp. I got some Zuni rocket pods from Shapeways to hang under the wings – a photo of this aircraft shows it lugging a pair skywards.
|
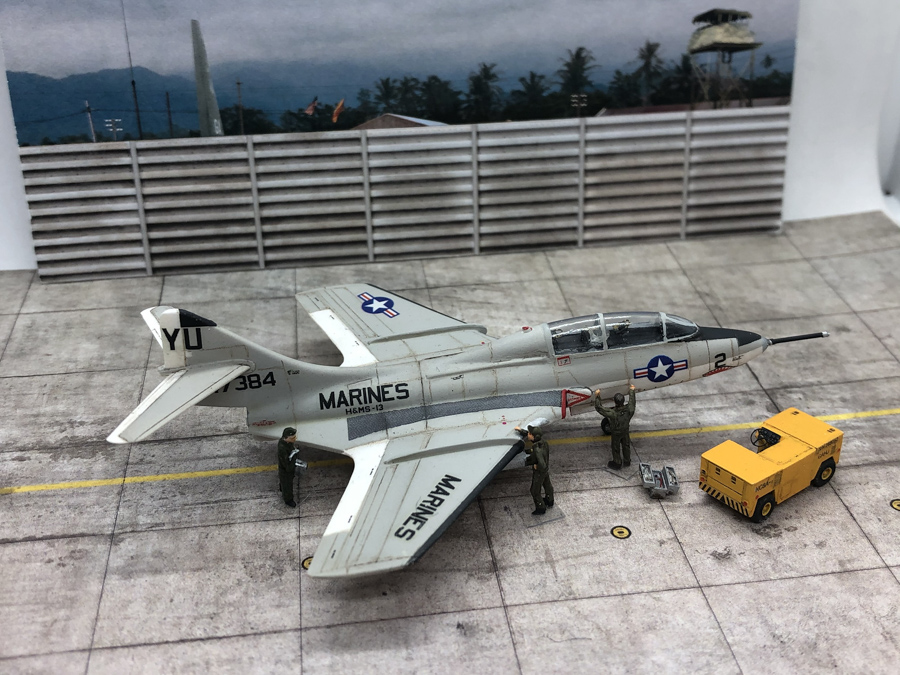
The kit provides a refuelling probe about the scale thickness of a telegraph pole. With the previous Cougars I built, I put the refuelling probe on a Dremel diet – putting it in my drill to lathe it down to a more appropriate thickness. This time I scratch built the probe with aluminium tubing, which was more convincing I think.
Painting, marking and weathering
I use Hataka paints, generally. I find them easy to use and the colours are faithful. These are from their ‘Red Line’ of water based acrylics. They also have a lacquer-based ‘Orange Line’ of USN colours, but I can’t really use lacquers with lots of small children in the house. Acrylics it is.
|
The decals come from the older FE Resin kit and are, as with the later Miniwing release, pretty poor. But I replaced the insignia and managed to get everything else on ok. I made some effort trying to get the decals to snuggle into the surface detail but with mixed results.
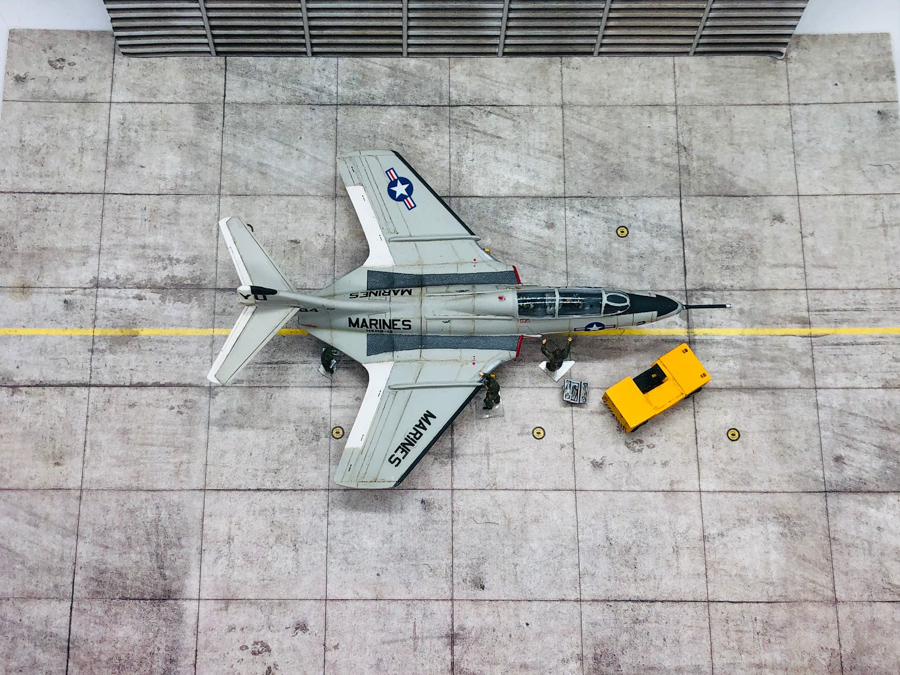
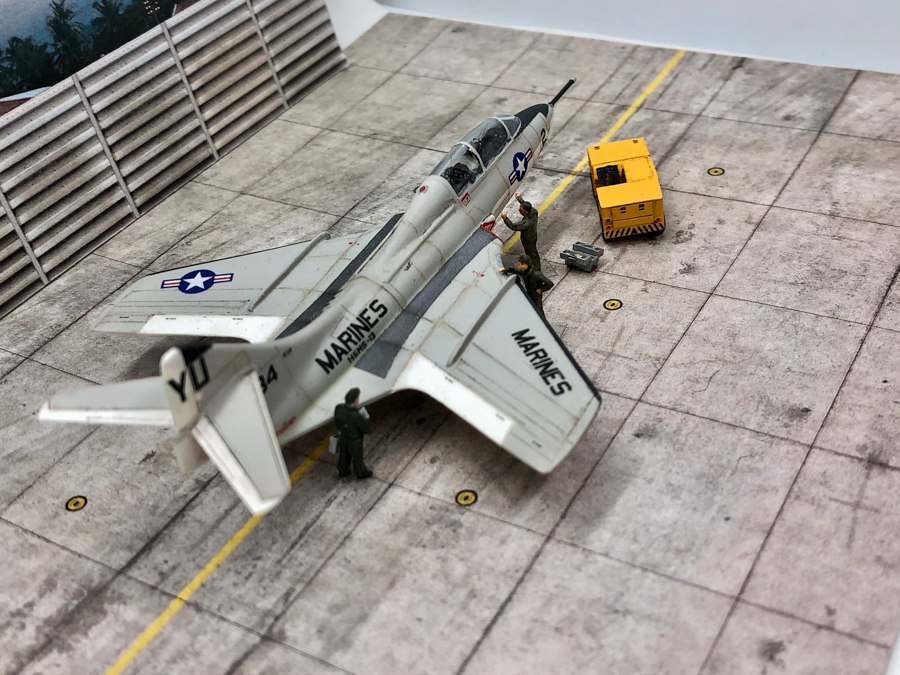
I did quite a lot of weathering - the photos suggested this was quite dirty (as were plenty of other Marine hard worked land-based aircraft in 'Nam). I feel I probably overdid it but the effect is exaggerated in these close-ups and light, more subdued from a polite, socially acceptable distance.
|
This aircraft served with the inspiringly-named Headquarters and Maintenance Squadron 13 (H&MS13) based at Chu Lai as a fast jet Forward Air Controller calling in airstrikes from other land and carrier based jets. The loss rate was immensely high for FAC aircraft – flying at about 4,500 feet they were right in the 37mm ‘envelope’. This would probably have operated over Khe Sanh in 1967.
History geek diversion: intriguingly Chu Lai Airbase was named not after a town or any geographical feature, but after the Marine General Victor "Brute" Krulak - Chu Lai being the Mandarin characters for his name. I read a good biography of Brute a few years ago - he introduced the landing craft to the Marines in WWII and pioneered the use of helicopter insertion (which sounds like a rather painful medical procedure) in the Korean War. A tough nut.
|
This build fits well in the small collection of Forward Air Controllers that I am building up in 1/144 – a Bird Dog, Mohawk and Texan so far - a niche interest that re-watching Bat 21 a few years ago triggered. Great film. I don't have any others on the bench yet. I'll get to those soon - I have the F-Toys Bronco but really need to work out how to improve the canopy. I have one more Cougar to build and then I’ve done the family – until someone releases a photorecon nose or I can summon the nerve to scratchbuild one myself…
Figures and vehicles
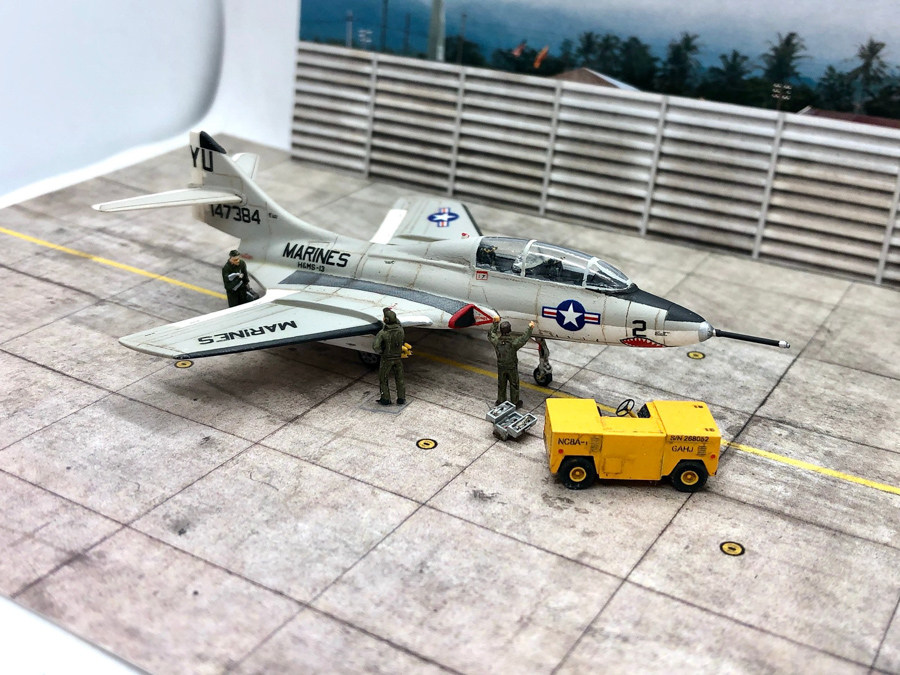
As I’m very much still in denial about growing up, I like setting up temporary dioramas when I photograph my finished builds (nothing is glued down). It entertains me.
The NC-8A start cart is from Brengun – a beautifully cast little kit. You get two in the box, with lots of stencil decals and a photoetch sheet for the steering wheel, pedals and microscopically small tie-down rings. It’s very easy to build – the hardest part is separating it from the pouring blocks without damaging the bit you want to keep. I sprayed mine Tamiya Camel Yellow from a rattle can. After painting the wheels, you’re pretty much done!

|
The figures are from Heroes Models, who produce a large and expanding range of pilots and ground crew - all absolutely exquisitely detailed and cast (fingers in 1:144? Yup). I did not do them justice, I fear. I watched a YouTube tutorial on how to paint figures in a much larger scale, with various washes and highlights. I tried to imitate some of that here, but not all this is obvious. In my view, Heroes and Northstar produce the best figures in 144 by a long margin.
|
The base and backdrop is from Noy’s Miniatures. There are several companies that now produce bases in 1/144 (Heroes Models, Coastal Kits, Peewit and Noy's that I know of). These are pre-printed and very nice – even if I wasn’t spectacularly lazy I think I would not be able to recreate from scratch the level of realism the base alone provides. I think I might at some point spray a flat coat over this as there is a slight sheen left post-printing. Available from Hannants.
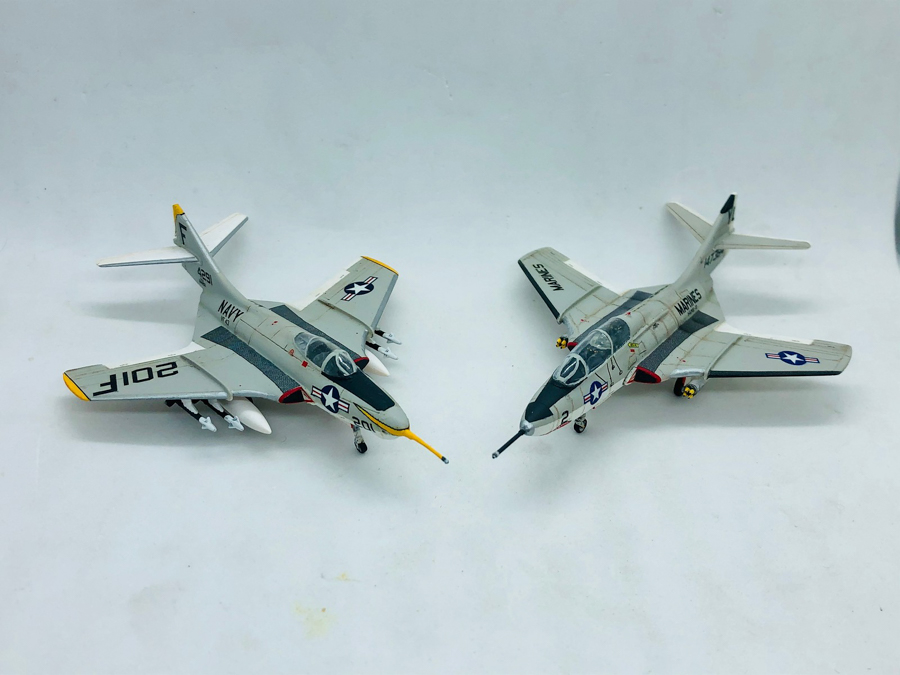
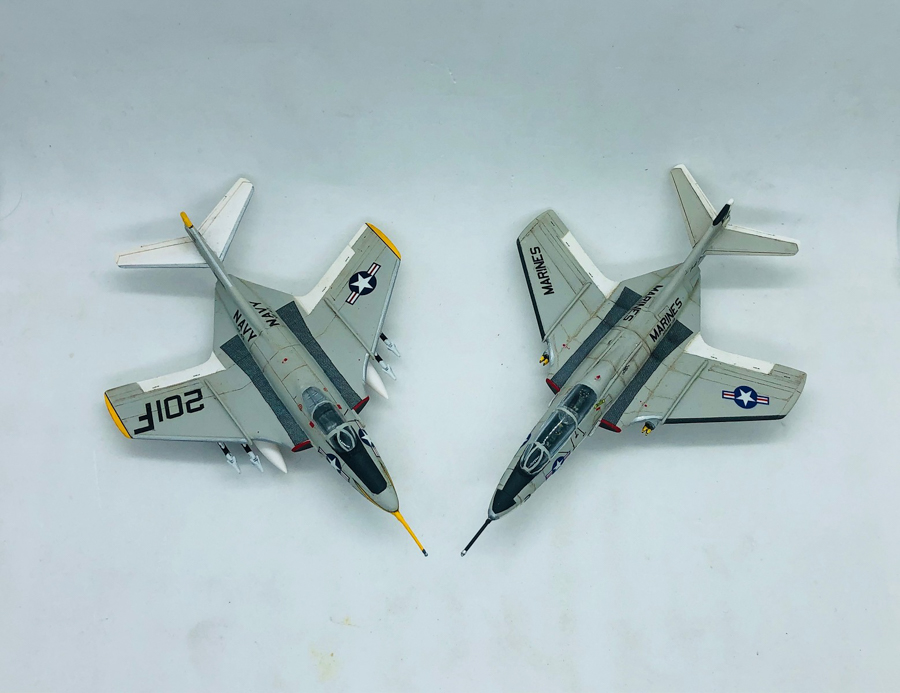
Finally, a photo for comparison with the single seat cougar I finished a few months ago.
|
|
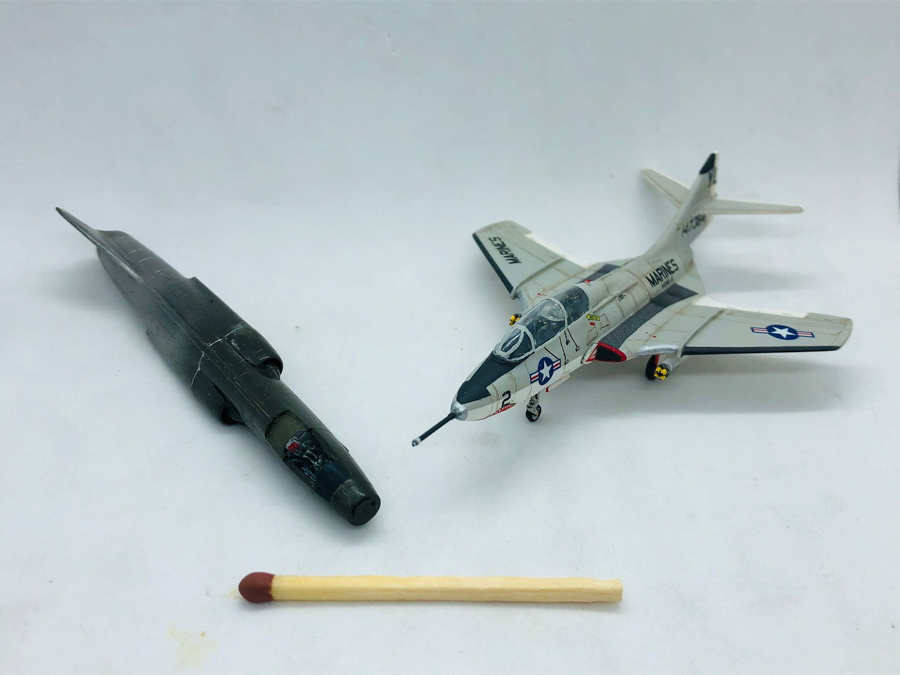
And with something completely different that has lingered far too long on the shelf while I work out how to paint the rest of it.
|