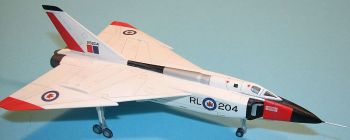
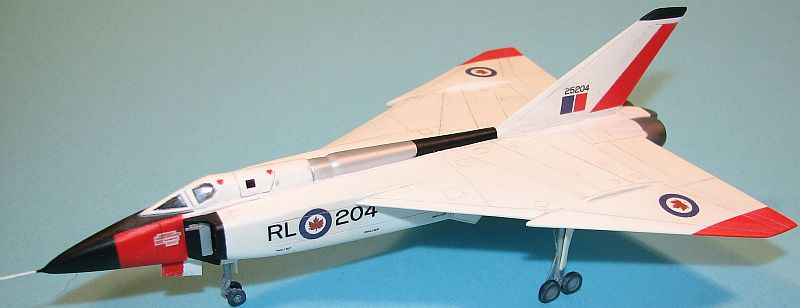
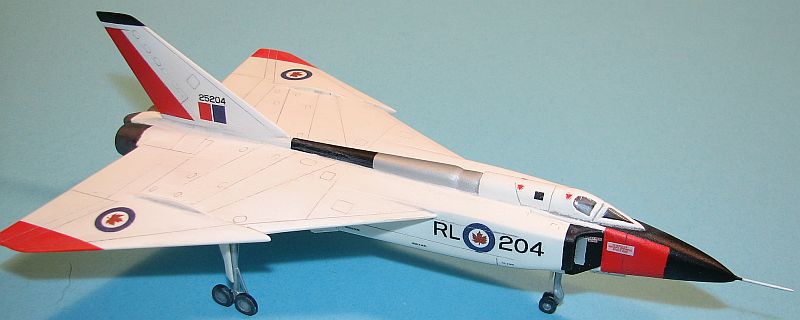
Miniwing 1/144 Avro CF-105 Arrow
By Matt Bittner
Construction
You can see the parts break-out in my First Look back in February. There really isn't much to this kit. Even so, it's taken me awhile to finish it. I started it during the summer so around six months is actually quite quick for me.
Construction does begin in the cockpit, but since there was only a seat back, once it was all painted and the decal seat "cushion/belt" decal was on - and the decal instrument panel added - the cockpit was finished. It might not be correct, but I decided to paint the headrest of the seat red just to show something different through the canopy. Not much can be seen through the canopy so what Miniwing provides is perfect.
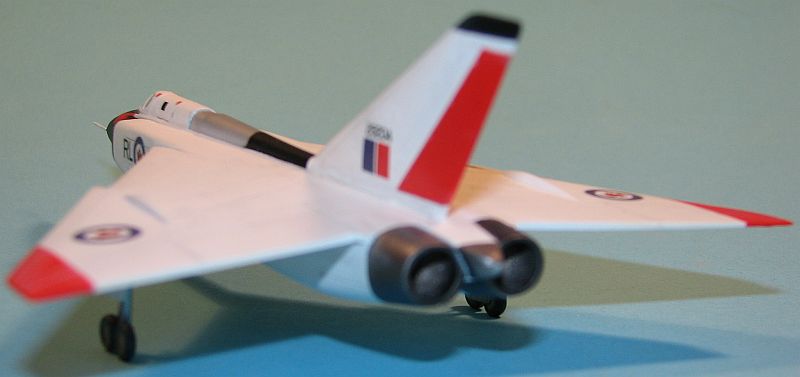
Now for the most difficult part. Attaching the wing. Just joking. It was quite simple and with the use of Apoxie to fill the underside gap (small that it was) I didn't have to sand anything. There was some blending when I attached the vertical tail but it too was minimal. The intakes, on the other hand, took a little bit of sanding/finesse and some filling to achieve a smooth seam. Although at first I thought about attaching the exhaust cones last, there were some small gap issues with that piece as well, so I attached it prior to painting, and just masked it when I painted.
I felt the nose was a little off so after attaching it I started to work on its upper shape using Apoxie. However, now that I look at it closer, I just wonder if I just attached it upside down...hmmm... Or, maybe if a little shim in the right spot might also have worked better than all the puttying/sanding I did to make the nose look just a little better (when compared to photos).
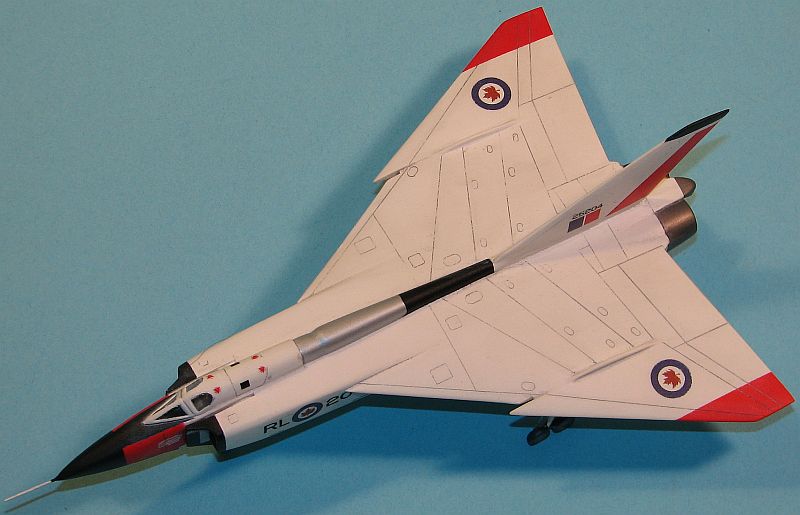
I also thought the landing gear doors were too thick, and because there was molded-in detail for the inside surfaces, decided not to scratch new ones and instead sanded the outer surfaces to better scale thickness.
Now it was ready for painting.
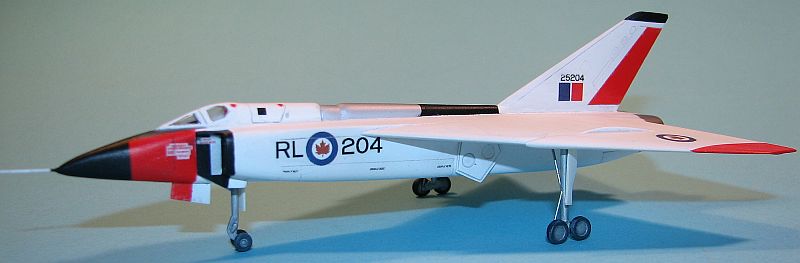
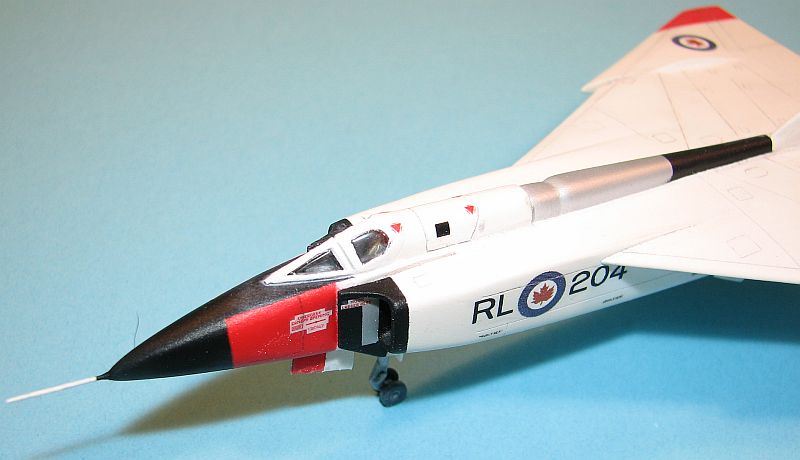
I tried something new for me. Instead of the mess I ended up with the Wolfpack Designs TSR.2, I decanted Tamiya Fine White Primer and sprayed it through my airbrush. Still wasn't as smooth as I had hoped. I read later on through a modeling forum that I probably should have thinned it even more. I may remember that for a later model, but I'm still looking for an easy-to-spray primer for resin models. The next one I'll try is Alclad's Grey Primer. It took a few sandings between coats before I was happy with the
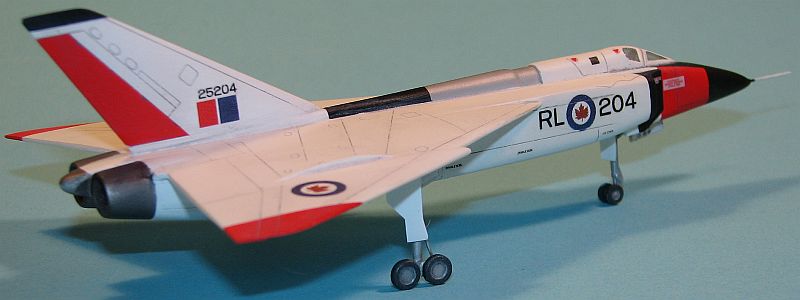
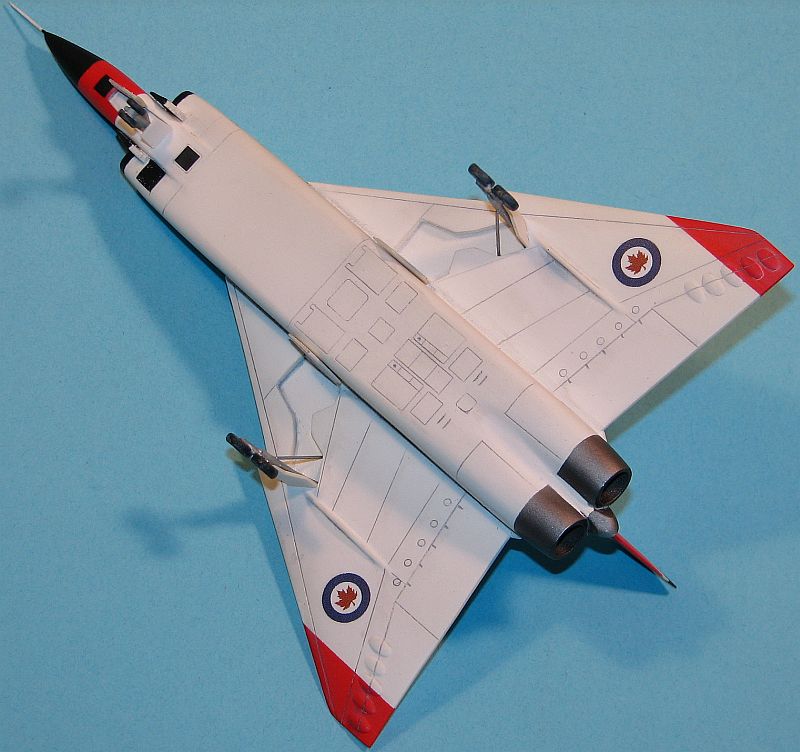
Another area I wasn't sure of were the gear wells. Instructions call for those to be aluminum, but I couldn't tell that for sure looking at photos on-line. So, I went the easy route and left them white. I did spray the landing gear with the Alclad Aluminum when I sprayed the spine, though.
Now I decided to add the rest of the parts to the aircraft prior to spraying with Future. The extra struts for the main gear and nose probe were made out of brass rod. Like the builder on the Yahoo group I decided a little extra strength in this area wouldn't hurt. To make the nose probe I tapered the tip of it with sandpaper. I thought I was good with adding it now, but alas, I broke it off. Twice <sigh>. Ah well...
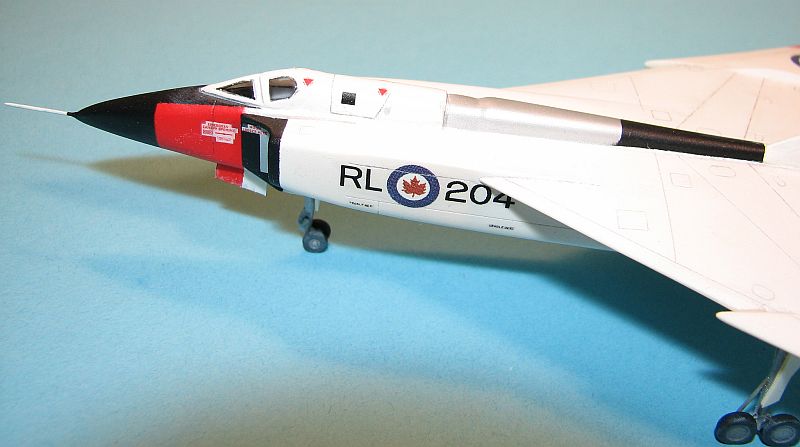
Once all the other pieces were added then Future was sprayed. After waiting a couple of days (not only for the Future to cure, but life tends to interfere with my modeling quite frequently) I then started to add the decals. I've mentioned this in all the First Looks I've written on Miniwing
Final
Now the decals were on so I applied another coat of Future over them for strength, and because the next step was to be an oil wash in all the panel lines. Again I waited two days before this application (this time because Christmas was in full swing) and then used a blend of black and white oil colors to achieve a grey that wasn't too strong, but also not too light as to not show up. Since the aircraft appeared to be kept in excellent condition this was the only "weathering" I did. Once the oil dried, it was time for an overall dull-coat, and this time I used the Xtracrylix using their thinner and a couple of drops of Future for strength. I'm happy with it, especially since the newest formula of Polly Scale flat is horrid and leaves everything chalky. Shame on Testors for changing the formula.Conclusion
This is probably one of the easiest models I've ever built, even though it took me a few months to finish. There weren't many problems with it and with the few parts that come in the box, it truly could be a weekend build in someone else's hands. This will look great next to my Revell Berkut, MiG 1.44 and Wolfpack Designs TSR.2 (which I mistakenly called an interceptor in my First Look on the CF-105).My thanks to Miniwing for the review kit. I feel their kits are the best resin in this scale.