Ilyushin DB-3 / Il-4
By Bill Osborn
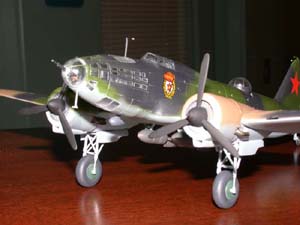 |

 |
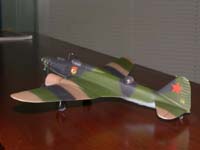 When I found the Zvezda kit of the Il-4 and looked inside I thought it looked pretty good and would fit in with the rest of my WWII Russian collection. I have two other Il-4 kits that I've had for a few years and might have built if I had stock in a sandpaper company. I have built a couple of Zvezda kits and found them to be fairly good kits. The panel lines are recessed and very fine. The detail is very good and part fit is generally pretty good. As typical with most Eastern European kits there are no alignment pins or tabs. This isn't a big problem but it does make things a little harder, but what the heck this hobby isn't Brain surgery.
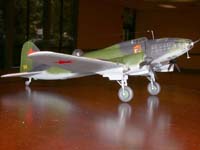 The model is cast in the typical medium gray plastic, and has three sprues (if I remember correctly), and one clear sprue. Construction is very straightforward with a somewhat puzzling interior. You get a seat, control yoke and an instrument panel for the cockpit, but the there is another control column in the nose section. Maybe the pilot and bombardier fought over who was flying the plane. Anyway it doesn't make any difference, because with a black interior you can't see inside anyway.
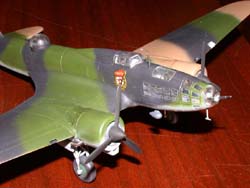 After installing the interior as a best guess (no indexes, remember?), the glass nose was put on. The nose is a three-part section split on the vertical, which leaves a seam showing in the large windows on the top and bottom of the nose. That brought up another question, with almost a full floor in the nose, why a window under the floor? The third part of the glass nose is a clear dome with a machinegun mounted in it. I wasn't too happy with the gun installed at this time because I tend to snag small parts that stick out where a sleeve or a wild chunk of sandpaper might snag them. Anyway, after sanding and polishing the nose joint it didn't look to bad.
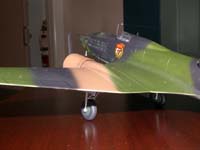 Next came the wing. There are nine sections to the wings, lower center, upper and lower nacelle and upper and lower outboard wing sections. I glued the center to the body, then the preassembled nacelles onto the wing stubs. After getting the best fit I could without tabs the outer wings were stuck in place, again sans tabs. Nobody said it was going to be easy. However the fit was quite good. I can't remember if the horizontals were solid or two part, they did fit well and required very little filler.
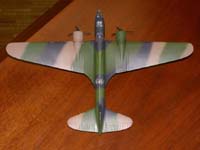 The engine cowlings came next, as I recall, they were just a little too square on the forward part of the cowl, but that's what sandpaper is for. The engine cooling fans are molded into the front of the cowl. The prop and spinners are one piece and require very little cleanup. As a matter of fact the whole model is very cleanly molded. Landing gear struts are of an "H" type with a "V" brace. The wheels I think were two parters but one or two, they didn't match to well and needed to be sanded round. The tail wheel did not retract but had a small fairing just ahead of its strut. Some of the references show a canvas shroud around the strut but I was too lazy to cobble one up.
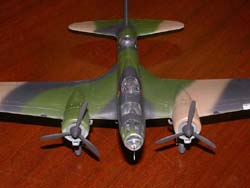 After the L/G was in place the bomb racks were glued on, two each "W" shaped parts per bomb on the center section of the wing. This arrangement surprised me as I thought the Il-4 had an internal bomb bay. Just checked my references more closely and found out it did have an internal bay, but the kit gives no indication of it. Anyway, having stores outside shows better than something you can't see without a mirror.
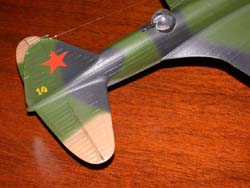 The instruction sheet only has one color scheme, an upper surface of sand, topside green (?) and flat black over dark ghost gray. I wasn't too sure about the gray but after I got it on it looked right. The paint I used was Modelmaster enamel with a finished coat of Dullcoat. The decals were so-so and were not used except for the guards banner and a small tail number. One of the most time consuming things of the whole model was masking off the windows. As you can see from the photos there are a bunch of them. I've been using Metal-foil for sometime now and really like it. However when it's removed a residue is left on the clear parts. The residue can be removed easily by squirting a small amount of WD-40 on a Q-tip and wiping across the clear part. Use a chunk of tissue to polish it up and you're good to go.