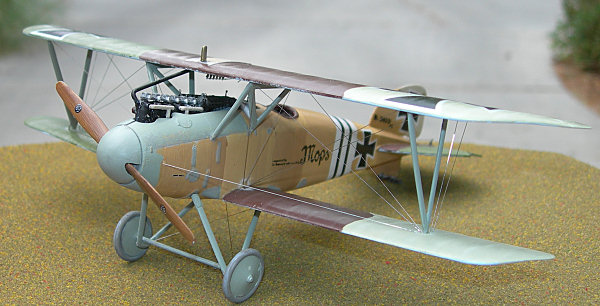
Eduard 1/48 Albatros D.III 'Profipack'
By Rob Stewart
Introduction
This kit is another in Eduard's 'Profipack' series of advanced kits (kit 8097), and although it may be a bit of a challenge for beginners, but great for WWI enthusiasts, or just about anyone with a need to have some extra detail added to their kit. However for anyone not wishing to use the PE, the kit can still be assembled and a very nice model produced.
First steps
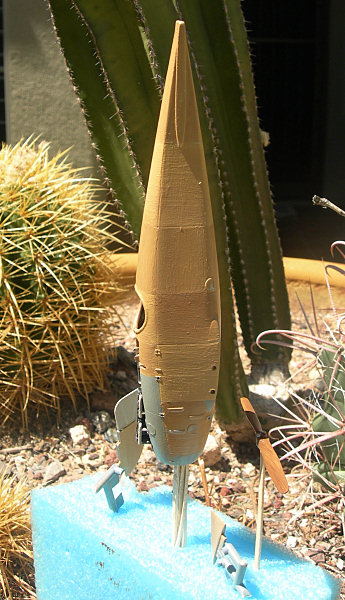
As a first step, I sprayed both sides of each sprue with Tamiya primer, and left them for 24 hours to dry thoroughly. This is because I use cheap, craft store acrylics for my top coats and they don't seem to "bite" into the styrene very well, and tend to make a mess and require many coats and it can look awful.
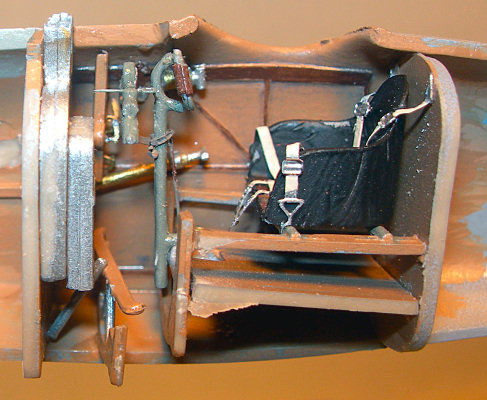
Interior
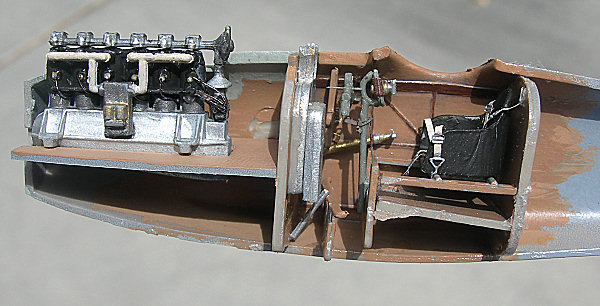
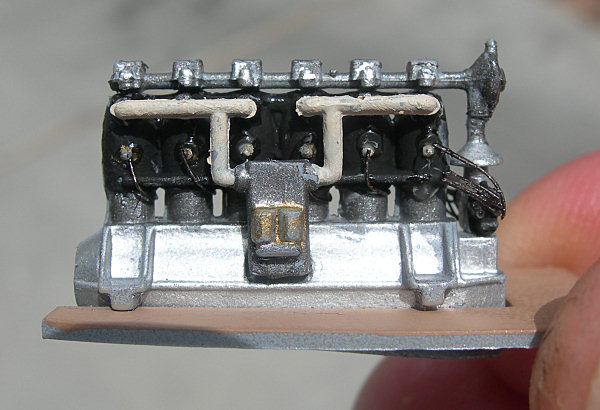
Engine
Assembly
The fuselage assembly is straight forward and is a good fit. Be careful that the engine sits along the center line, as otherwise the guns will be all skew-whiff, as they say.
I glued the outer struts to the lower wing then immediately added and aligned the upper wing and let it dry before adding the inner struts. This approach suits me better for a single bay biplane.
Before working on the upper wing, make sure it is the one with the correctly positioned radiator for the marking option you have chosen!
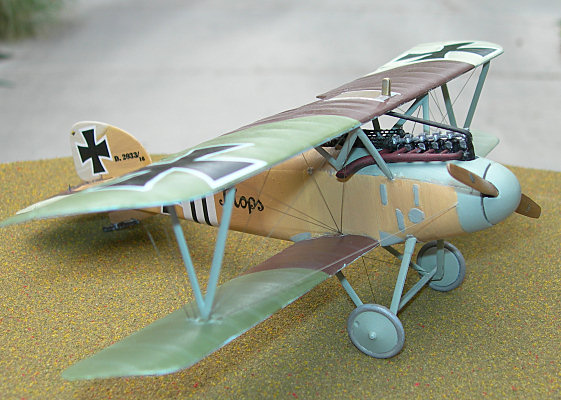
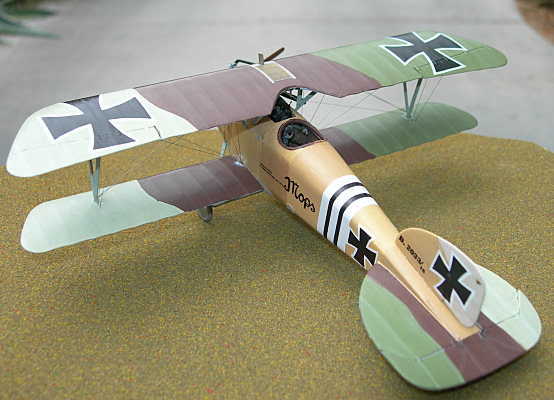
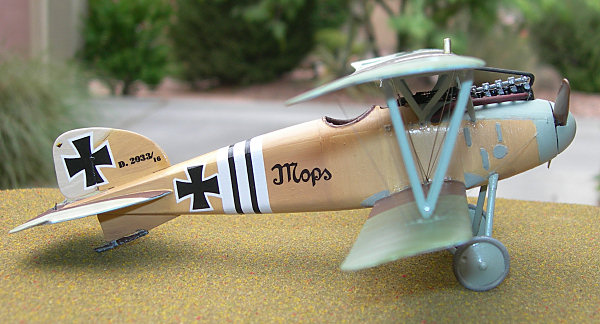
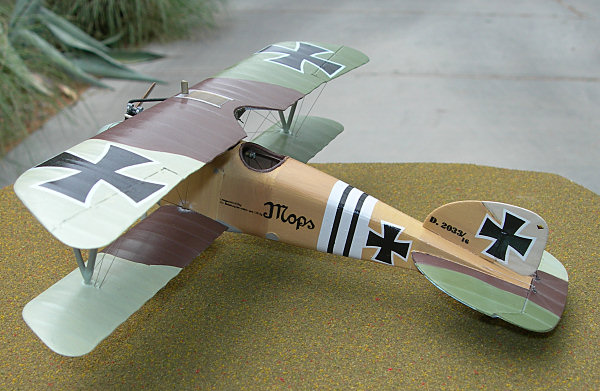
Painting and Markings
The camouflage is simple to paint and the metal panels were painted with a detail brush in a grey-green mix of my own. The decals were, as always, thin and easy to work with, and took the setting solution without difficulty. They are quite thin and only required a few seconds of wetting before being usable, but that might again be a feature of the Arizona summer.
Rigging
There is minimal rigging on this aircraft, and what there is is not too tricky. I used stainless steel wire of 0.005" diameter (0.127mm). Start at the inside and work your way out, and it should go smoothly enough.
Conclusion
All in all, a very nice and detailed kit. The molding is great, there were no problems with the plastic and the detail is perfect. The marking options are interesting and unusual, and give the modeller a great chance to practice the wood effect.
Thanks to Eduard for the review sample, and to IM and Matt Bittner for letting me build it.