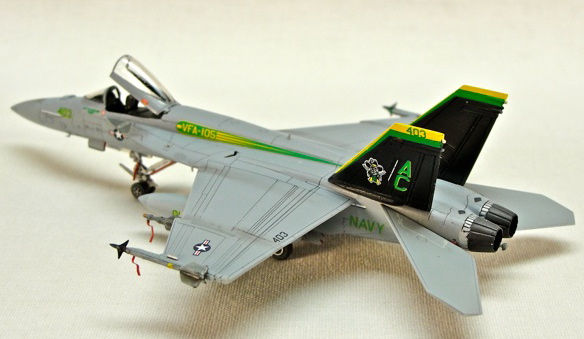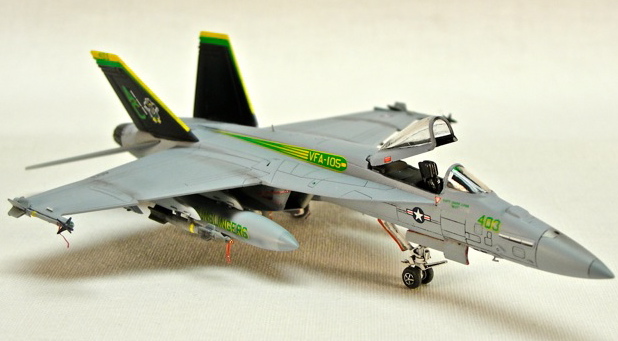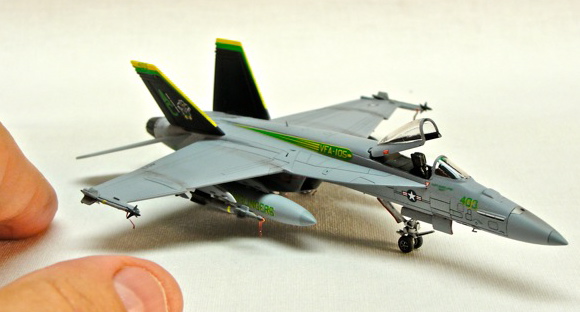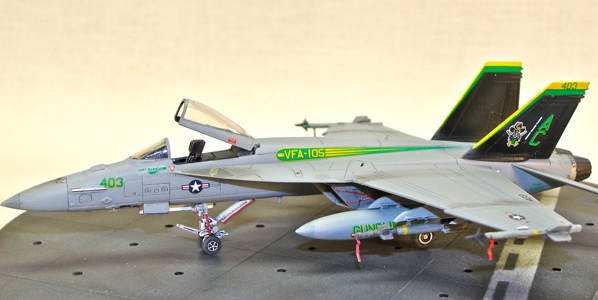
DML 1/144 F-18E "Super Hornet" (Rhino)
By Bruce Simard
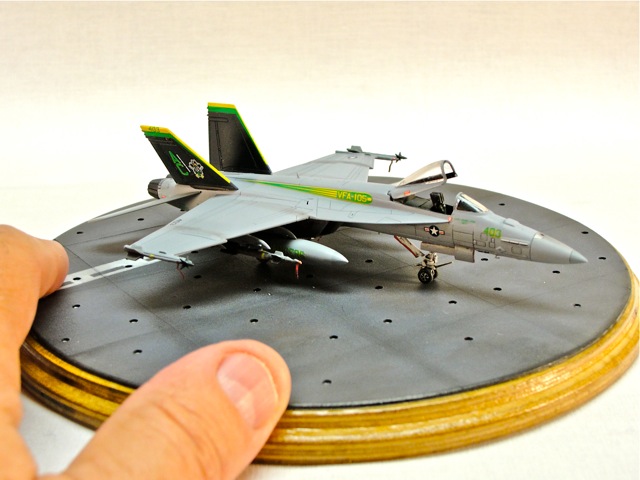
"Ready to Roll"
The particular kit I used was #4607, but there are several you can now use. Obviously, the main difference being the kit supplied decals. DML is being extremely smart with the Super Hornet series. They have an extremely nice kit, which is re-released every so often with new decals. Great marketing strategy, which will probably continue until the decal manufacturers decide they're missing out on a market. This is slowly starting to occur, but the recent explosion of 1/32 scale products will most likely slow progress even more. 1/144 just isn't that popular, Folks. But as long as Revell of Germany and DML are around, along with some smaller manufacturers, we 1/144 dye-hards will survive.
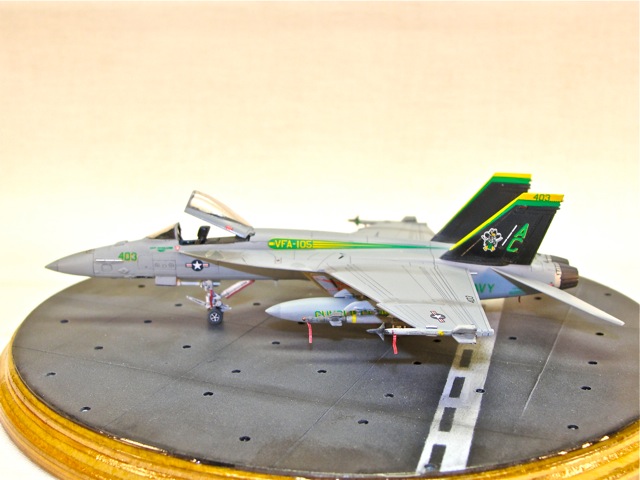
"Gunslinger 03"
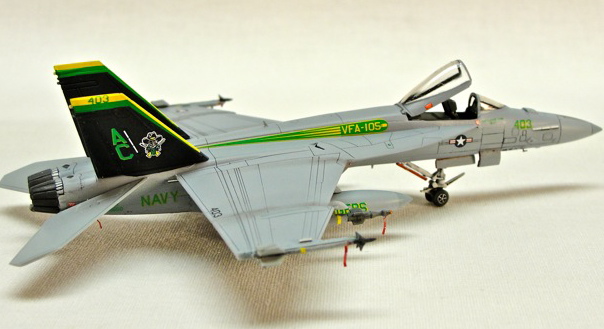
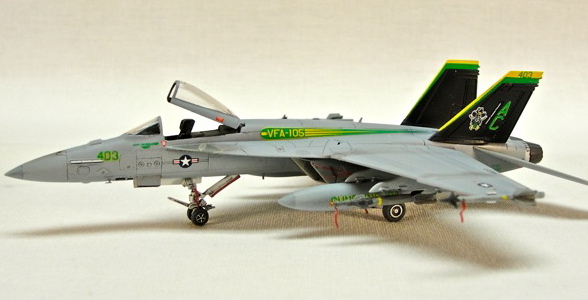
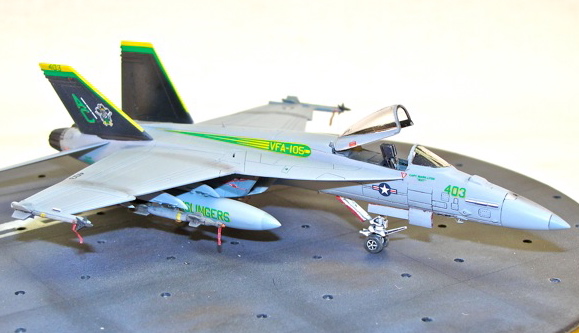
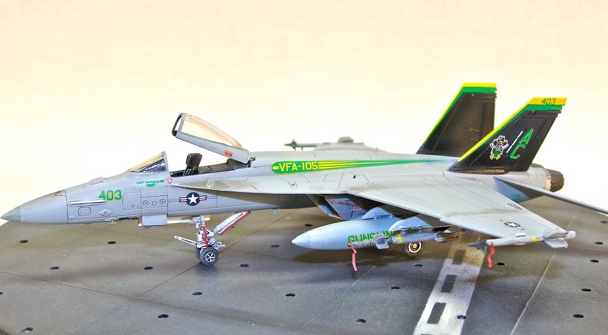
OK then, the DML "Super Hornet" series, what do we actually get here? First, each kit contains 2 of the latest new mold F-18E's or F's. For this article we'll examine the E model. (The "Roadster", verse the "Sedan") The kit I built (4607) had markings for VFA 105, the "Gunslingers", or VFA-31, the "Tomcats". I chose to model 105 due to the fact I just finished an F in VFA-32 markings. Both of these squadrons are members of Air Group 3 aboard the USS Truman at present. In my opinion DML's "New Generation" Hornets are really Great little models. They are value priced,very crisp in detail, easily obtained, and build up quickly. In the hands of a Good modeler, they can be really turned into little jewels. (But for this article, you'll have to suffer with my example)
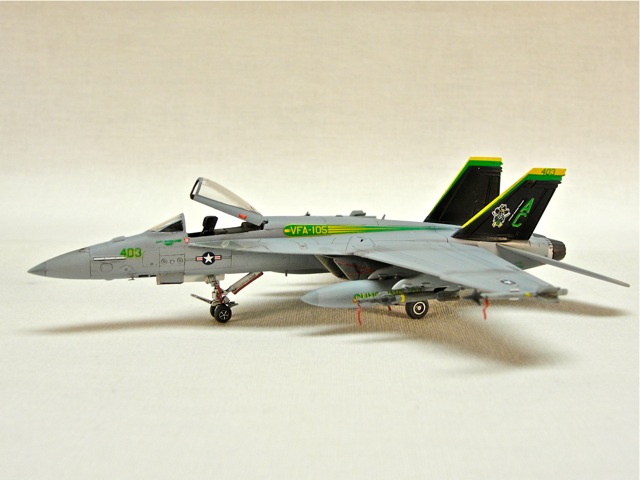
DML's Jewel
To start, I always detail the "Office" (cockpit) first. The ejector seat is basic,but not too bad for this scale. I choose to detail with belts from aluminum foil, and very careful painting. This is also because my aircraft models always have open cockpits. (Mechanic's mentality,Folks) The main instrument panel, as well as the side consoles are painted up and detailed next. Obviously for the single seater, you have a blanking plug to go over the second seat area. This assembly goes into the nose section. Now this is where it gets a little interesting. I've built several of these, and found a better way to ensure a good fit. The upper and lower fuselage are assembled,then the nose is attached. Start at the tip of the upper fuselage assembly first! Slowly work your way back gluing the assemblies together. I found a minor gap always left between the aft end of the forward fuselage section, and the main fuselage assembly. But if you work slowly, and fore to aft, this will be mini-mised and easily filled. I add the engine intakes later. The reason for all this is the nose angle. If attached as above, there is just the minor problem of filling. If one just glues it on in a hurry, you just might find the nose angle too high, as well as some problem areas to fill
Another area I've read folks complaining about is the wingtips. On these kits, they are separate. The fit straight out of the box leaves a little to be desired, but it only took me 10 minutes with a sanding stick and jeweler's files to get a good fit. I prefer the way DML molded these, because on the F bird, I folded the wings. Yes, you have to build in a fold mechanism,but this makes it soooo much easier. Depending on your paint scheme, it is also much easier to paint and detail the tails off the model, and then attach. Another area one needs to be careful of, are the pylons. Remember on the E & F birds they are canted outwards, very noticeable.
You'll also notice on my example the canopy is cut and opened. This is the kit canopy, not vacuformed. I use a fine razor saw to carefully cut along the canopy bar line, and separate. I was extremely nervous about this at first, but am reasonably happy with the results.
I had no real problems with the kit decals. I normally use Microset on all my models, so this just helped to seat them down. I decided to add the remove before flight tags to the finished model. Modern aircraft are usually seen with these streamers hanging most everywhere prior to moving out for flight, and it gives a nice effect. The base was a simple wood plaque stained, with a sheet plastic deck detailed and added on.
So there you have the results, you be the judge. I really enjoyed the project, and have no doubt I'll be building more of these kits. So let us know what you think!

