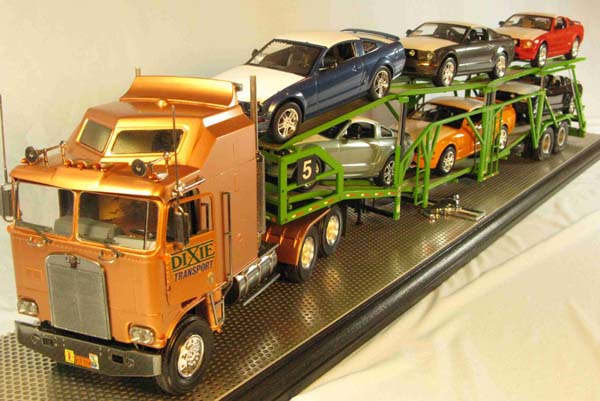
AMT/Revell 1/25 Kenworth Auto Transporter
By Jerry Lum
The Project
 I’ve always wanted to display some cars on an auto transporter, so why not load one up with some cool Mustangs? This was a big project and involved building essentially 8 vehicles at the same time from 3 different Revell kits. Not being a car builder, this project was a unique opportunity to get 6 cracks at building the same car.
AMT 1/25th Kenworth Aerodyne COE
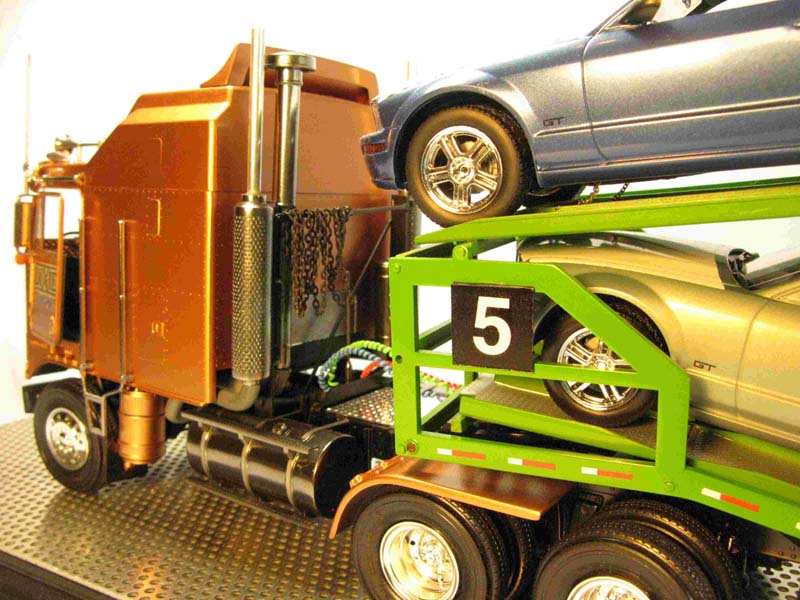
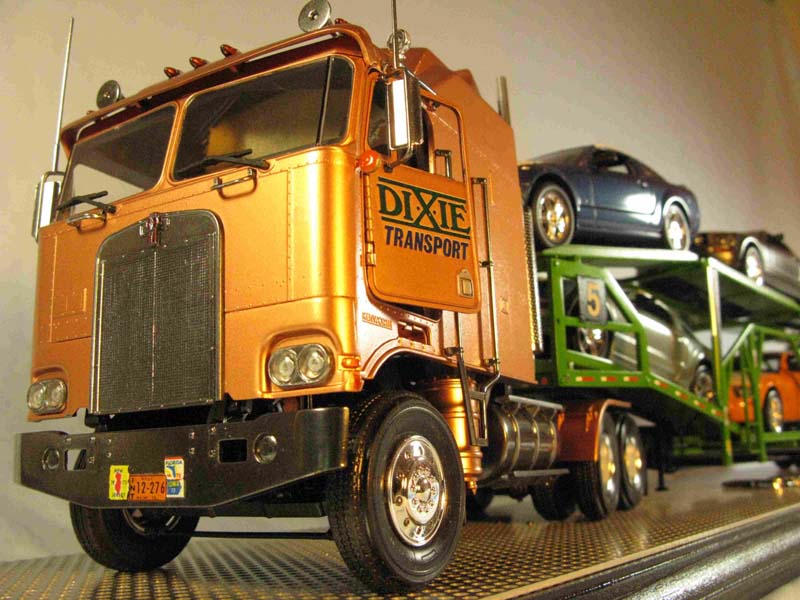
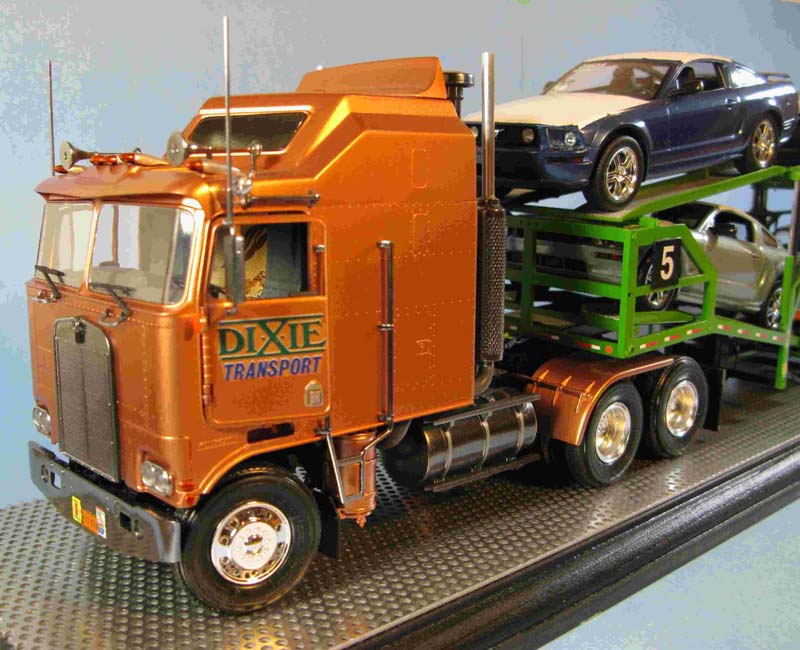
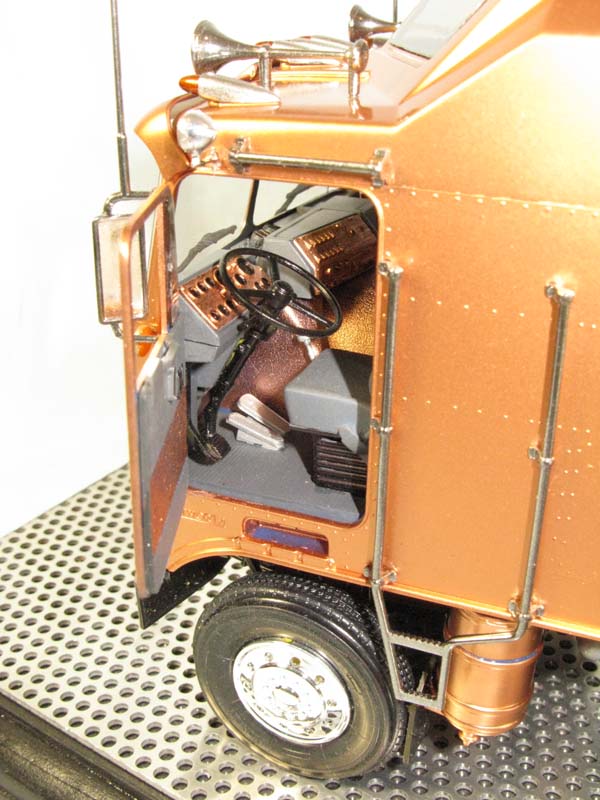
This 1988 vintage kit has been reissued a number of times and it is relatively well detailed with working cab doors, detailed engine, steerable front wheels, tilting cab, vinyl tires, chromed parts, and some metal chains. Assembly was straightforward, with no major fit problems. Detailing was limited to hanging a curtain between the cab and sleeper (quilt fabric squares at Michael’s Craft stores), replacing the smoke stacks with polished aluminum tubing (I hate sanding seams) and using colored electrical wiring for air brake hoses.
 For something different, I went with a bronze color. After testing all manner of lacquers, acrylics and enamels, I wound up airbrushing the old Testors bronze that comes in those tiny glass bottles! (I hadn’t touched this stuff since grade 5). I stripped all the chromed plastic and refinished it with Alcad chrome.
Revell 1/25 Auto Transporter
The kit was originally issued by Revell as an “Auto Transporter” and recently reissued as a “Car Hauler” by Revell-Germany. It is only one of auto transporter kits in 1/25 scale that I am aware of, the other being an older style transporter issued, and subsequently reissued, by AMT. Detail and fit was good, but did require filling and sanding of some sinkholes in the frames and general cleanup.
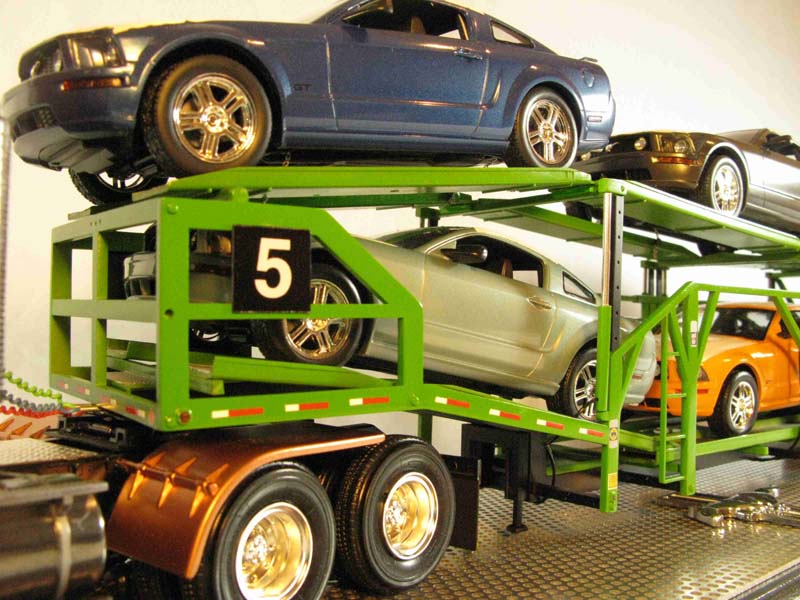 Decals are poor, but do include those gaudy windshield sticker prices as well as factory “spec” sheets. The basic construction of the transporter consists of two vertical side “frames” that support lower and upper loading decks. Each deck consists of a series of ramps supported by working hydraulic pistons that can be set to various positions. I replaced the hydraulic pistons with aluminum tubing both for appearance and strength.
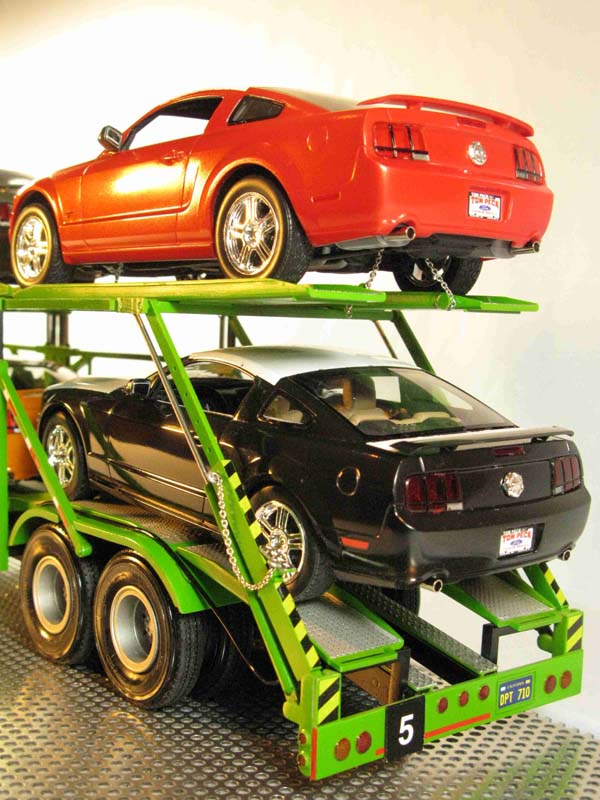
I had major problems airbrushing the Gunze Green (to match a local Auto Transport company) for the frame. Despite thinning the paint with distilled water and isopropyl alcohol, it kept clogging my Aztec airbrush, no matter which nozzle I used. It took four separate attempts to finally get a decent finish. I couldn’t find any red and white “candy cane” safety decals (anyone know where I can find these?) so I made my own by cutting up red and white Canada Flag stickers (there might be a law against this).
 For the aluminum checkerplate in the car ramps, I applied ultra bright chrome Bare-Metal Foil and I coated this with a mix of Future Floor and Gunze flat base to get the right sheen. I clear coated everything with Future Floor wax after applying the decals.
1/25th Mustang GT
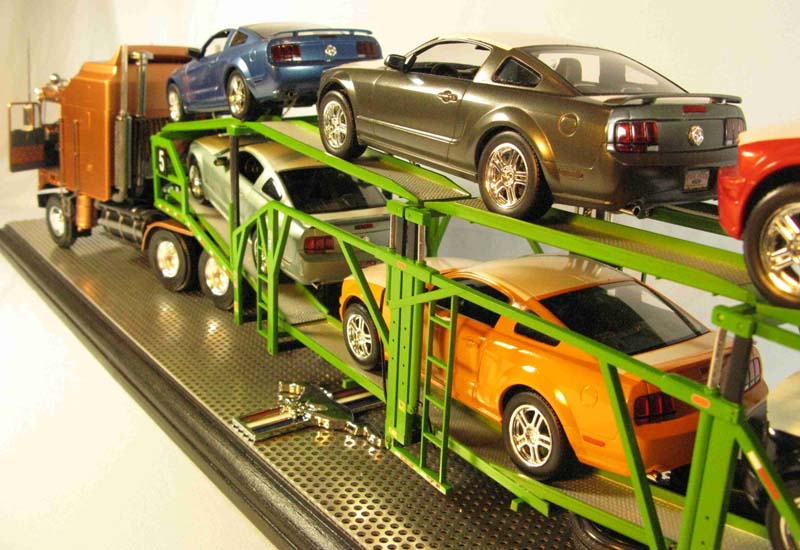
 Building 6 Mustangs at the same time must be a record but anything less than a load of 6 cars just didn’t look right. My worktable resembled a Ford assembly line as I laid out and grouped the various sub-assemblies by color. This is a good kit with detailed engine, undercarriage and interior and it features a pair of chromed metal exhaust tips, vinyl tires and a finely chromed mustang grill emblem. No door windows or alternate set of wheels were provided. Assembly was straightforward with no real problems; however the fit between the body and chassis is very tight and I needed to adjust the rear spoiler to sit tight on the top of the rear trunk.
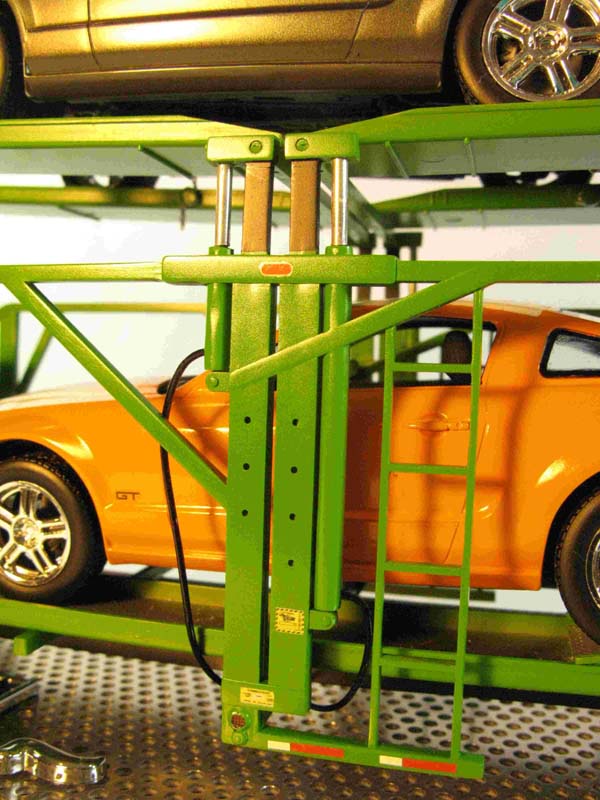 I tried to match the Ford colors for at least 5 of the cars. Since I’ve had no luck in the past using automotive spray paints or bottled touch up paint (tips, anyone?), I airbrushed Testor’s Model Master enamels in metallic blue, metallic grey, black, silver, red, green and a racing orange. A variety of black Sharpie markers were used for window frame and glazing gaskets and Tamiya acrylic clear colours for the lights. After painting, I tried using a 6-step polishing kit for the first time but gave up after I kept sanding through the colour coats.
 However, in the process, I stumbled upon liquid plastic polishes by Novus, which gave a nice gloss finish to the paint as well as the windshields. The polish also worked wonders on the vinyl tires and gave them that “Armor All” show room finish. To simulate the protective shipping wrap, I applied sections of white “Experts-Choice” decal film by Bare-Metal Foil. I had trouble getting the decals to conform to the curves of the hood and roof and had to live with some wrinkles and cracks. All of the cars were chained down at each tire to the car ramps for realism and to keep from sliding off the ramps!
The Slick Base
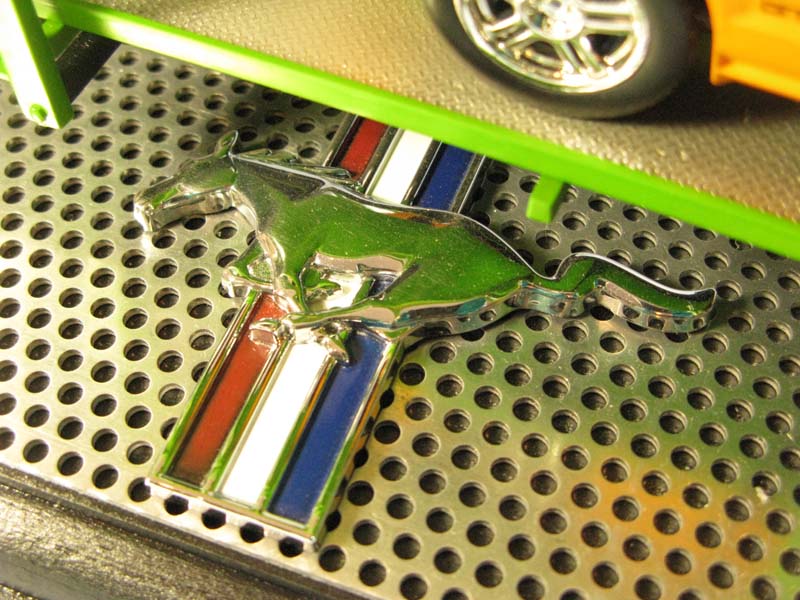
I always like to finish off my trucks with an attractive and creative base that also allows safe handling of the model. I routered the top edges of a thick piece of Douglas Fir and foam brushed with black acrylic craft paint. I then overlayed the base with a sheet of perforated aluminum plate (check with yellow pages under Metal Suppliers) to resemble the car ramps of the transporter. To finish things off, I mounted a metal Mustang badge that I pryed off a real Mustang (at a local auto wrecker’s!). I find posing the truck at a slight angle to the transporter with the wheels cranked over looks the best.
Conclusions
The finished project is impressive, measuring almost 30” long x 7” high. This was a fun build, but I don’t think I can build another Mustang again! This is my first modeling article, so I hope I have been able to share some useful tips and provide some inspiration and ideas. I would appreciate any comments or tips as I am always trying to build the next kit better, faster and cheaper! What did I learn? Dry fit everything, set up an assembly line, carefully plan the painting by colours and of course, be patient.
Next Project?
Why not scratchbuild a modern Cottrell car hauler towed by a Peterbilt - carrying SEVEN Hummers …
