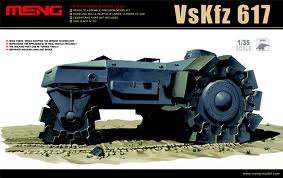
MENG 1/35 German VsKfz 617
By Eric Christianson
Background and Contents
The VsKfz 617 was designed by Alkett, Krupp, and Mercedes-Benz in the early 1940s as a minesweeper. The vehicle featured heavy armor plating to protect the occupants from exploding mines, while the massive wheels were fitted with large and heavy shoes that would provide the strong ground pressure to detonate the mines. For close defense, the Ausf B variant featured a turret from a Panzer I tank with its two machine guns. Trial tests revealed (unsurprisingly) that the vehicle was large, heavy and slow, which made it an easy target for enemy artillery. As such, the program was halted.Advancing Soviet troops in 1945 came across one of these vehicles and captured it, returning it to the Soviet Union where it underwent testing. That vehicle now resides at the Kubinka Museum outside of Moscow, and remains the only existing example of this odd vehicle.
The Build
This is an unusual kit – I had to make some up-front decisions that deviated from a normal armor build. The heavy, metal-filled cleats that the vehicle rides on are not cemented, they swing back and forth with gravity as the wheels turn – not something I usually encounter with a plastic model! I decided to build, weather and finish the two large front wheels and single small rear wheel separately from the main hull, and attach everything at the end. I found I could do this if I left off parts A1 (Step 14) and paint them separately; allowing everything to still turn and swivel as it should in the end.
This turned out to be a very good decision – adding dry pigment for the finish I wanted on the cleats with them attached would have been very difficult – they are just too heavy. On the other hand, their weight gives the entire model a solid, authentic feel.
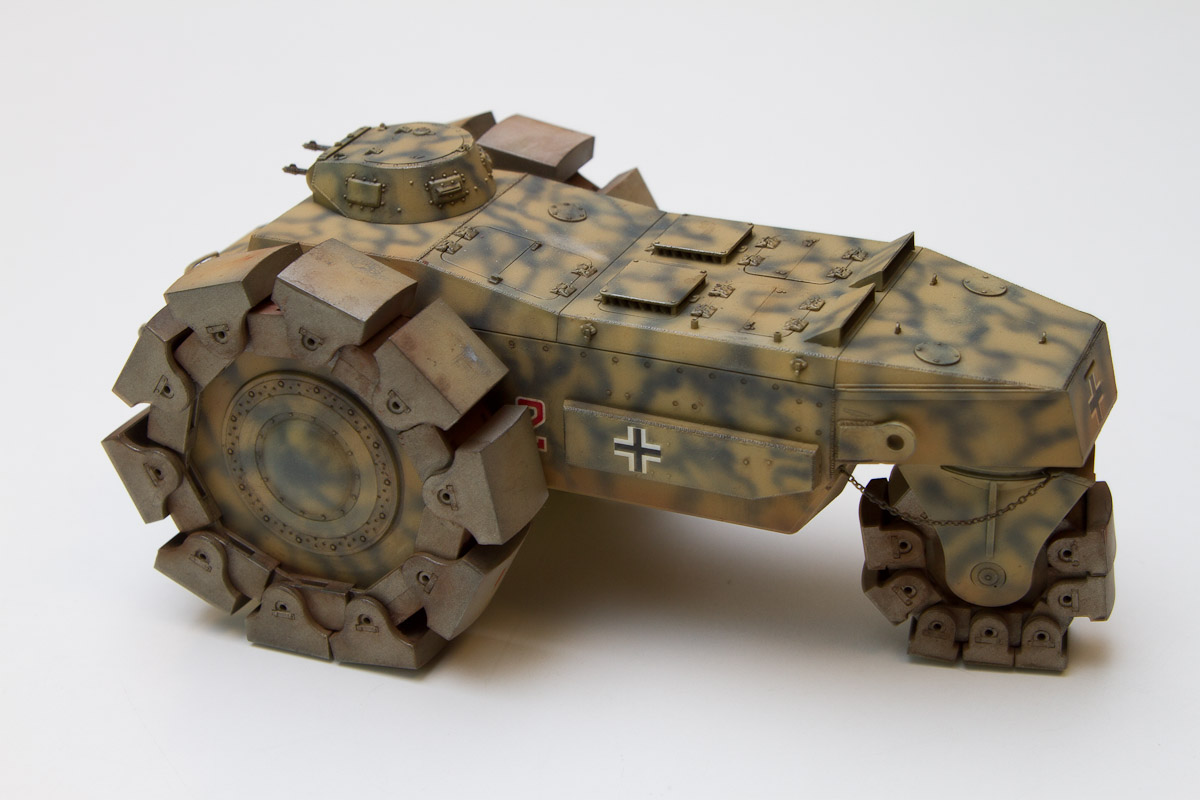
Make sure you super-glue one end of the chain in place through a hole you need to drill before attaching the top of the hull (Step 15). You won’t have access otherwise. I used ‘invisible thread’ from a fabric store to tie off the chain on the other end when the time came.
All in all, assembling this kit was a real joy. Most of the parts needed very little if any glue – the engineering is that good. Dry-fitting everything beforehand, I decided to deviate from the instructions and attach the hatches before adding the hinges. Doing so made it a little easier to line everything up. There is a fiddly section in Steps 4 and 5 where you are supposed to line up six slanted louvers just so. The plastic is so delicate that I didn’t want to use any glue until they were all in place. This turned out to be nearly impossible, so I ended up gluing each blade as I inserted it in place. A rectangular cover hides most of it anyway so no matter – it looks fine.
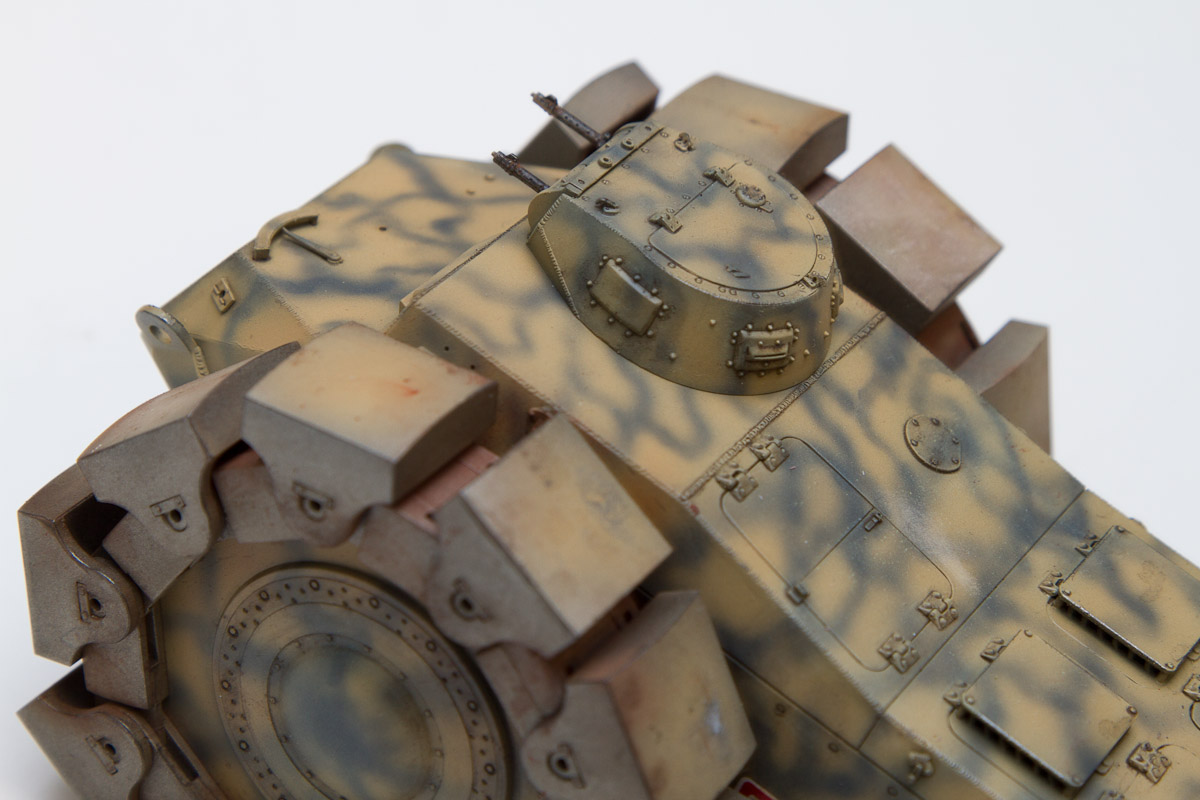
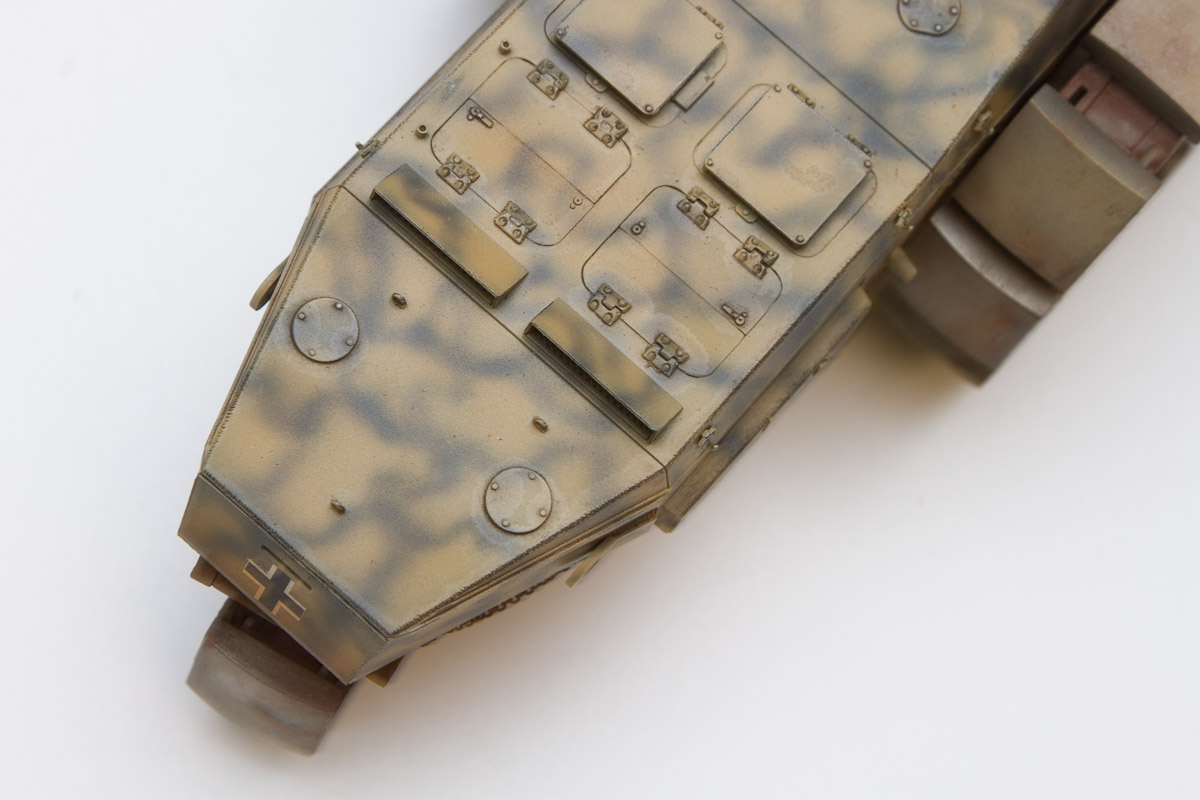
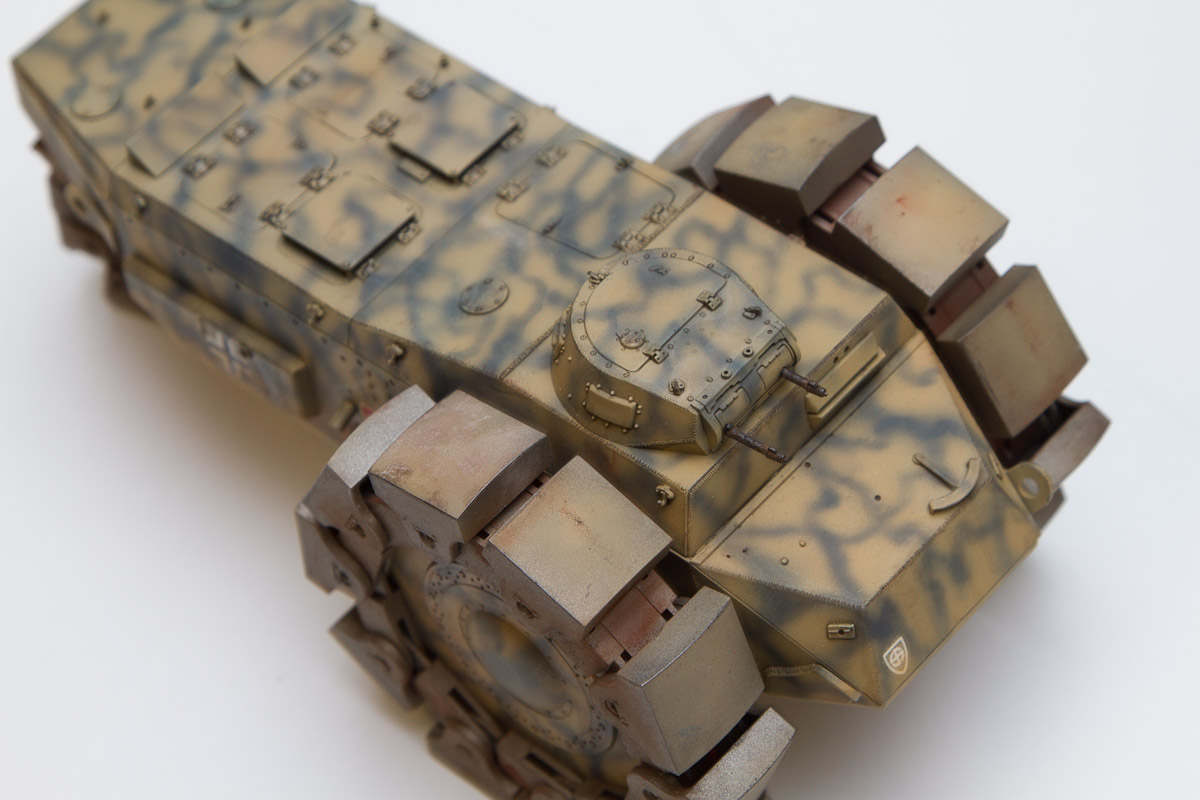
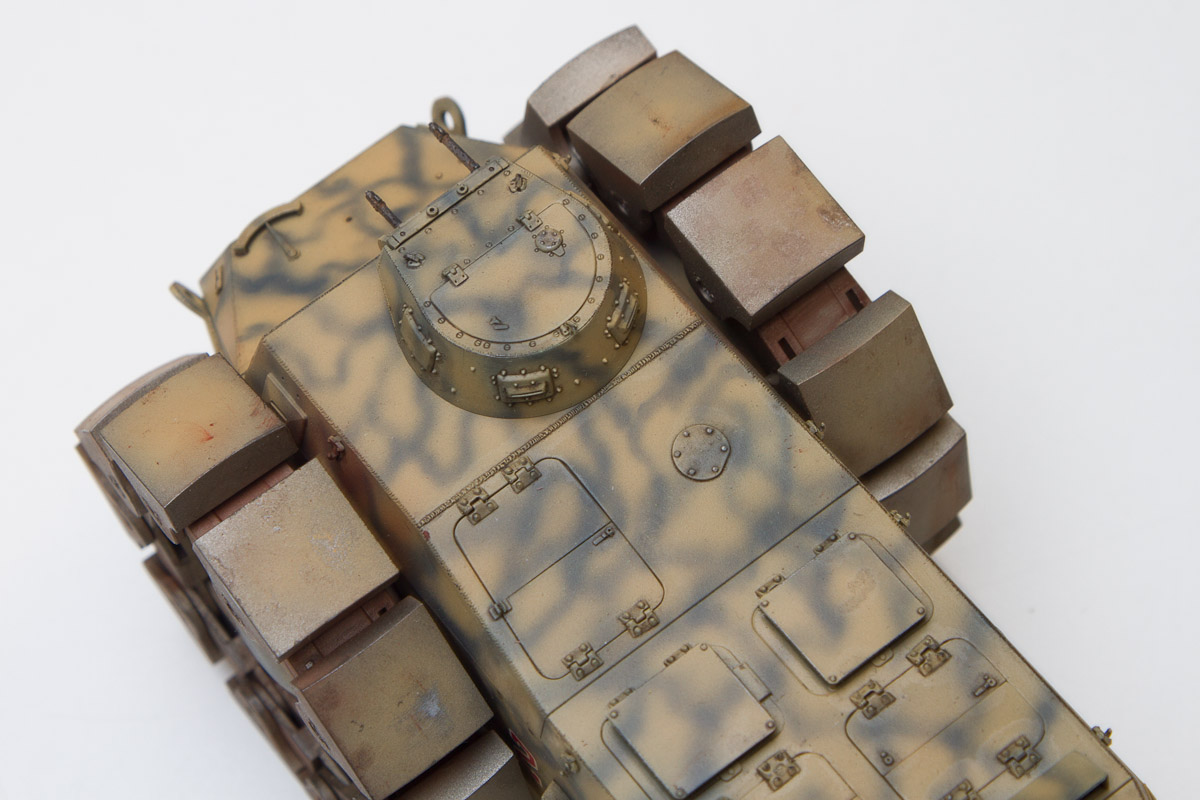
The turret is very well designed and, like the rest of the hull, looked fiddly at first - but snapped and ‘chunked’ together perfectly in the end.
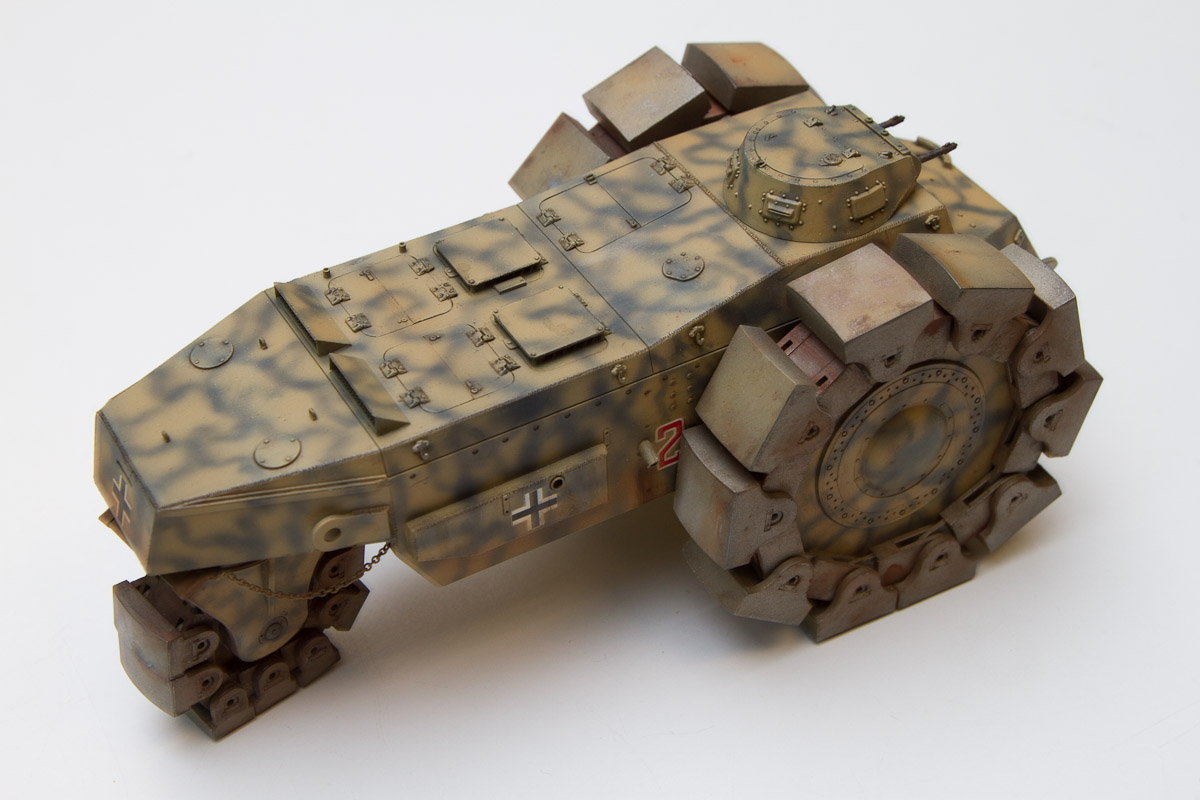
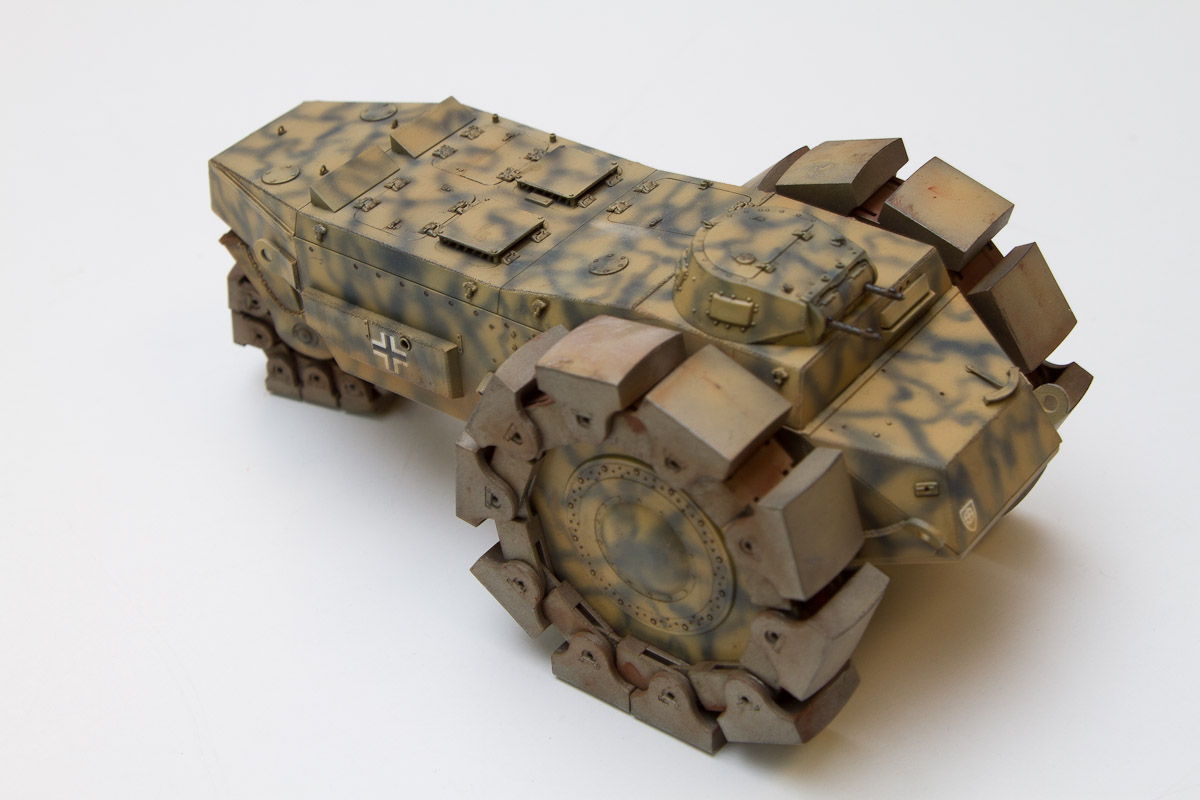
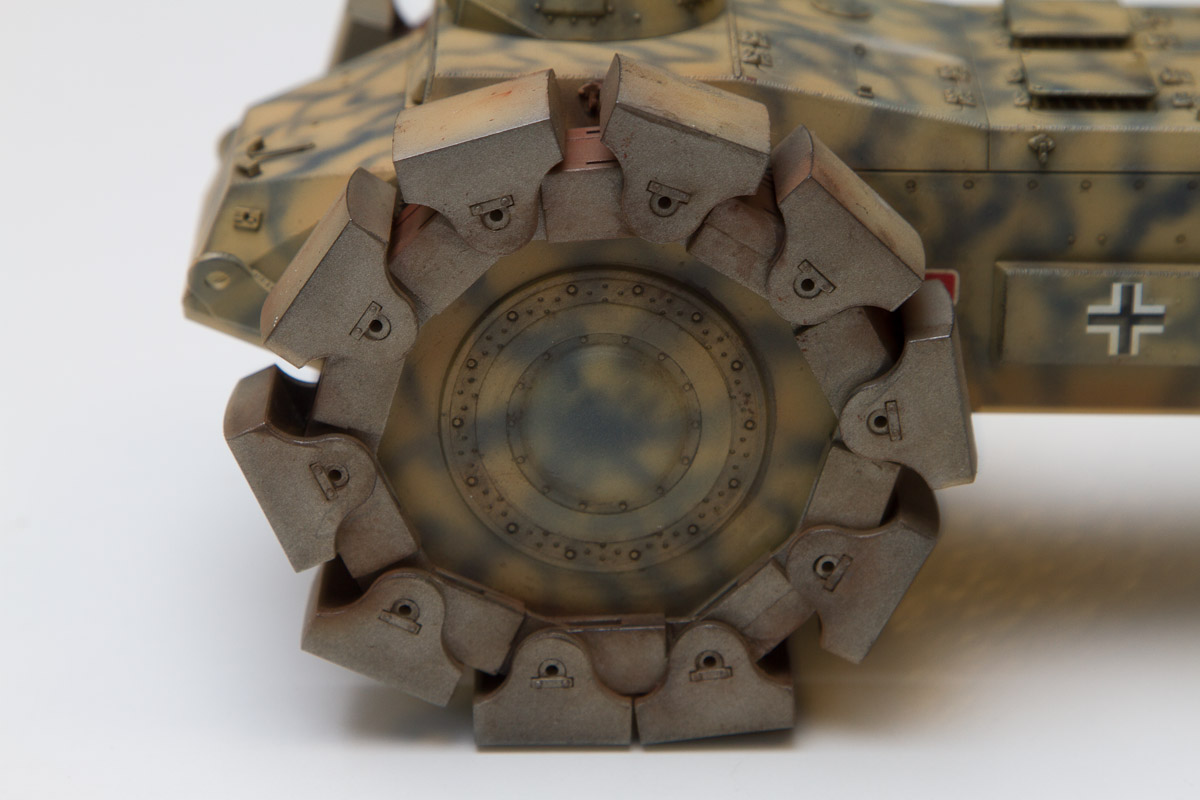
The Cleats
Each cleat for the large front wheels and single rear wheel came separately packaged in its own recessed spot in a rigid plastic tray. MENG spent a lot of time and effort (and money) to do this right. The relative weight of each cleat made things interesting to handle and assemble. You can try and paint the separate parts before assembly or do it afterwards - each approach has its drawbacks. I decided to assemble everything first and paint later. Make sure to go slowly and follow the directions in Steps 9 and 12. The illustrations are very good – follow them. I thought I had it down about two links in and ended up having to pry apart a whole set of cleats because I attached the rectangle plates (Parts A16) to the wrong side of the links.
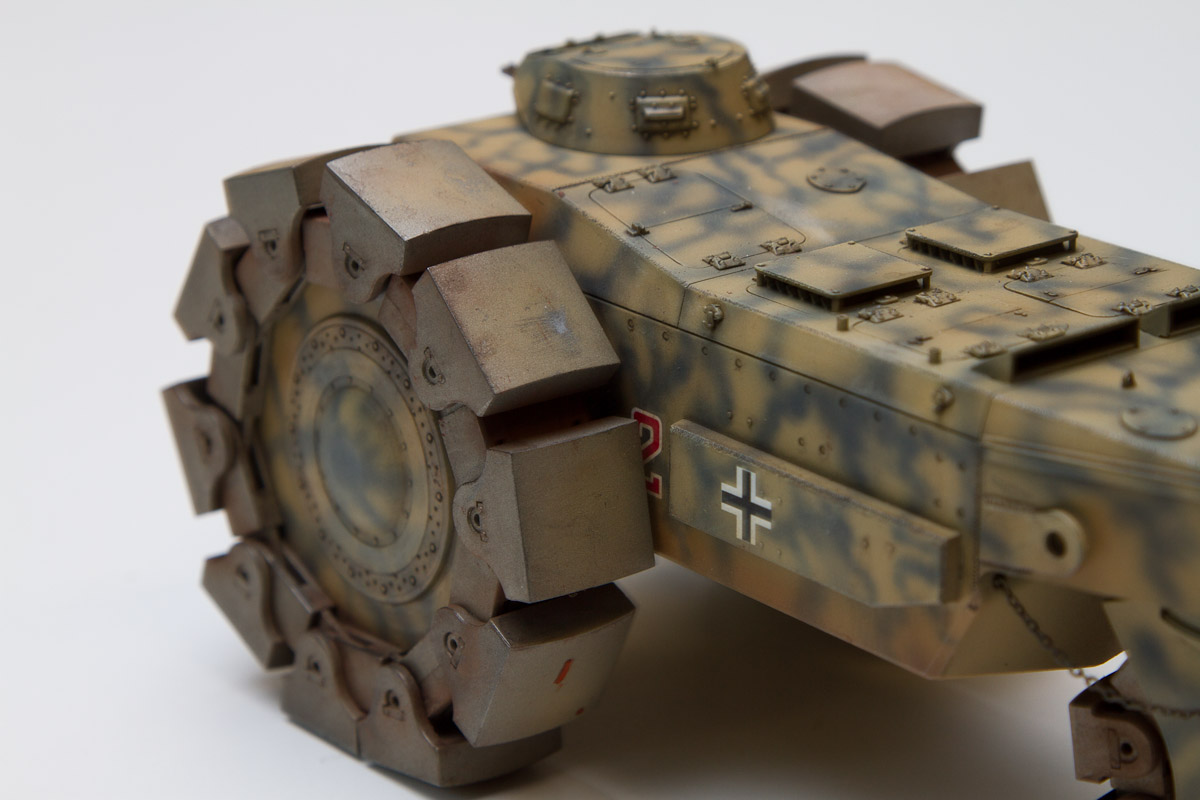
Since the wheels and main hull sported a matching camouflaged finish, I left the final two pins off each ‘run’ of cleats so I could paint the cleats separately and wrap them around the wheels later.
Painting and Finish
Since there were only two vehicles built, and then only one fielded, the scheme was a product of my imagination and my desire to try out a new Badger double-action airbrush with some new enamel paints I picked up. The most challenging part of the entire build was painting the assembled cleat runs. There are six sides to each cleat and if you wait until they are assembled before you paint them you will need to ‘move them back and fourth and rock them to and fro’ to get the paint into all the places it needs to go. You do this while holding heavy runs of metal/plastic covered with wet paint in one hand and an airbrush in the other. I am not sure if it would have been easier to paint and weather the individual pieces before assembly - using hindsight and considering all the steps below; probably not. I had five subassemblies that I painted, washed, dry-brushed and applied pigments to separately; the main hull, the turret, two large wheels and one small wheel. Once the wheels were painted, washed and dry-brushed, I wrapped the cleat runs around them and then applied pigments.(All paint was thinned with a 50/50 mix of Gunze Self-Leveling Thinner.)
I started with an overall primer coat of Gunze Mr. Surfacer 1200 to give everything a good surface to grip to. Once that had dried I sprayed on a coat of Tamiya NATO Black to fill in the shadows and recesses. I followed this with a base coat of White Ensign Afrika Korps Sand Grey (WEMCC ARG02). The squiggly lines on the hull and wheels were made from White Ensign U.S. Navy Deck Blue (WEMCC US10). I left the cleats Sand Grey.
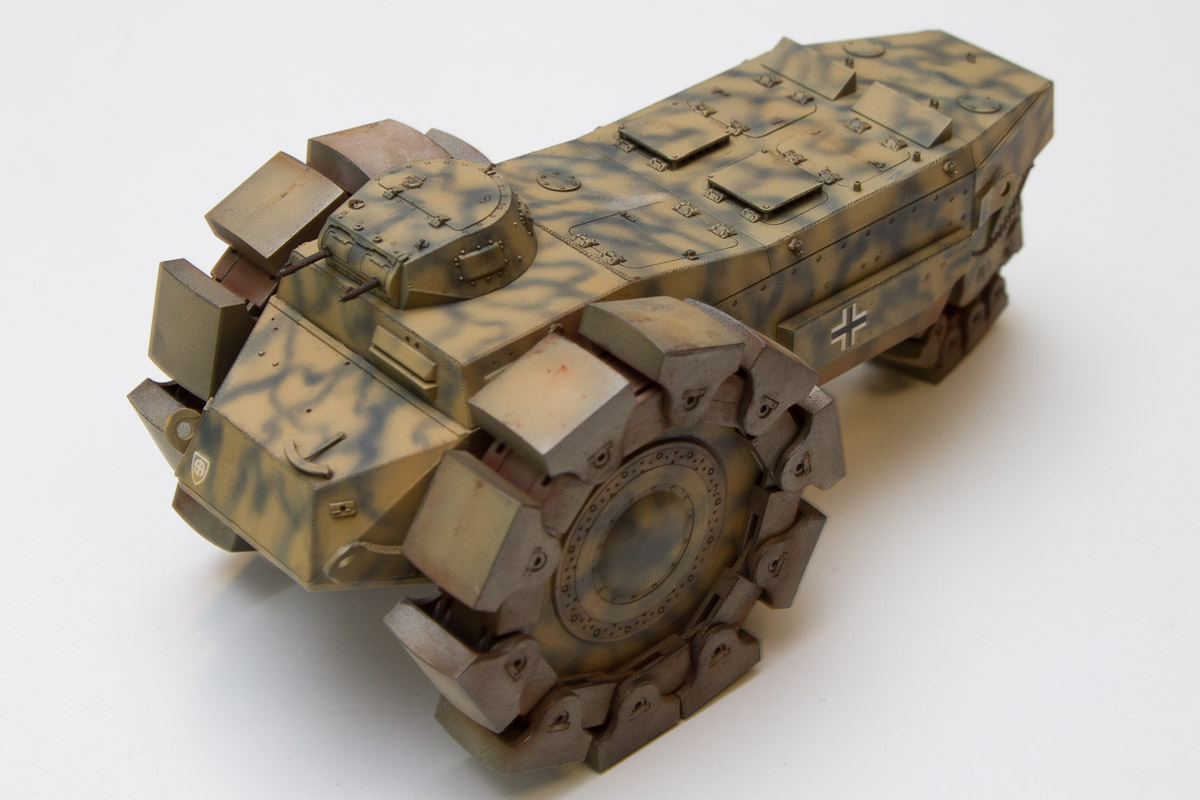
An airbrushed coat of Future was then applied and when dry (2 days!) I added decals from my spares box, followed by a second application of Future to seal the decals and prepare the surface for a wash. Once the Future was REALLY dry I attached the cleats to the three wheels and worked them until they were all movable again, but still leaving the ‘cleated wheels’ off the main hull.
I used a pre-mixed solution of MIG Dark Wash (an enamel) on all the panel lines, links, hatches, rivets, etc. I made several passes with this until I felt I had enough on there. The detail on the wheels and cleat links took awhile to bring out. I followed this with several lengthy dry brush sessions using MIG Abt 155 German Three-Tone Fading oil to ‘pop’ the raised detail. Next I made several very light passes with Vallejo Model Aire Light Brown (7027), working from the bottom up, to add a thin layer of road dust to everything.
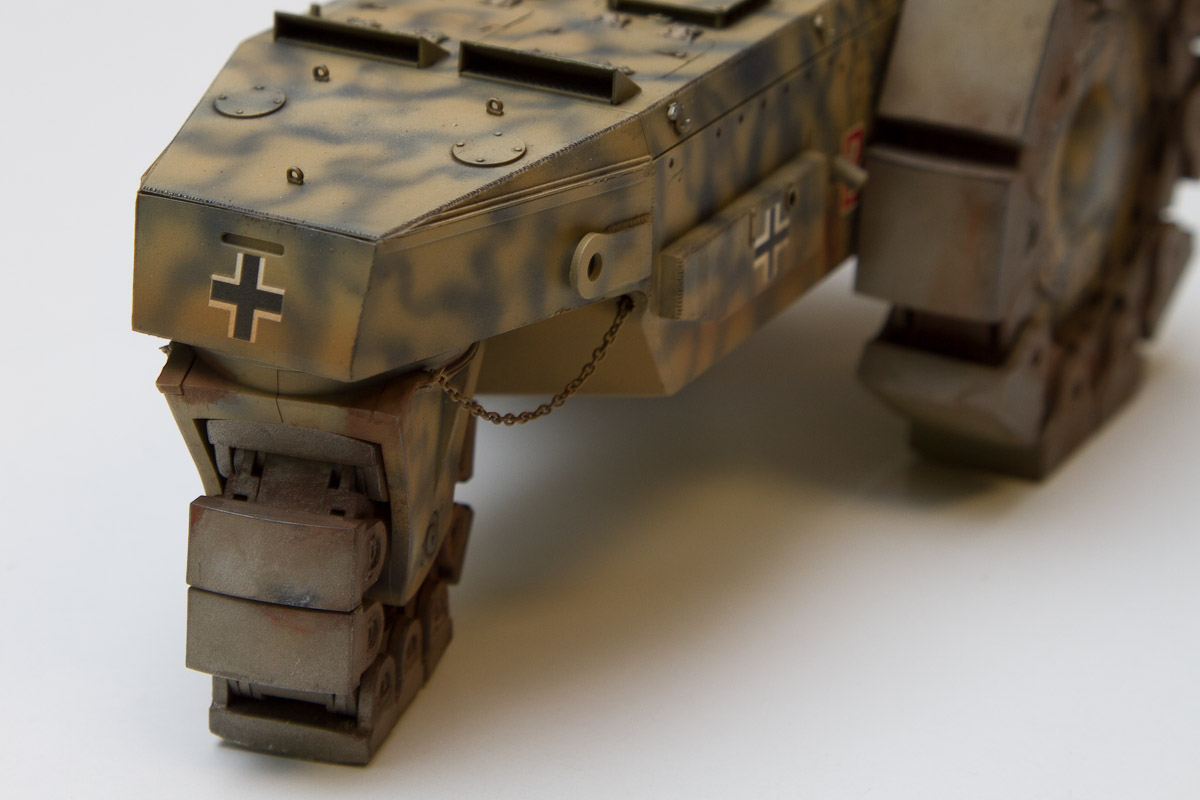
Finally, I sprayed a light coat of Testors Dullcoat to even everything out. Once everything was dry, I tied the chains off and started detailing specific areas with MIG pigments. I used several rust shades for the chains, the areas under the drain pipes, the outer edges of the wheels and certain spots on the cleats.
I used a ‘fiber pencil’ to wear away spots on the cleats and to rough up some other painted areas. I went over the entire vehicle with MIG Gun Metal pigment, applied with my finger (and a lead pencil where my fat fingers couldn’t reach) to give the cleats and other areas a heavy-metal look.
Conclusion
Building this kit was a most enjoyable experience for me. MENG did an outstanding job designing this kit. Unlike some other manufacturers, it felt like someone at the company had actually built the kit few times and then went back to make changes – all in the interest of making the whole experience more enjoyable for the modeler.I recommend this kit to anyone who likes to build and finish unusual German armor – it certainly turns heads when viewed on a table-top!
I would like to thank Stevens International for providing this kit for review, and to Internet Modeler for giving me the opportunity to build it.