Tamiya New 1/350 Yamato Preview
By Tracy White
Tamiya created quite a buzz at the 2011 Tokyo Hobby show when they confirmed the swirling rumors of a new-tooled Battleship Yamato in 1/350 scale. Thanks to Skyway Model Shop's advanced preview sent to them by Tamiya, we're in a good position to discuss the finer details of this upcoming release. As it was a partial kit, lacking instructions, only the parts that we saw will be up for discussion.
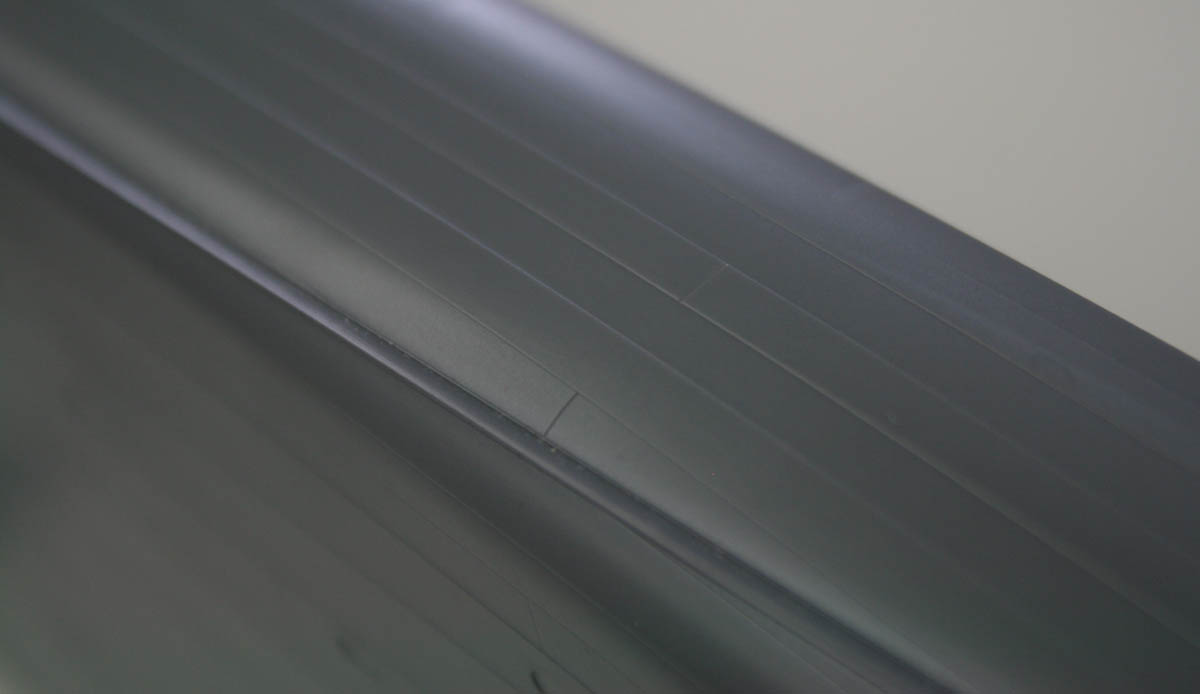
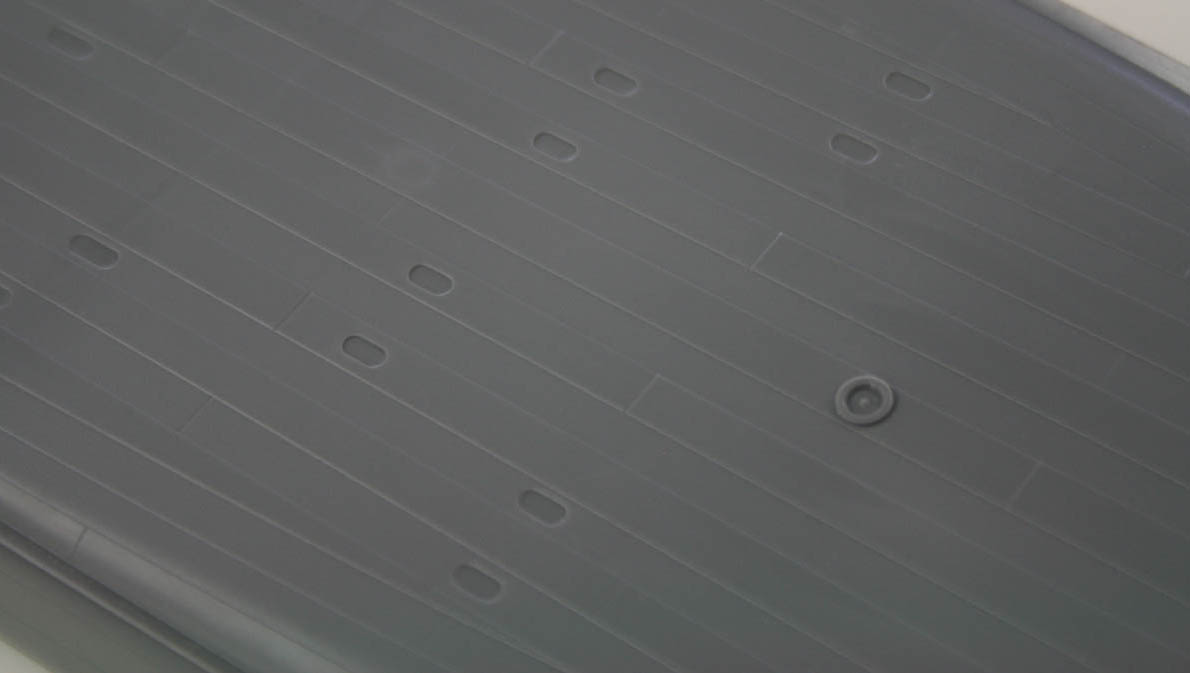
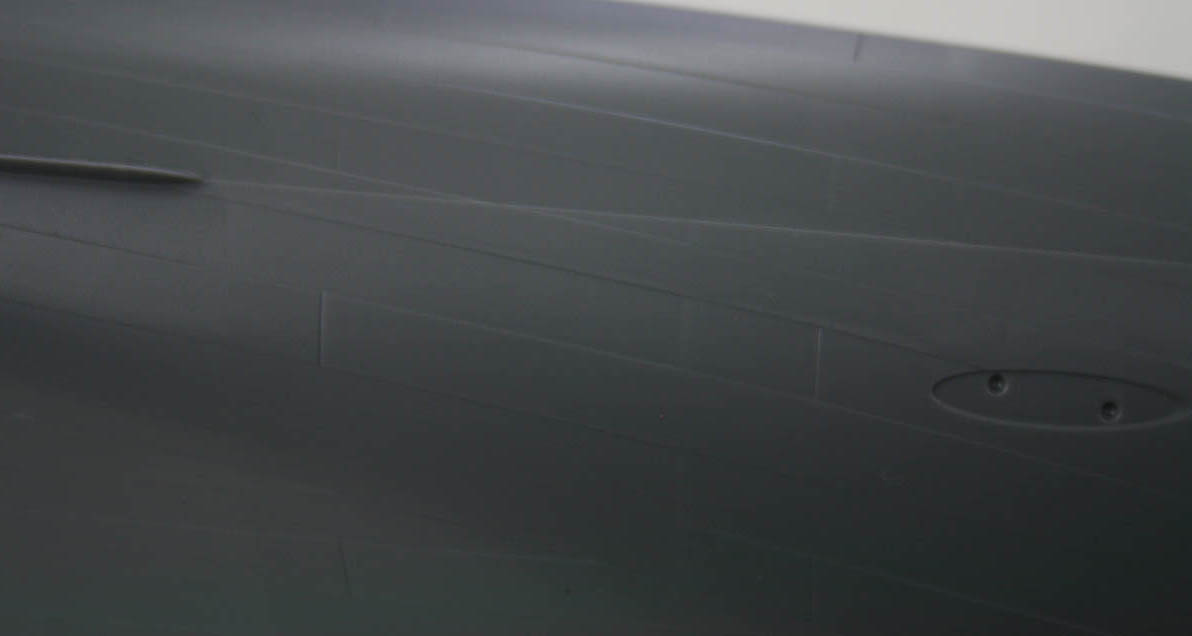
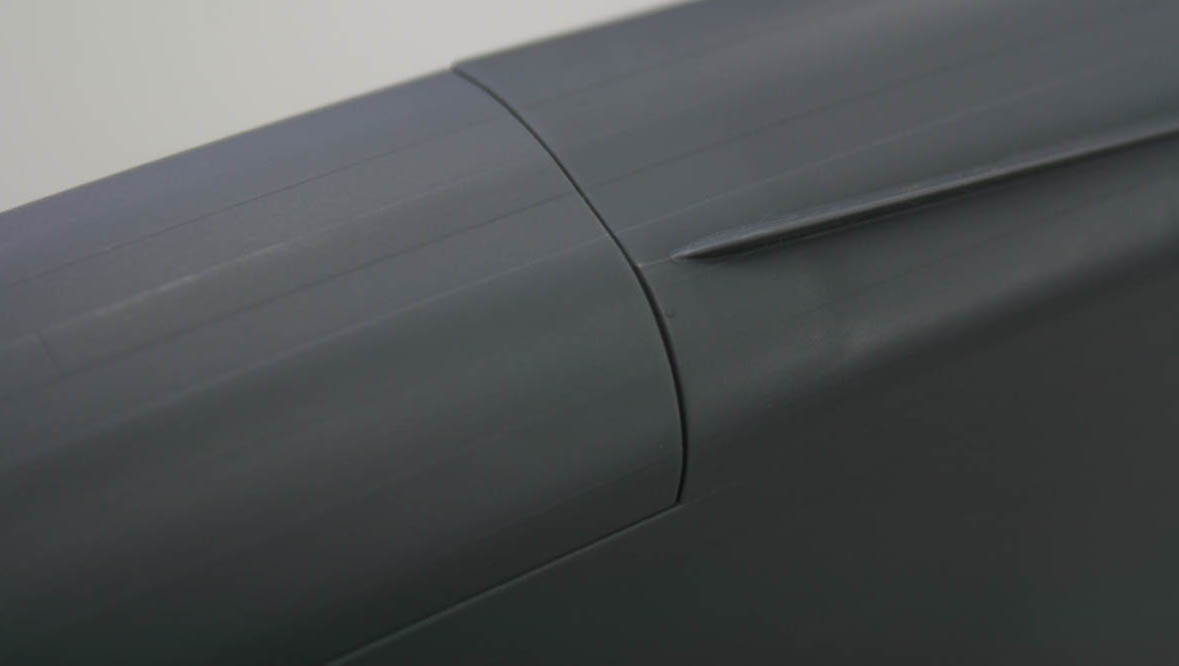
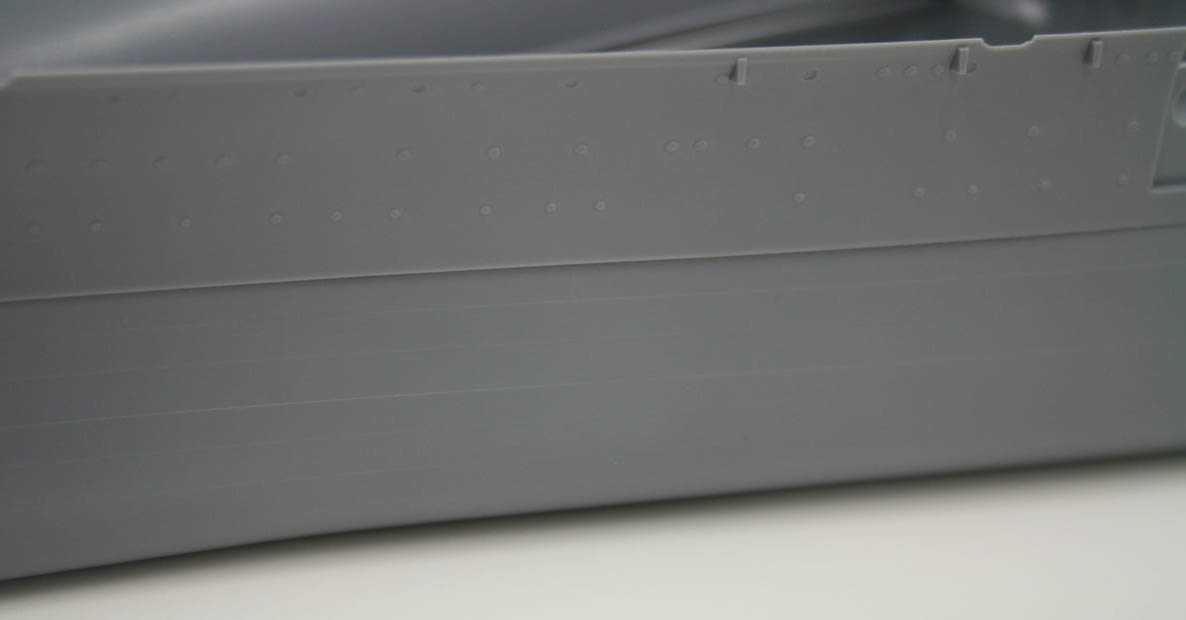
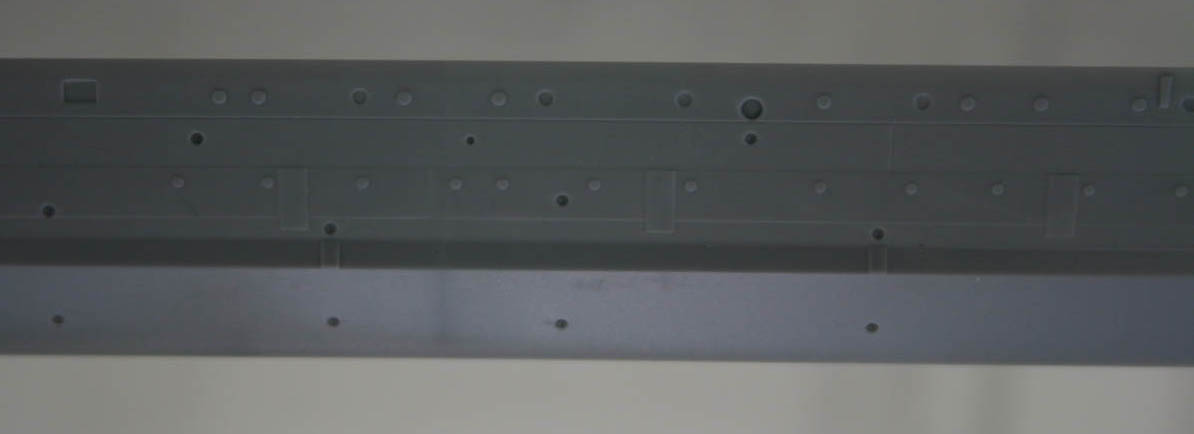
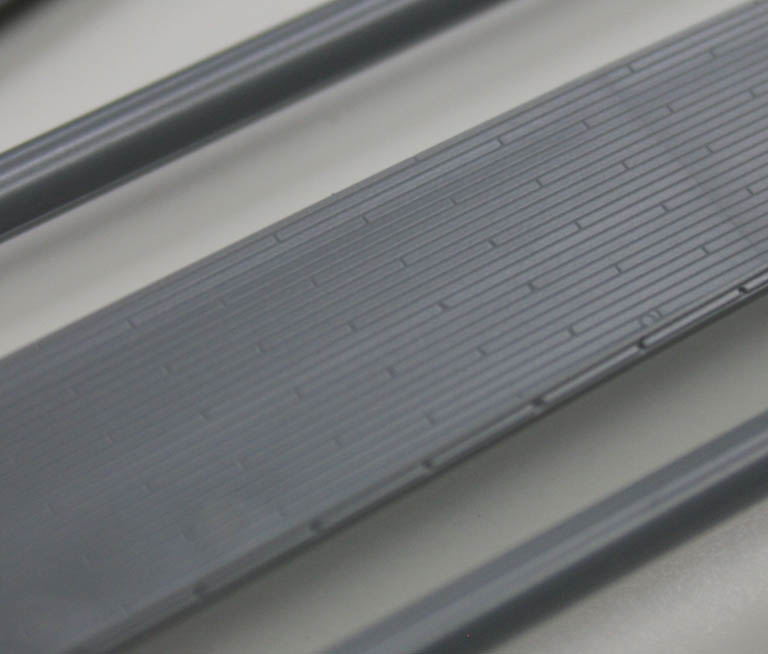
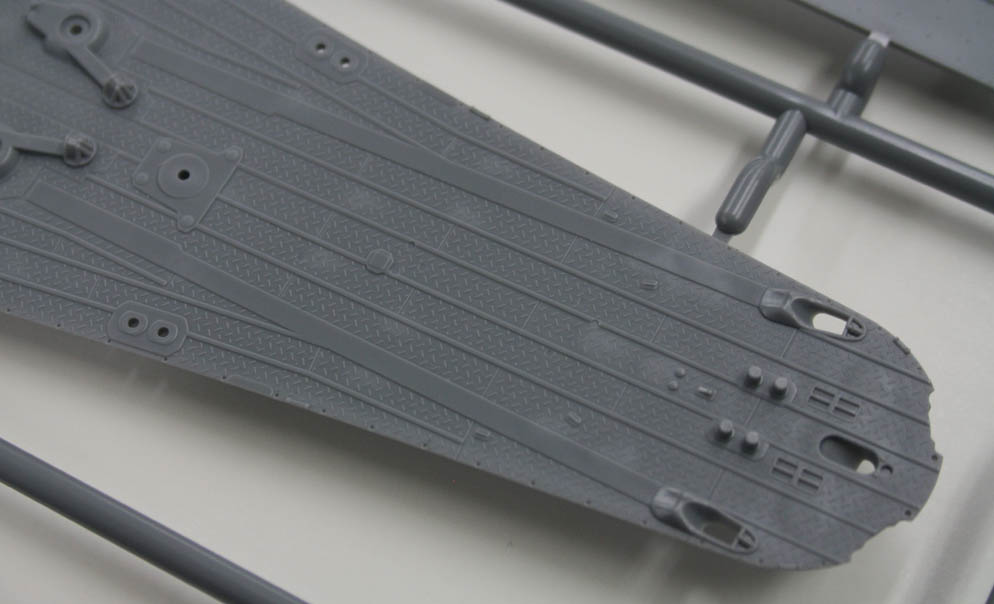
Starting with the hull. Many modelers have been clamoring for hull detail in way of the plating formed by the different strakes of steel. Various companies have tried and for the most part have come up lacking. Tamiya takes another crack at it with this release, presenting actual raised strakes instead of the simple engraved lines their Akagi used. Another feature oft desired are the sea chests, intakes, and exhausts on the bottom of a ship used to feed the ship's boilers. These are included as oval depressions; due to the width and flatness of the hull they will be hard to see unless a taller stand-off is used, but it's nice that they were included as well as the plating. It's also nice to see that the thick, chevron shaped bilge keels are more a thing of the past, and that correct and thin is in. This is a feature that once known and understood, looks badly out of place on older kits with their long, fat "smiles" that did not conform to the flow of water in the slightest. There are some draw-backs to the strake plating however. When this is combined with the need to have mulitple mold pieces, if the mold break-down and injection process isn't perfectly handled there will be seams that can be a pain to deal with. Does the modeler remove the seams, as well as all detail in the area, or leave the detail and by extension the seams? Or, does the builder take a stab at a more difficult proposition, removing the seam and then restoring the detail seamlessly (rimshot!)? This aft seam isĀ the one I worry about most; being long and cutting through several strakes across its length. The hull detail is fashioned by alternating raised pieces atop a smooth surface, so when the seam has a step in even the lower surface it means that more is going to need to be saneded away to get that lower surface smooth. The most noticeable seam, however, is that on the forward hull. In order to mold such a complex hull shape with crisp details over it's form, the hull had to be broken down into many parts. There are two below the waterline and at least three above it. As you can see in the photo to the right, this leaves a seam that should be filled. Perhaps not much concern if the two surfaces are perfectly true to each other, but in this ase I felt a slight step that would require some sanding as well as filling in order to negate, which will destroy the surrounding strake detail.Now, while the seam above does look ugly close up, I'm less worried about the forward one, and in fact I don't think either will be all the difficult to repair. My plan would be to ignore the strake detail; sand down what needs to be to make the lower surface true. Then, with the surviving detail on either side as a guide, lay down Tamiya tape (it's got to be Tamiya tape for a Tamiya Yamato!) along where the edges would be, and then spray some Mr. Surfacer or paint in to fill back in the strake detail. Builders have been using this technique for a while in replicating hull plating and it works well with the proper technique. Because the strakes are long, relatively straight pieces, this should be a fairly easy task for the most part.
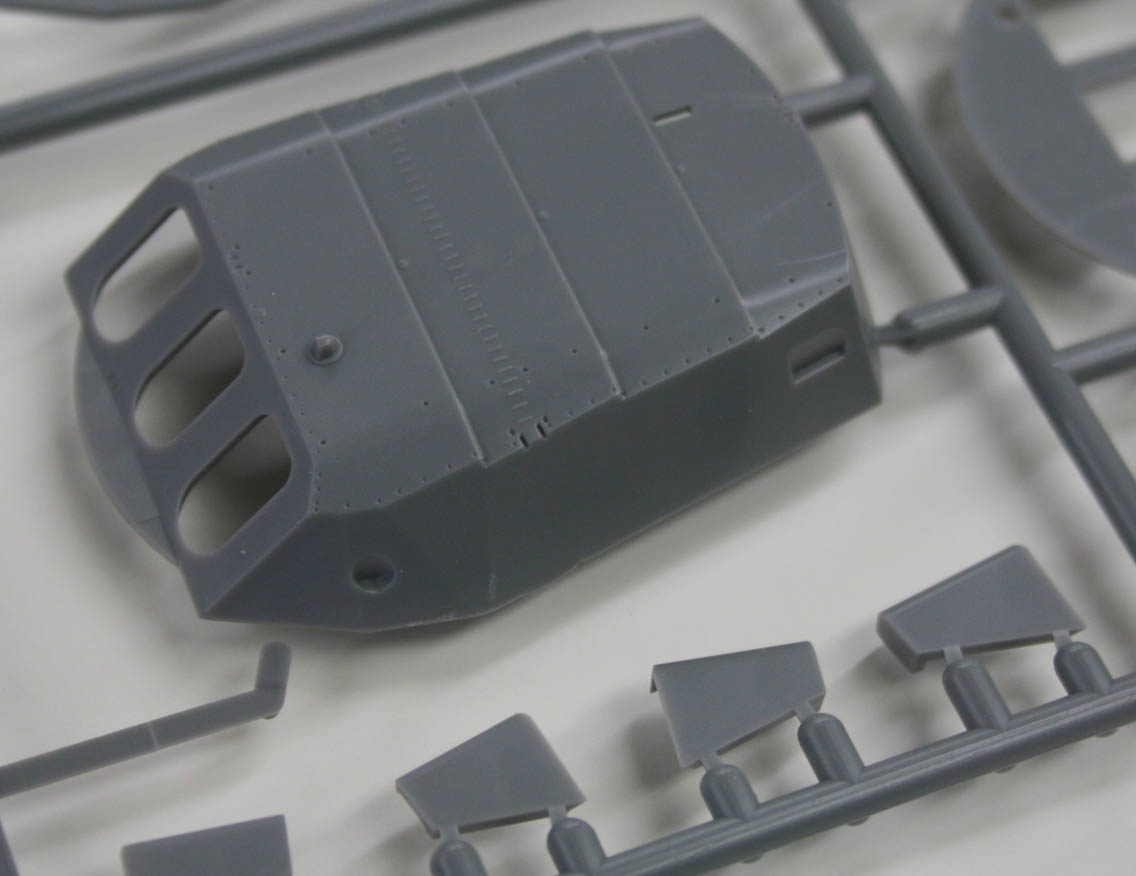
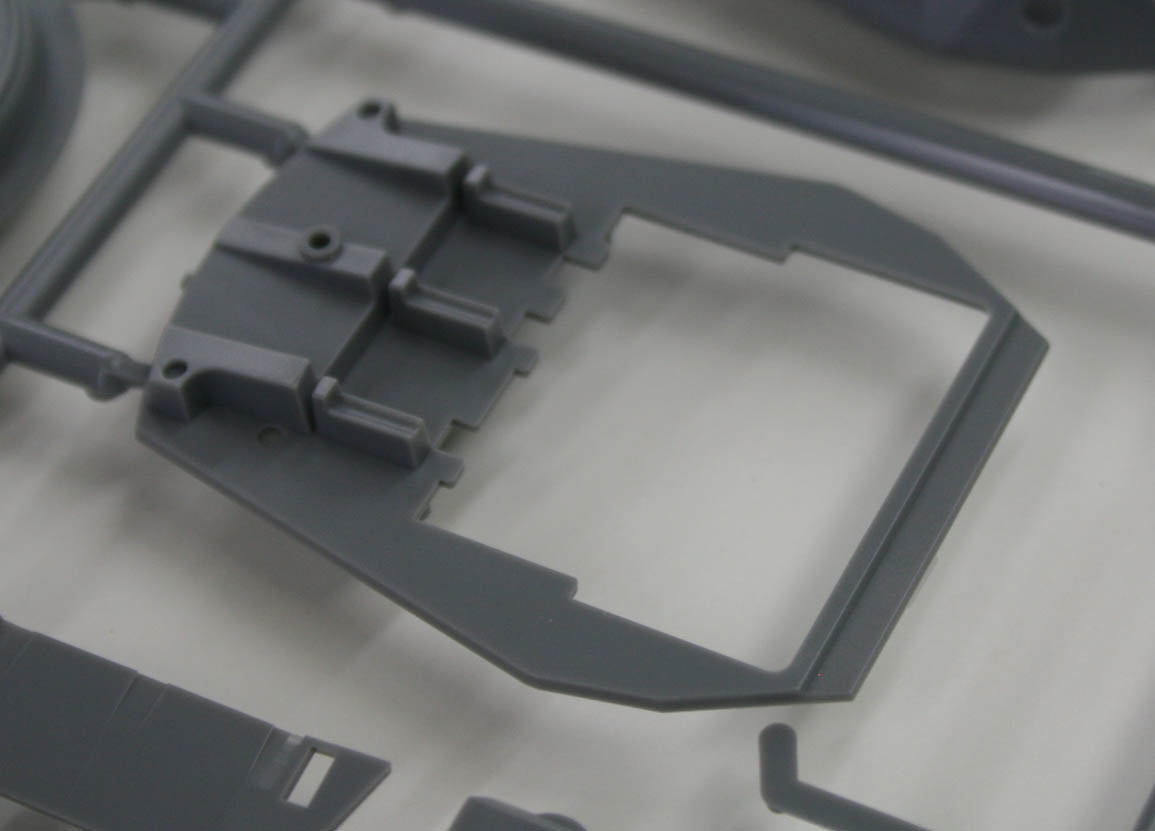
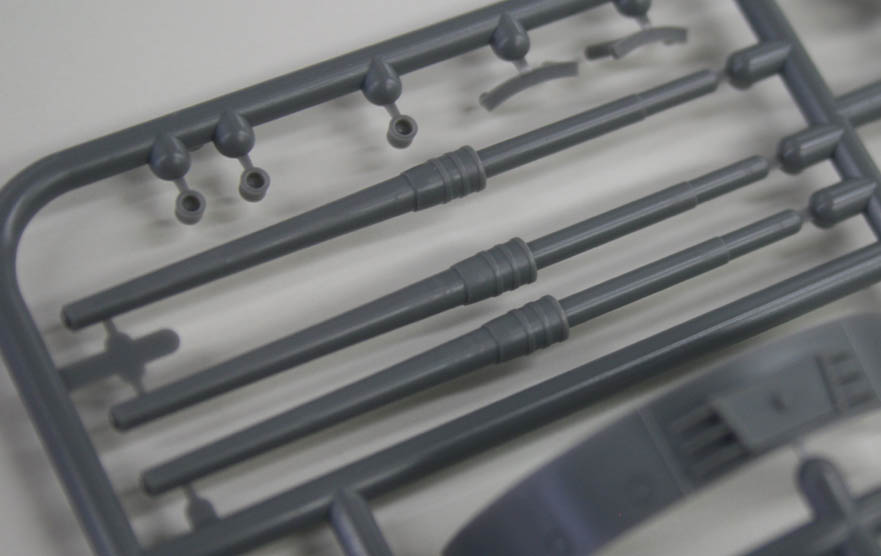
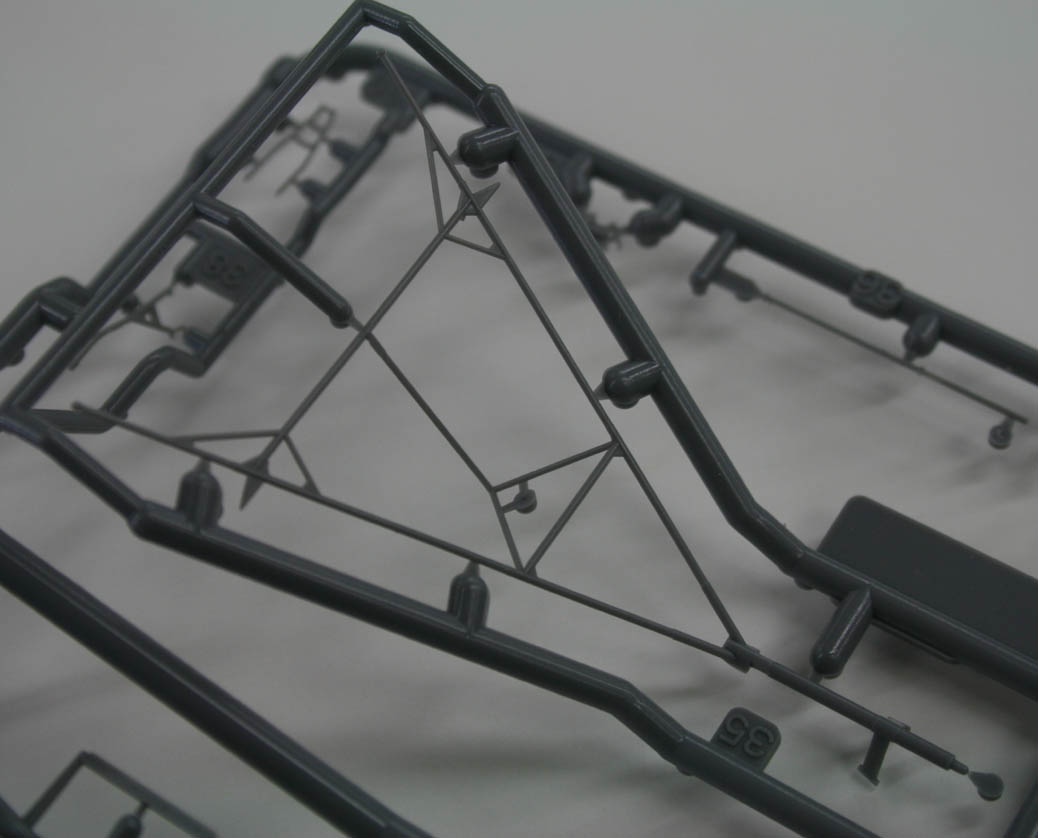
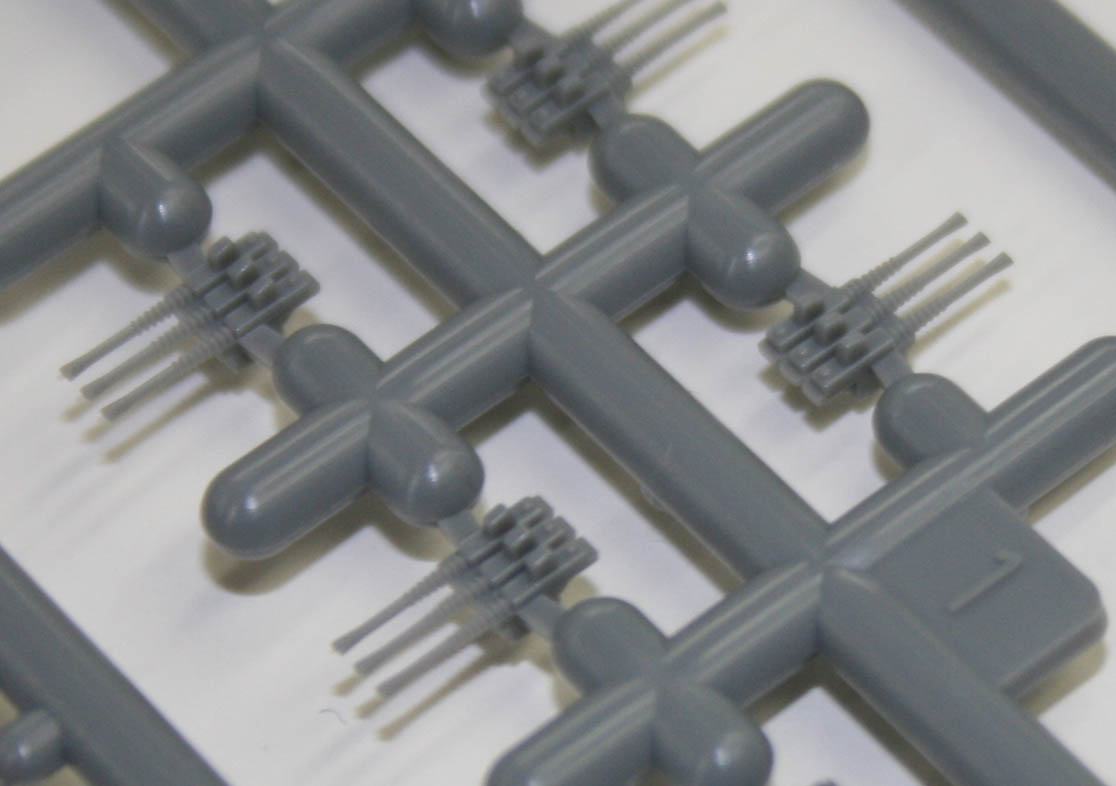
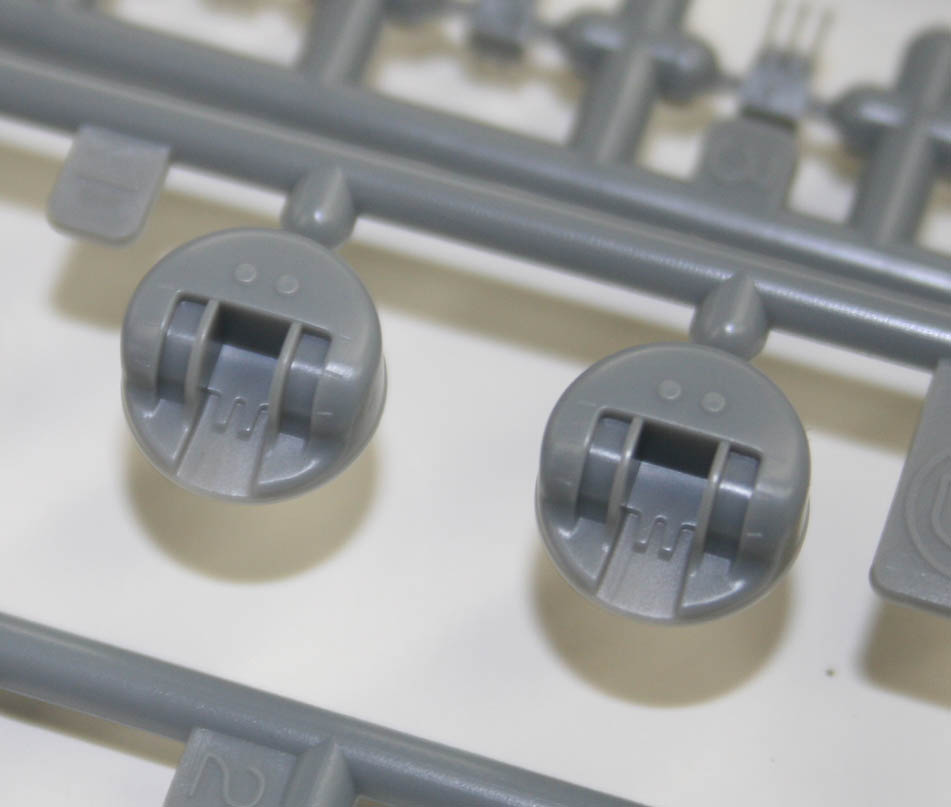
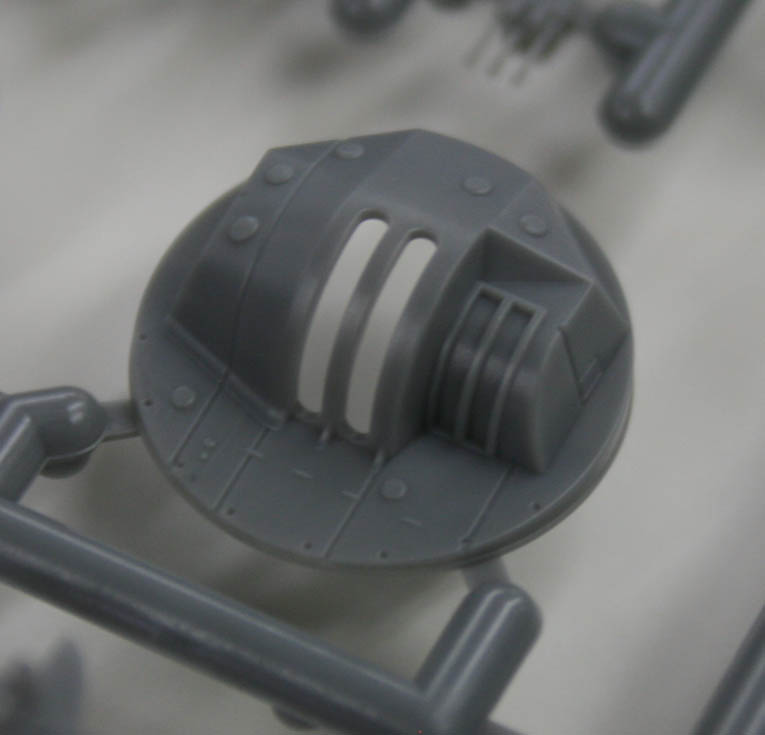
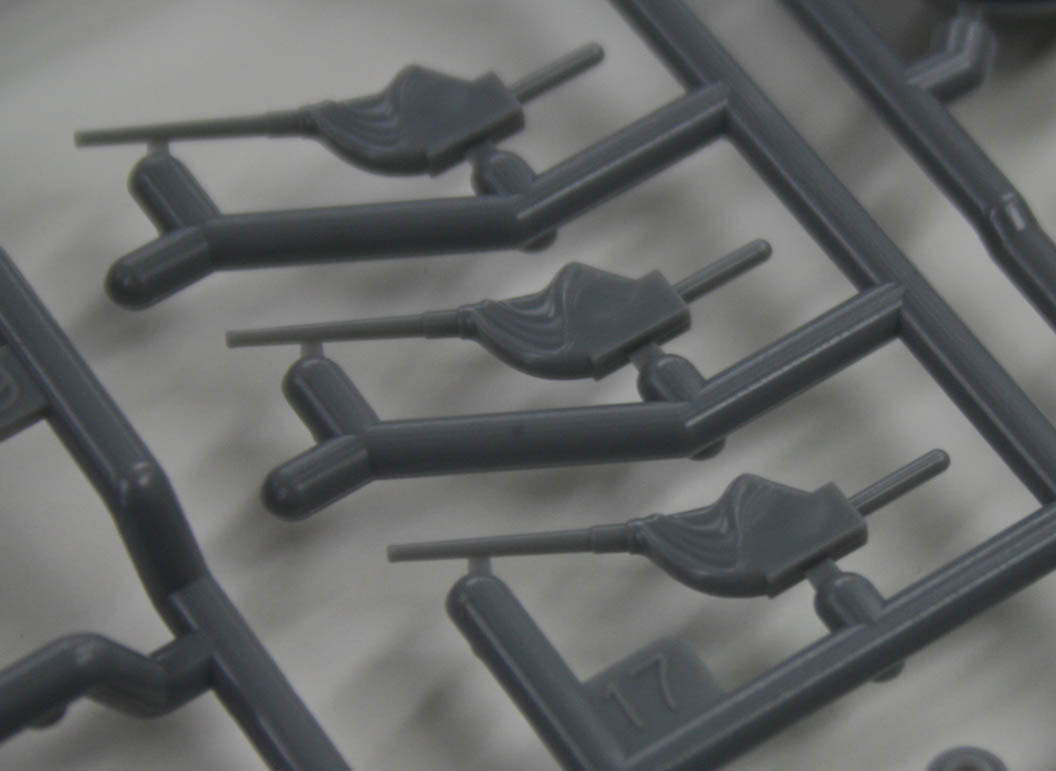
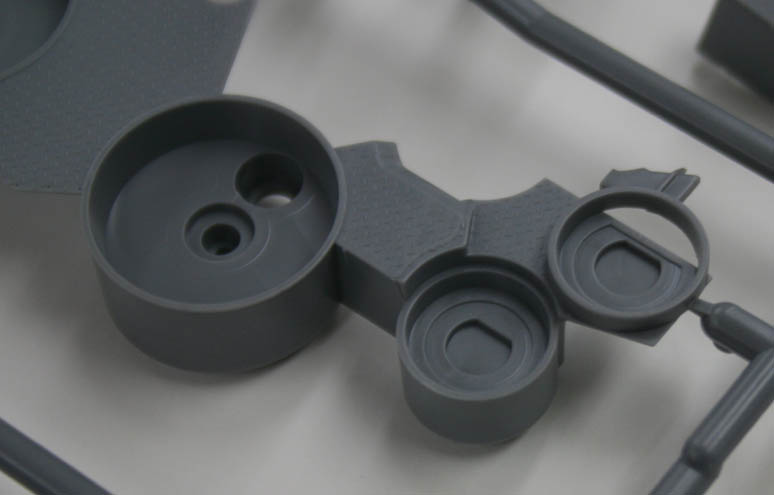
Enough about the lower hull. The upper hull consists of three main pieces; a bow portion that is about a fifth to quarter of the ship's length, and two side pieces that make up the rest. There is a flat plate that can be used to stiffen the structure if one is building the kit waterline, and parts of the upper pieces fit into this in such a way as to make alignment fairly obvious and easy, from all appearances. There is, however, one issue that became apparent early on that I'd like to talk about. The countour of the upper forward piece did not match the lower piece at the joint, at least not easily. Taking a cue from most of Trumpeter's ships, it appears that the lower hull is narrower at its normal tension than the upper hull. It may be possible to install spreaders below the waterline to push this section out enough to easy the fixing work that this will entail, but lacking instructions and a true understanding of how this structure is truly supposed to work, I don't want to propose anything more concrete. Even ligning up one side at a time proved difficult without my third hand. The side pieces appear well done. The kit is meant to portray Yamato on her final mission, when she was sunk trying to reach the US fleet near Okinawa; as such most of the portholes are rendered as plated over. This detail is perhaps a touch overdone, but given the other hull details it was probably necessary to present them this way. There's not a lot to add here other than a hope for a good fit between the other hull pieces. The whole reason for a battleship's existance is it's main battery. Yamato's was certainly impressive; the kit no less so, with one exception. The turrets are well detailed, with subtle details on the roof, and each massive optical rangefinder comprised of three parts. Not only does the builder get the turret shell and guns, but an effort has been made to provide each whole barbette as a removable package, to beter show the true size of these massive weapons. Along with this is a good attempt to provide the option to show interior detail of the top level of the turrets. The platform shelf itseld contains some of the details of the interior, such as the optical rangefinder and shell ramming track, but misses a lot of the finer details that would make this a kit in and amongst itself. Perhaps an aftermarket company will provide a set to allow the builder to go full-goose bozo in this regard. The guns themselves were the largest surprise to me in terms of detail. The long pieces behind the pivot were curious until I remembered the pieces for the breech block that fit around them, but then I noticed that the ends of the barrels were solid, unlike those of Dragon or Trumpeter. It turns out that this intial assesment is somewhat in error; Tamiya does give open barrel ends but either as separate pieces, or as a replacement metal barrel set. In the case of the plastic ends, they can be seen above the top barrel in the picture to the right.The rest of the pieces I'm going to let speak for themselves in the gallery below. Sufficed to say, the detail looks excellent, and I have no doubt that this will build up into an impressive kit. The price will be high in the US, and the old kit can certainly be built into a good representation, but this kit will definitely go a long way to satisfy the hard core Yamato fan.