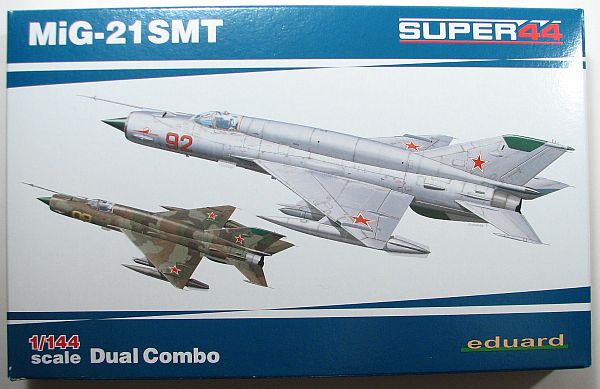
Eduard 1/144 MiG-21SMT
By Matt Bittner
The Kit
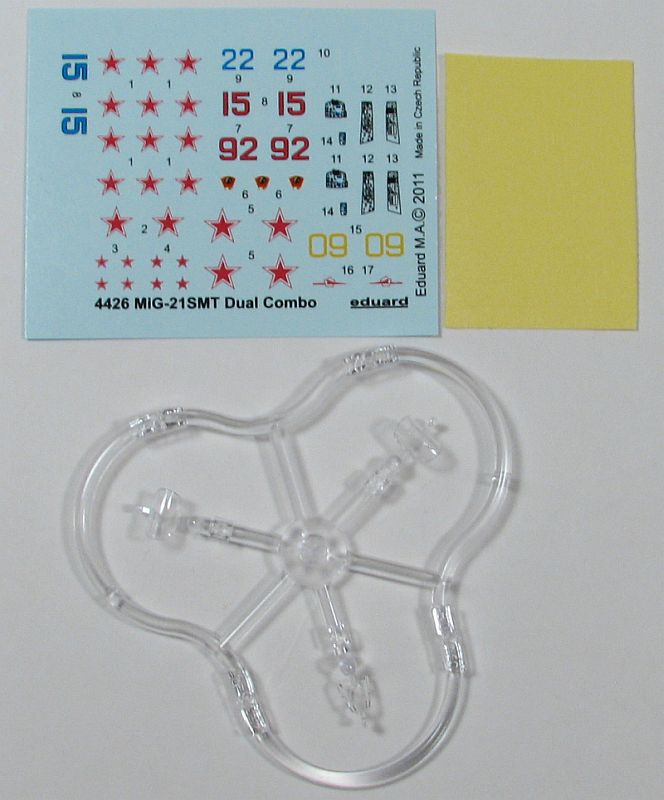
Due to the fact the SMT is close to the MF in terms of outline, I'm going to use a lot of my review of the MF in this article. There are two kits in this "Dual Combo" kit so you can build two SMTs. The kit comes with no photoetch, but it does come with masks – not only for the clear parts and wheels, but also to mask the various "dielectric" panels after painting those "green". There are decals for five schemes in the box:
- MiG-21SMT, Krandohar Higher Aviation Training Facility, Soviet Union, ca 1980
- MiG-21SMT, 582nd IAO, Chojna Airfield, Poland, Late Eighties
- MiG-21SMT, 296th IAP, Soviet Union
- MiG-21SMT, Serial 96.40.14, Dolgoye Ledovo, Russia
- MiG-21SMT, Serial 96.40.15, Dolgoye Ledovo, Russia
 First and third machines are overall-aluminum while the others are camouflaged. Decals are printed by Eduard and are very nice and in register. Unlike the MF release, Eduard has provided decals for the cockpit area to help spruce up that area (for the MF, Eduard provided those decals in the MF photoetch set). Separate photoetch for the kit has been released, so if you're looking to add more detail definitely pick up that set (#144002).
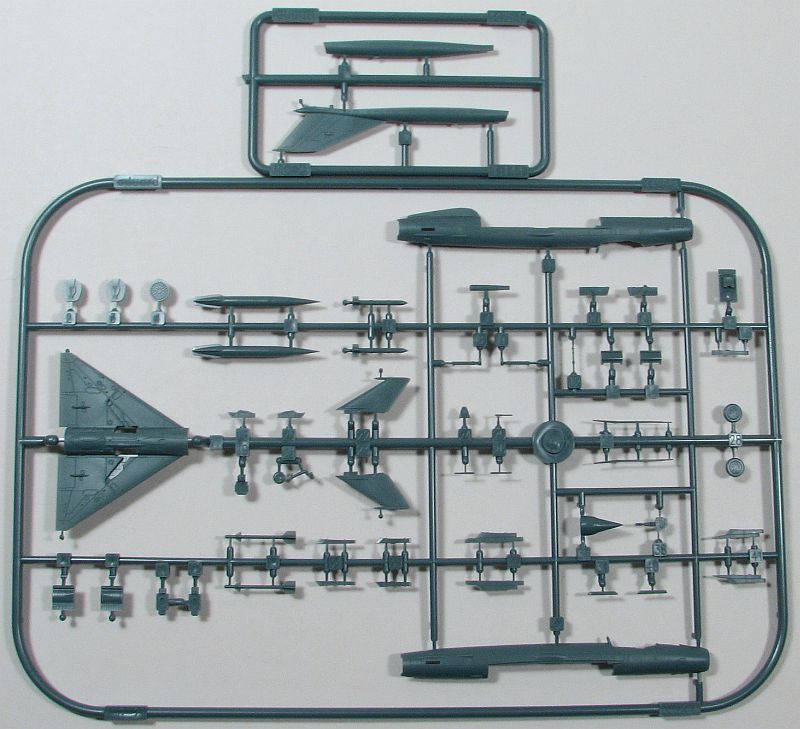
Construction starts with the cockpit, and out of the box it's really nice. The only things truly missing are seat belts, but there's plenty of room for super detailing, or for using the separately released photoetch. Once the cockpit is assembled then you glue the spine pieces together. The way Eduard has molded this will ensure other MiG-21 versions to be molded. An excellent sign. Now you complete the cockpit by gluing the separate side consoles to the fuselage halves, gluing the main cockpit to one half, and gluing the faux-engine blades and nose cone in as well. Now that everything is glued into the fuselage, the fuselage halves can be assembled. In my First Look article on the MiG-21MF, I wondered if nose-weight was needed to keep this kit sitting on its landing gear. Turns out it is not needed as it will sit properly without any weight. Excellent.
 Now the fuselage halves are together the rest of the main external pieces can be added. Glue the separate spine/rudder/fin on the top, glue the main landing gear pieces together and then to the single-piece wing, glue the one-piece wing to the bottom, and glue the horizontal tail pieces on as well and you have a complete airframe. In addition to these parts you'll also glue the seat back into the cockpit. (One item to look out for with this, though, is which seat to use. Eduard provides both an "in-flight" seat as well as a "canopy-open" seat – pay close attention to which one to use.)
The instructions now take you to adding the rest of the external pieces like landing gear, etc. I would leave those off until after painting. But once painting is finished then you glue the landing gear and gear doors on, the clear pieces (in which there are two main canopies, one open and one closed), the pitot tubes followed by whatever weapons and pylons you choose to add.
Color call outs are for Gunze paints so be forewarned. In fact Eduard has you mix Gunze paints for the interior – personally I plan on finding an "out-of-the-bottle" match instead.
Conclusion
Once again Eduard has raised the modeling bar, this time in 1/144 scale. This is a top-notch kit and all the other manufacturers need to look at Eduard and match what they've accomplished with their MiG-21. If 1/144 is your scale and you want to build a MiG-21, then there are no other kits to consider.
Many, many thanks to Eduard for sending this superb kit in for review.
